How to make Soft Candle for Carving
General info
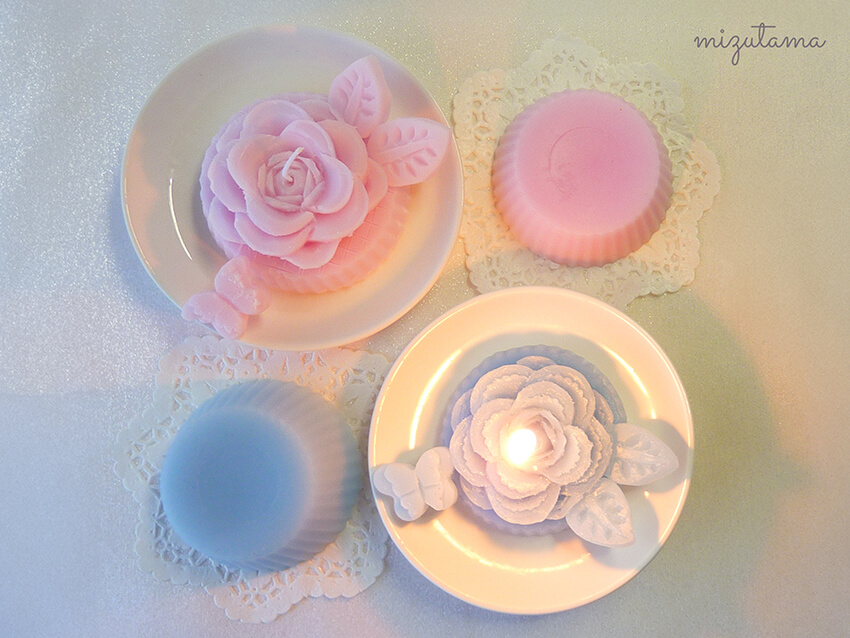
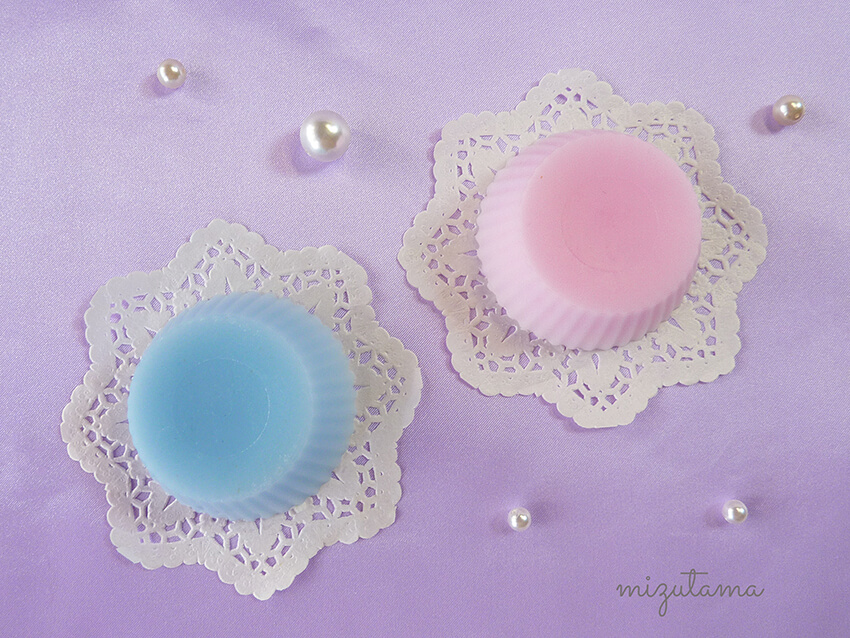

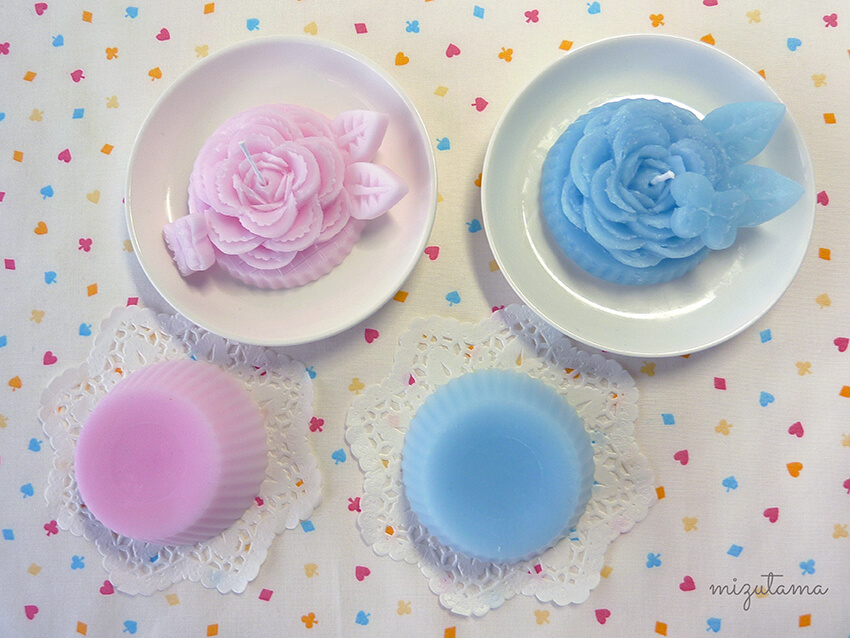
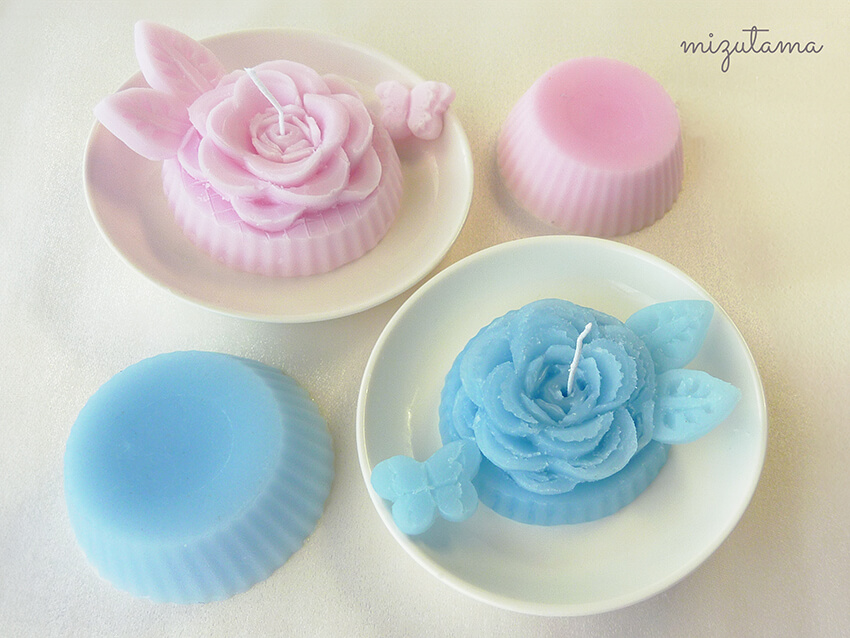
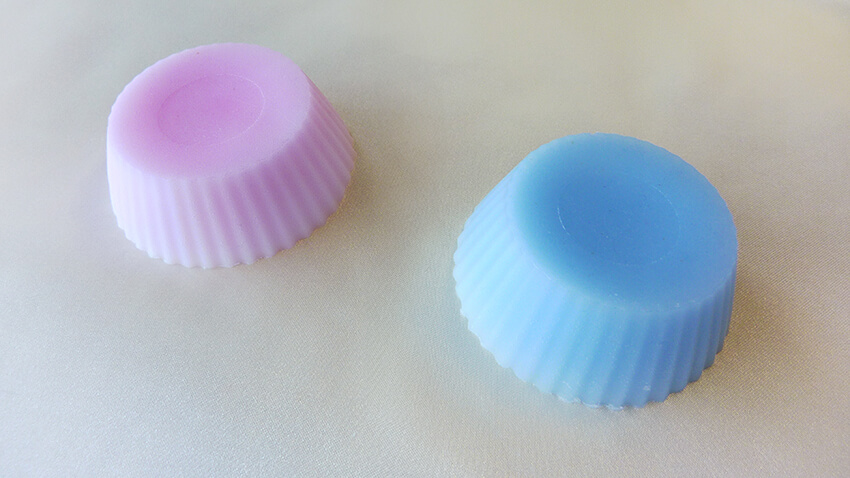
- You can easily make your own colored and scented candles
- This soft candle burns for about 5 hours.
⚠️ Don't leave the burning candle unattended. - Difficulty: Easy
What you will need
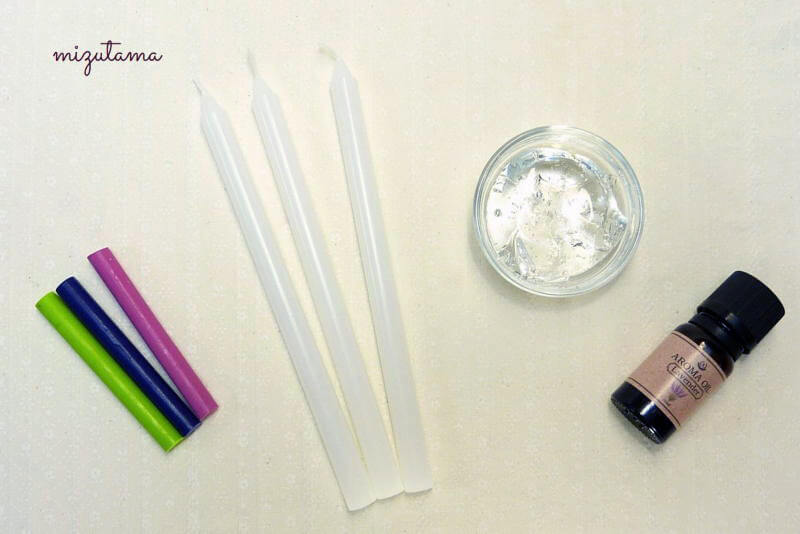
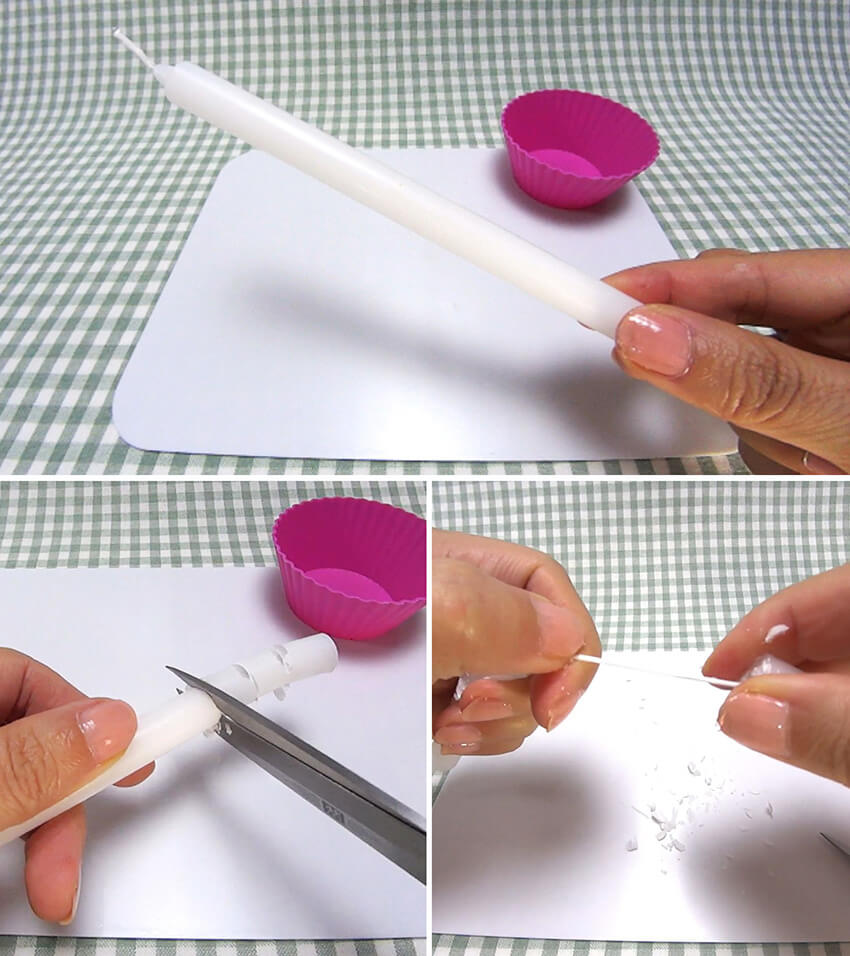
- 24 g (0.85 oz) of white candle (paraffin wax candle)
- 20 g (0.71 oz) Gel candle wax
- Crayon (oil pastel)
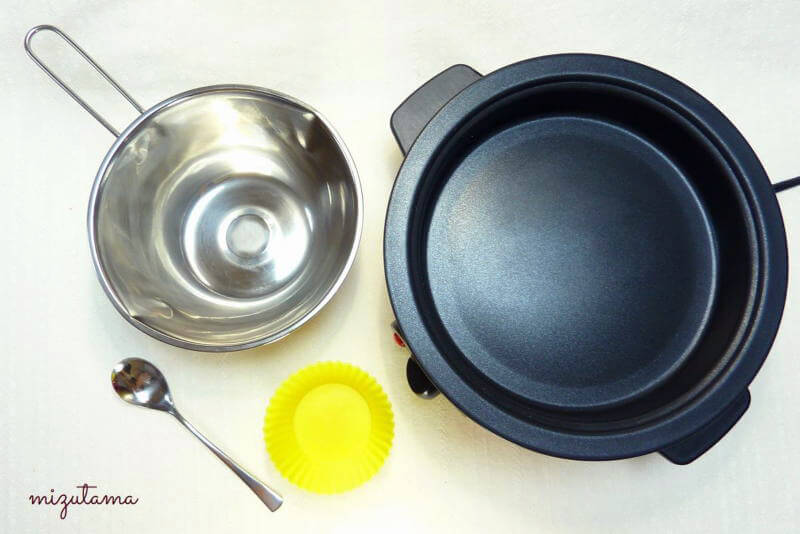
- Stainless steel bowl
- Electric grill pan
Tip: you can also use a induction cooker or double boiler setting - Spoon
- Silicone baking Cup
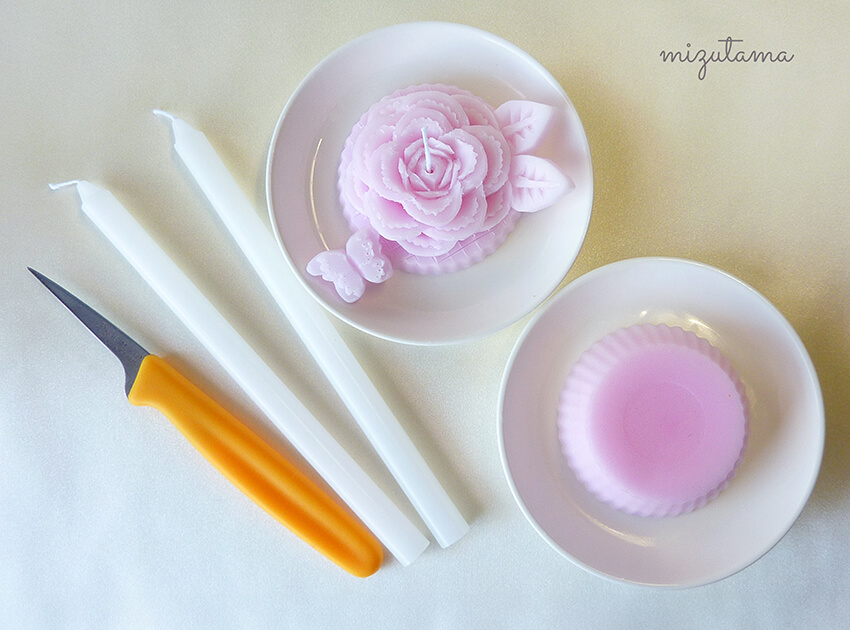
- Awl, skewer or other pointed tool
- Paper towel
Optional
- Fragrance oil
Instruction video
Note: Instructions on how to make candle for carving begin from 0:56.
Instructions
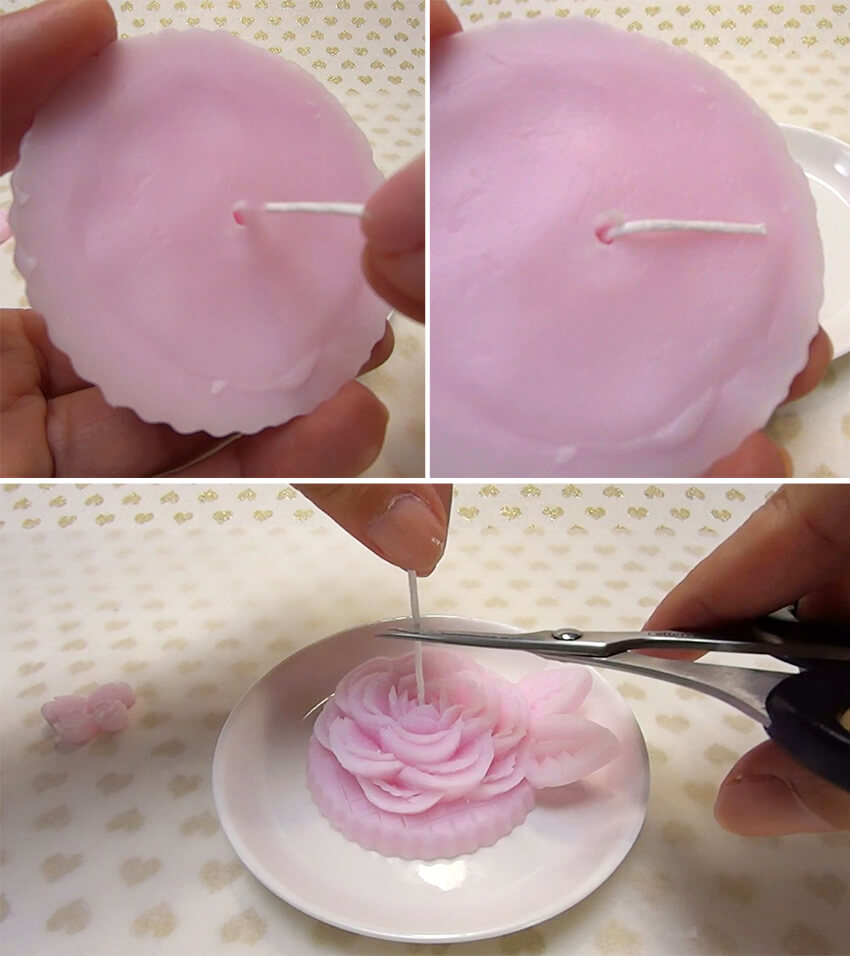
Make sure that you don't cut the wick.
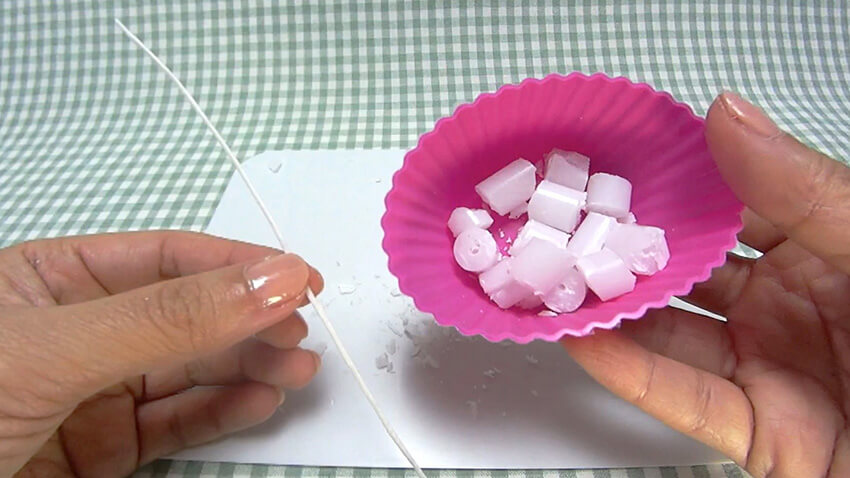
Put 24 g of paraffin wax into the bowl, then melt the paraffin wax at a low to medium temperature.
Alternatively, you can melt the wax using a double boiler.
⚠️: Don't place the bowl directly on fire.

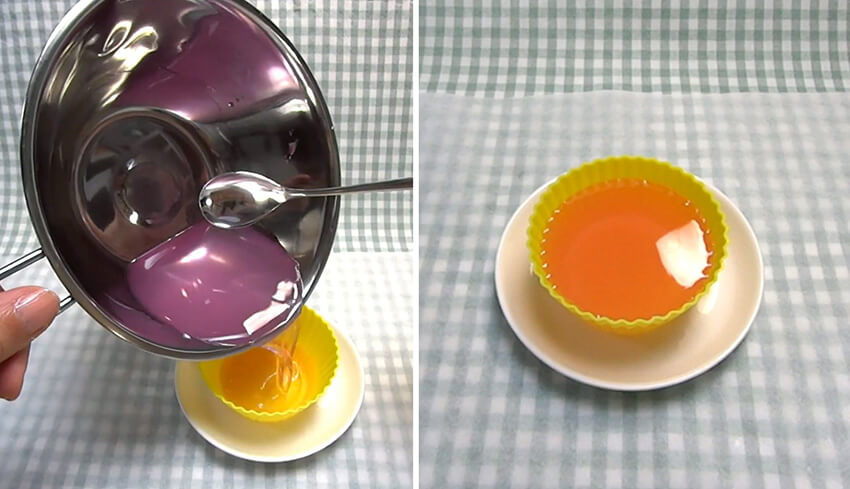
Melt the gel candle wax at a low to medium temperature.
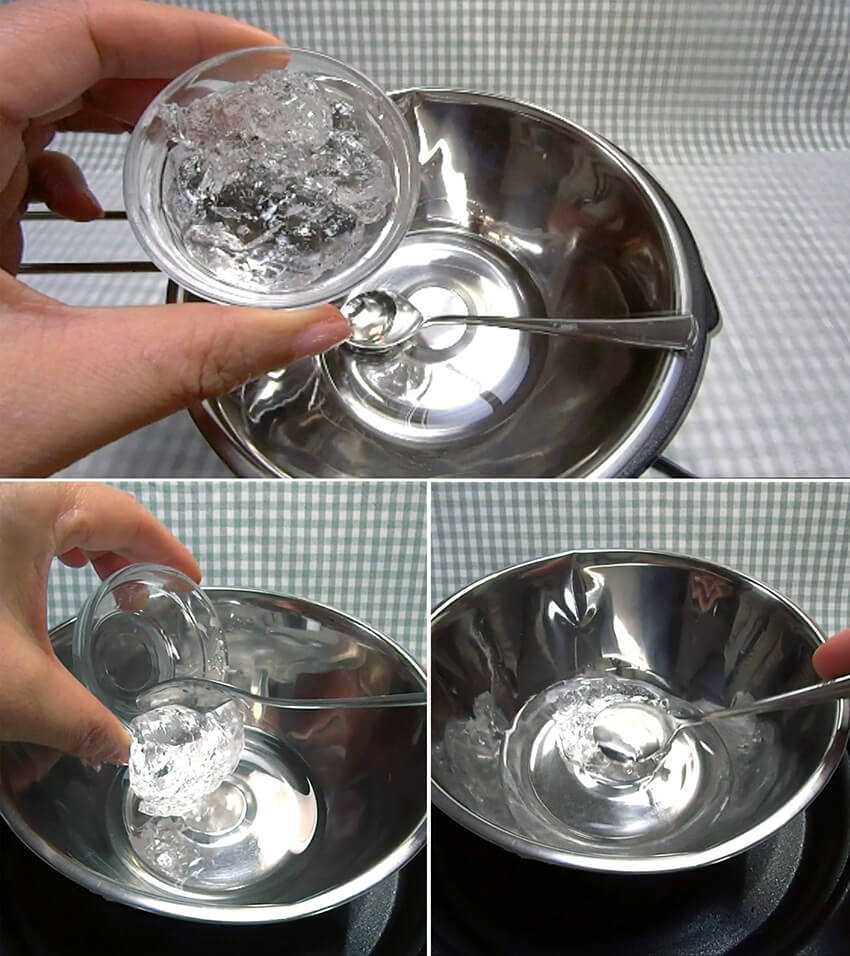
Stir well to mix.
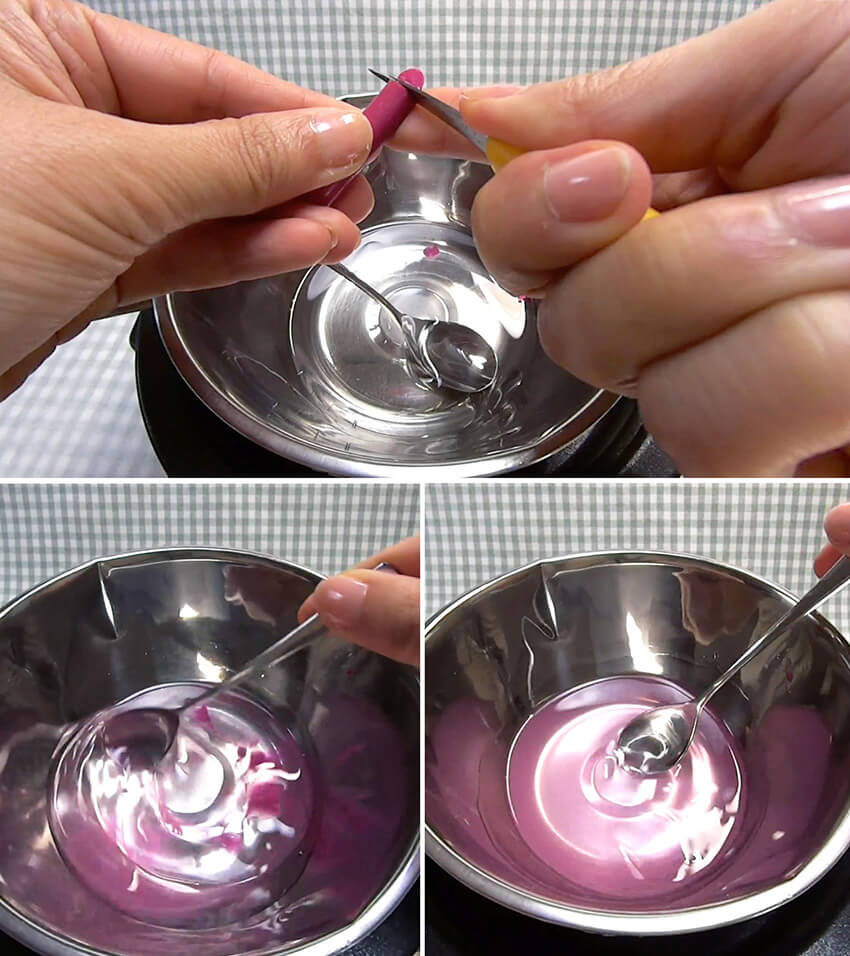
Then add a few drops of fragrance oil to the wax (optionally).

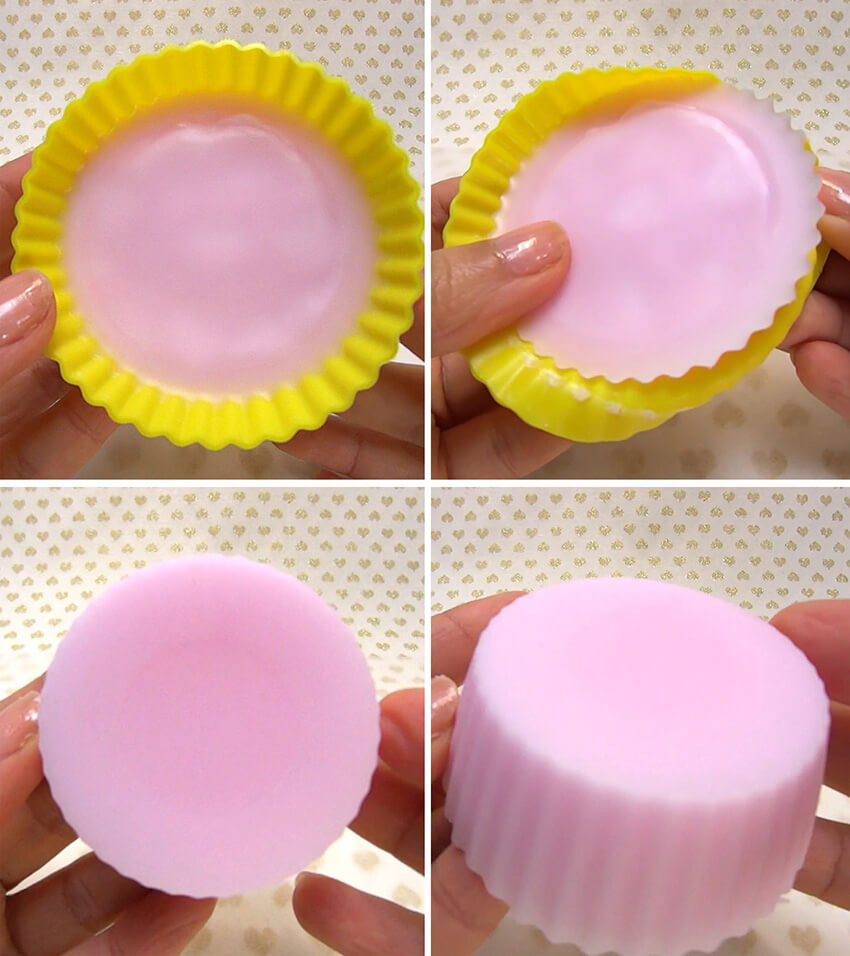
Let it cool down and set at least 12 hours at room temperature before you carve it.
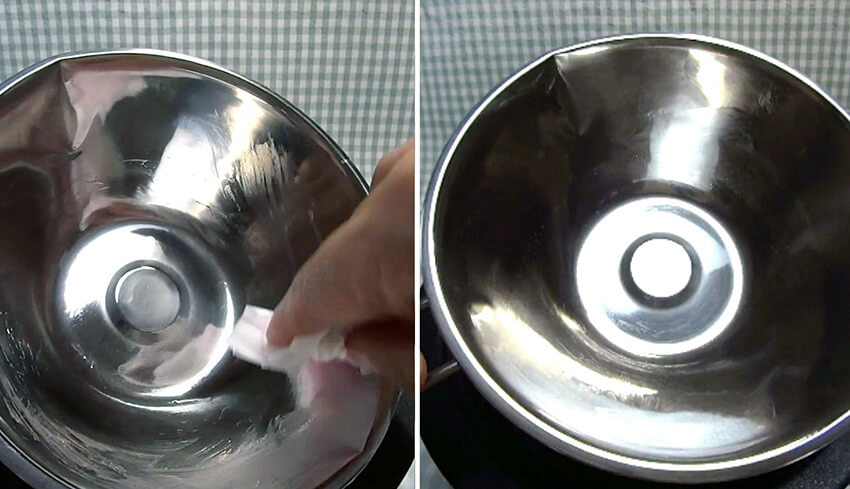
Tip: Don't wash the bowl with water because the wax does not dissolve in water.
Tip: You should add the wick to your candle after you carve it.