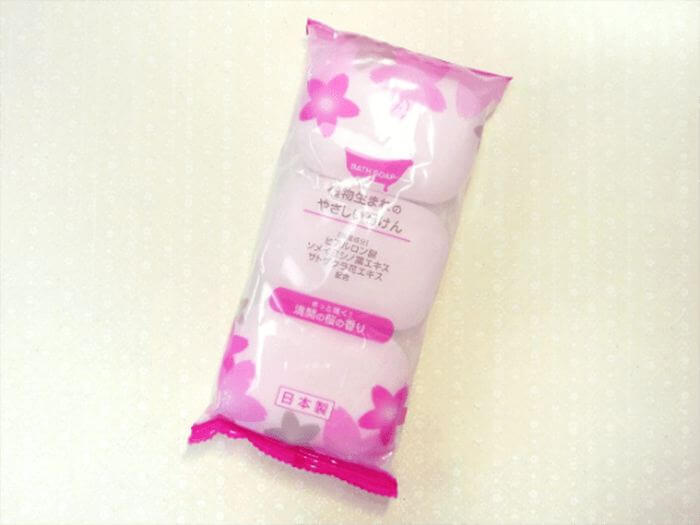
Size: 7.5 cm (3") x 5.5 cm (2-1/8") x 2.3 cm (7/8")
Weight: 80 g (3 oz)
🎞️
Instruction video
❔
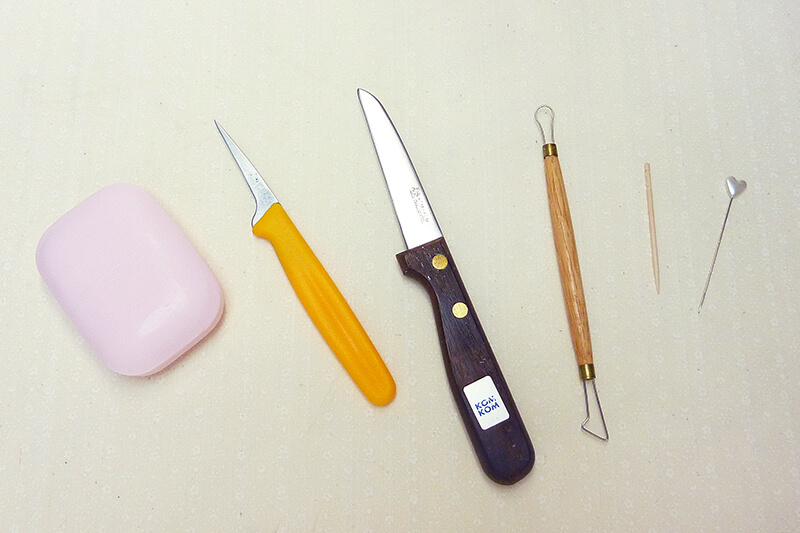
Instructions
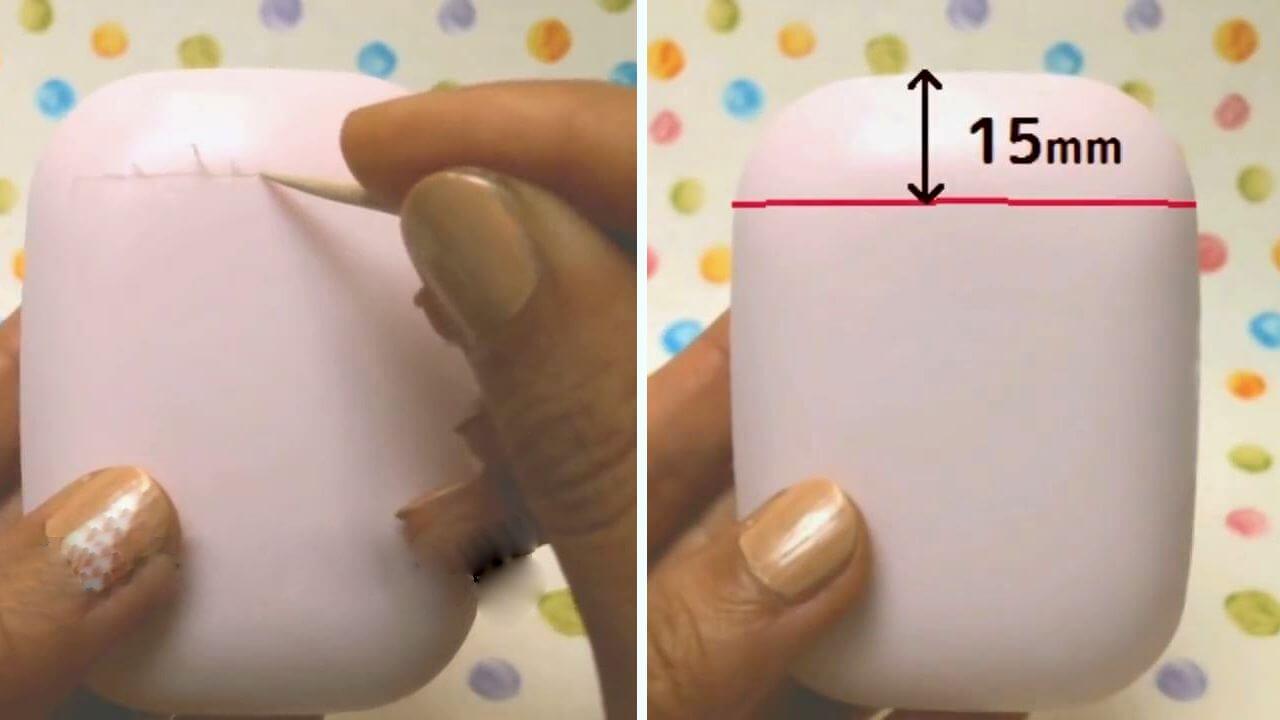
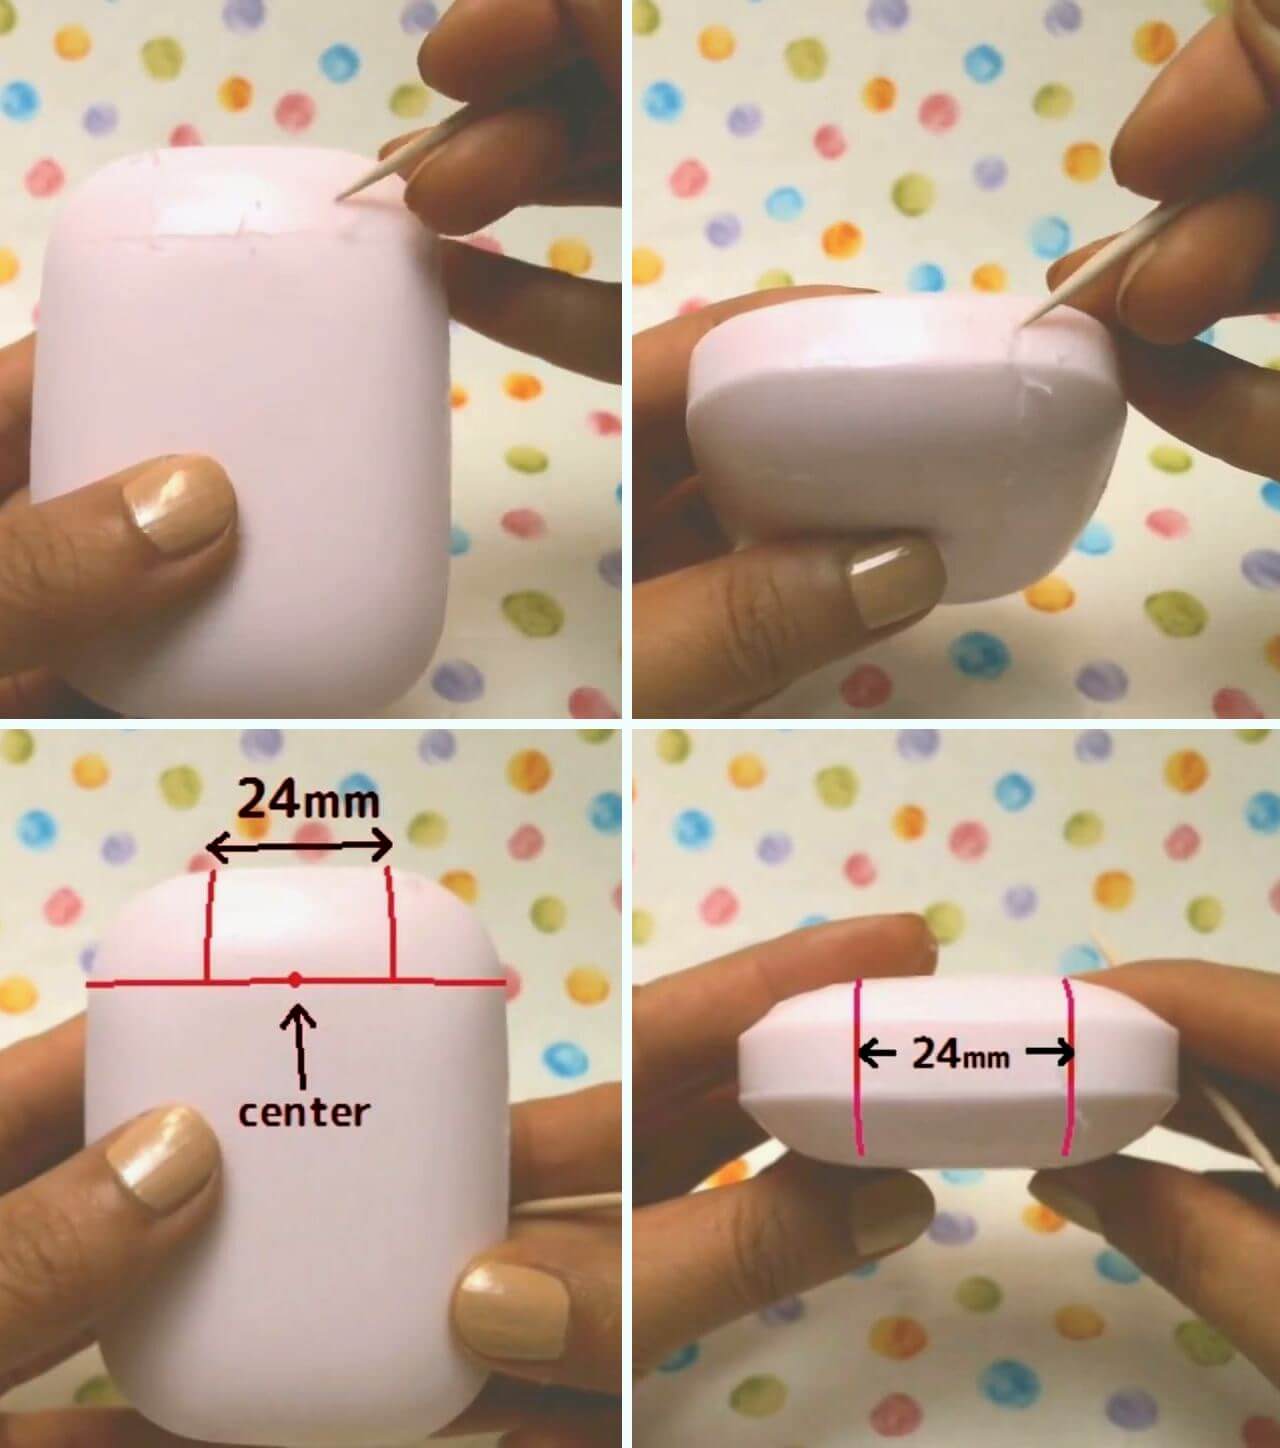
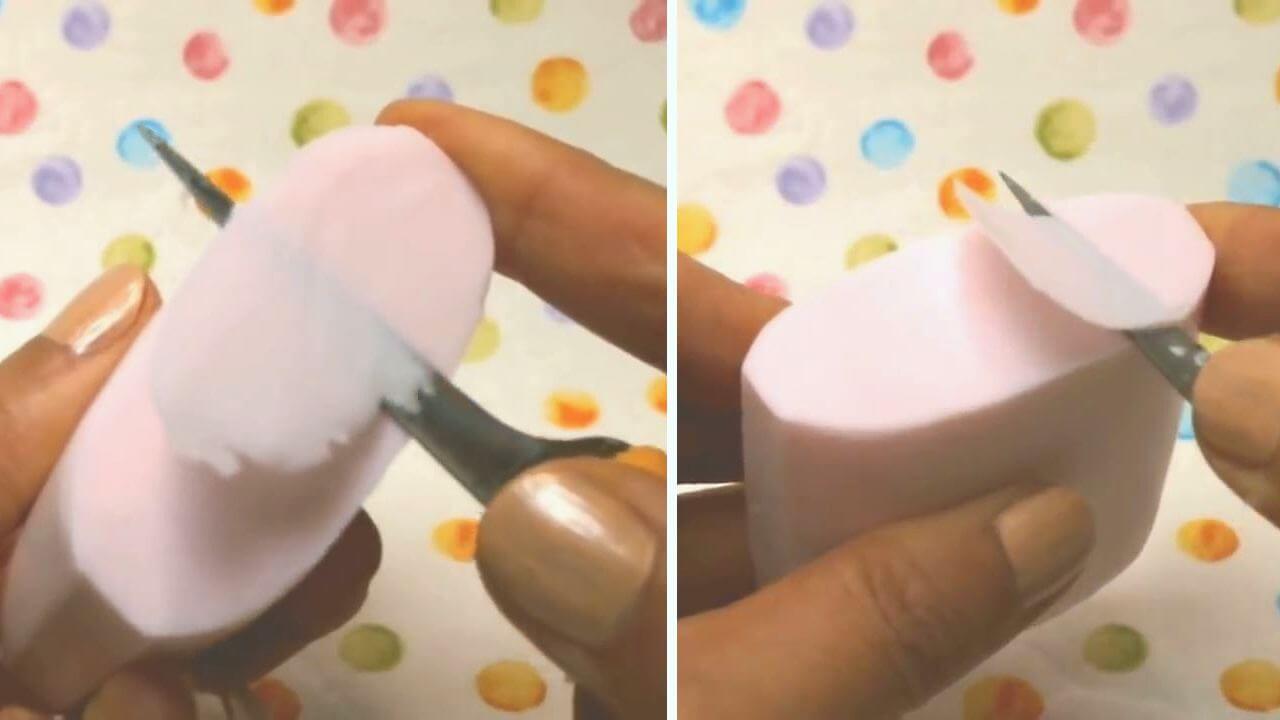
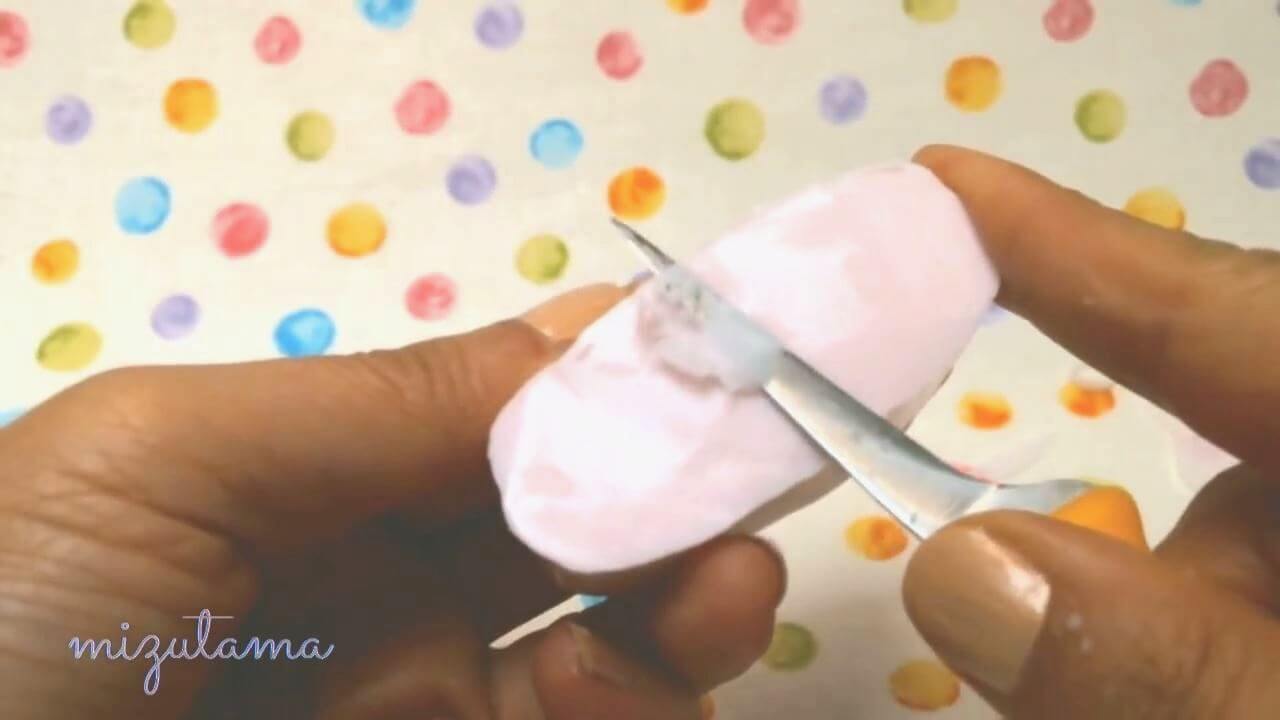
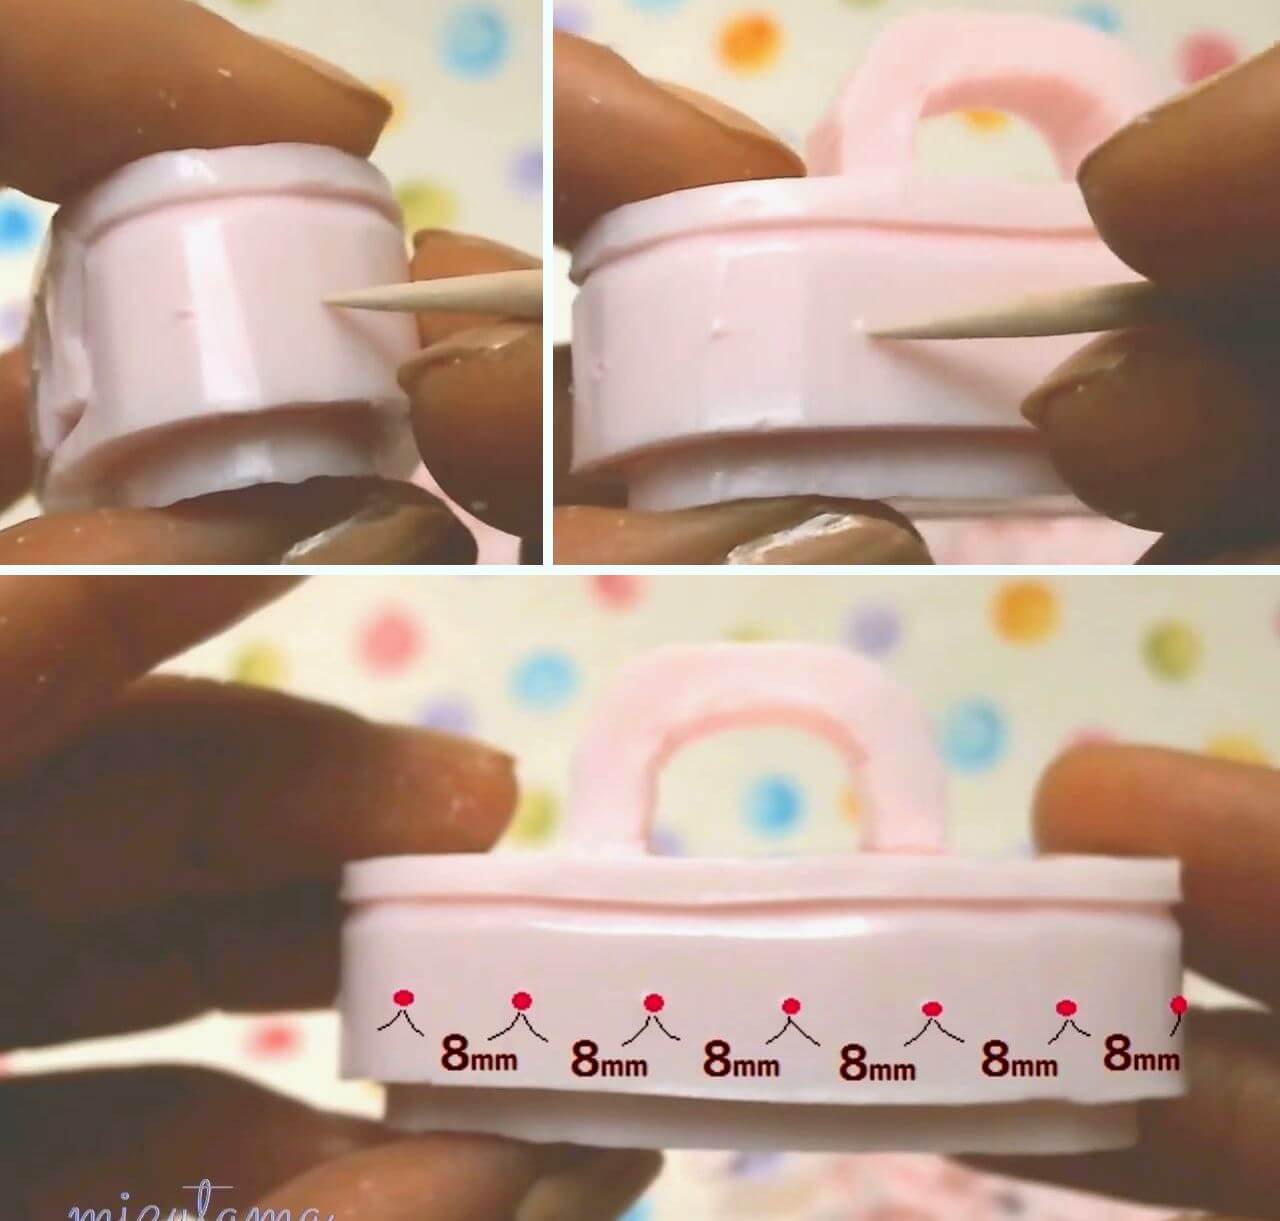
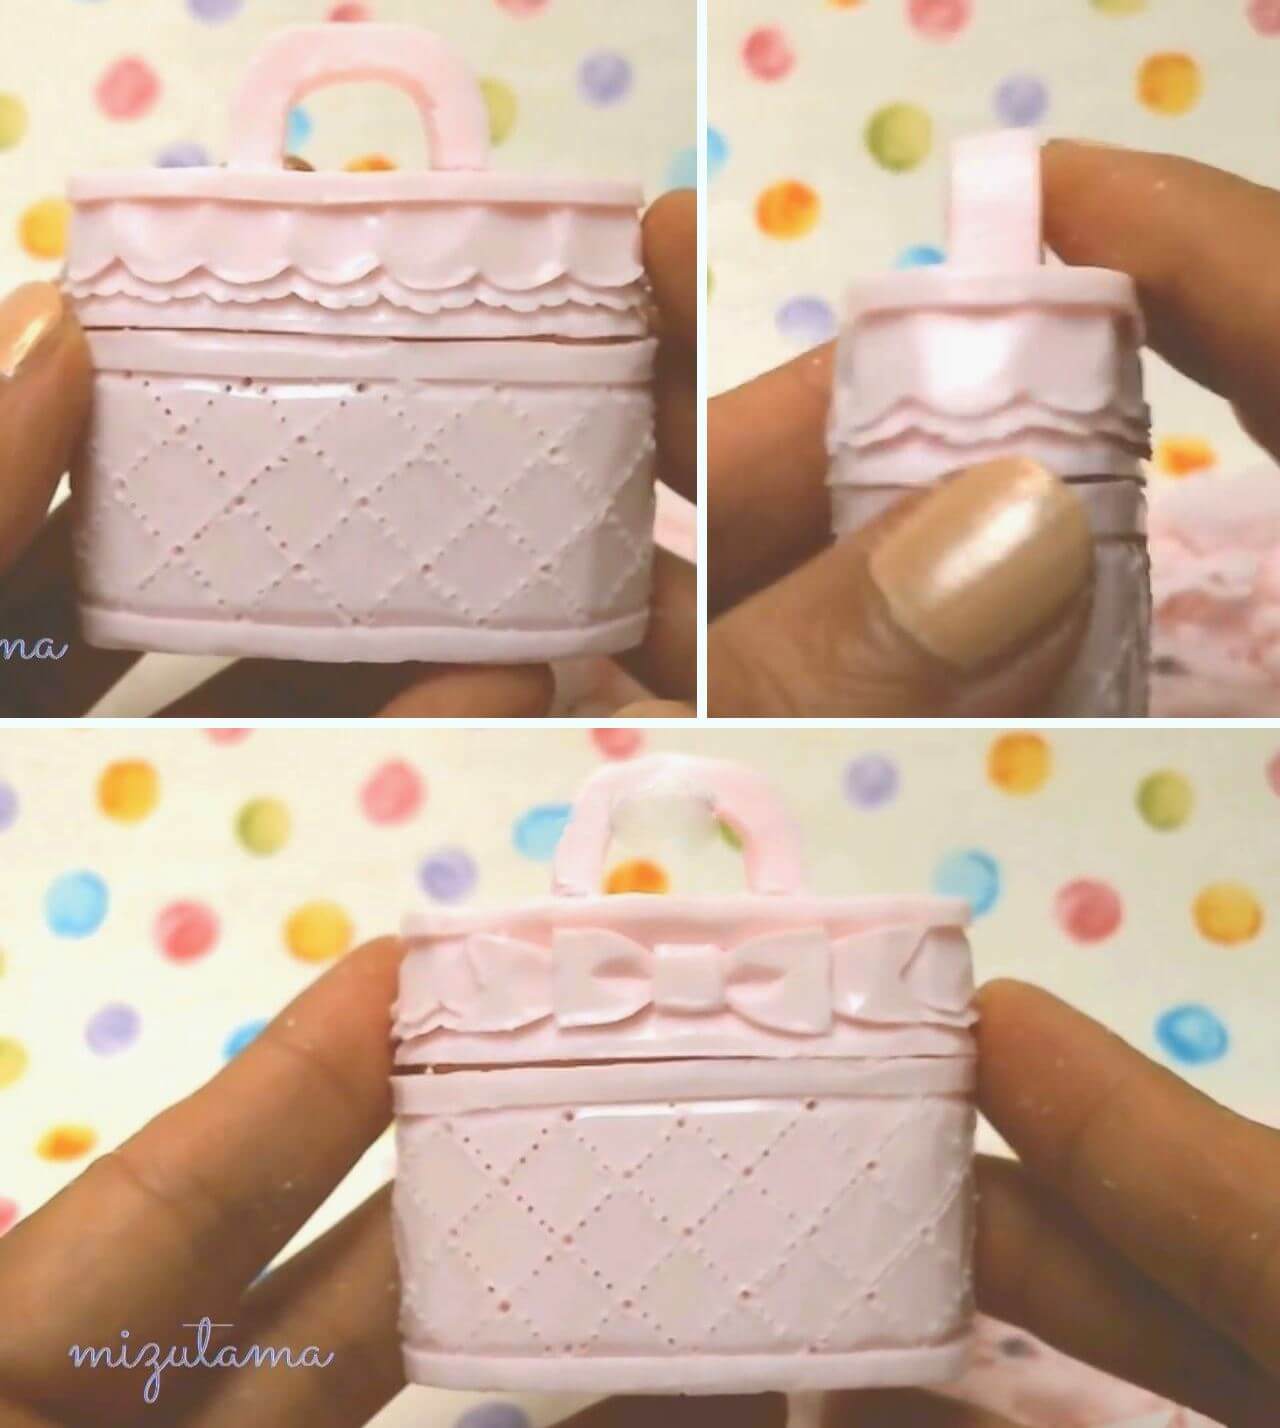
1. Draw a line with a toothpick as shown. Do it for two sides.
2. Draw two lines at right angles to the previous lines as shown.
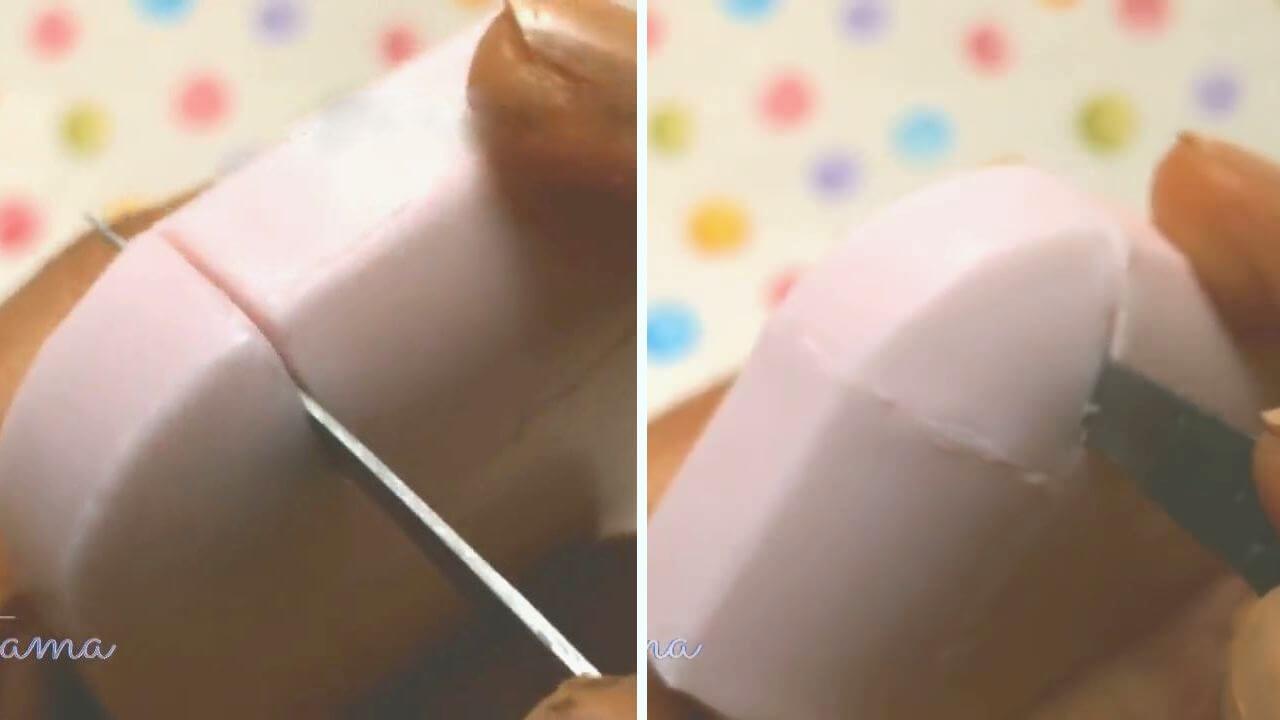
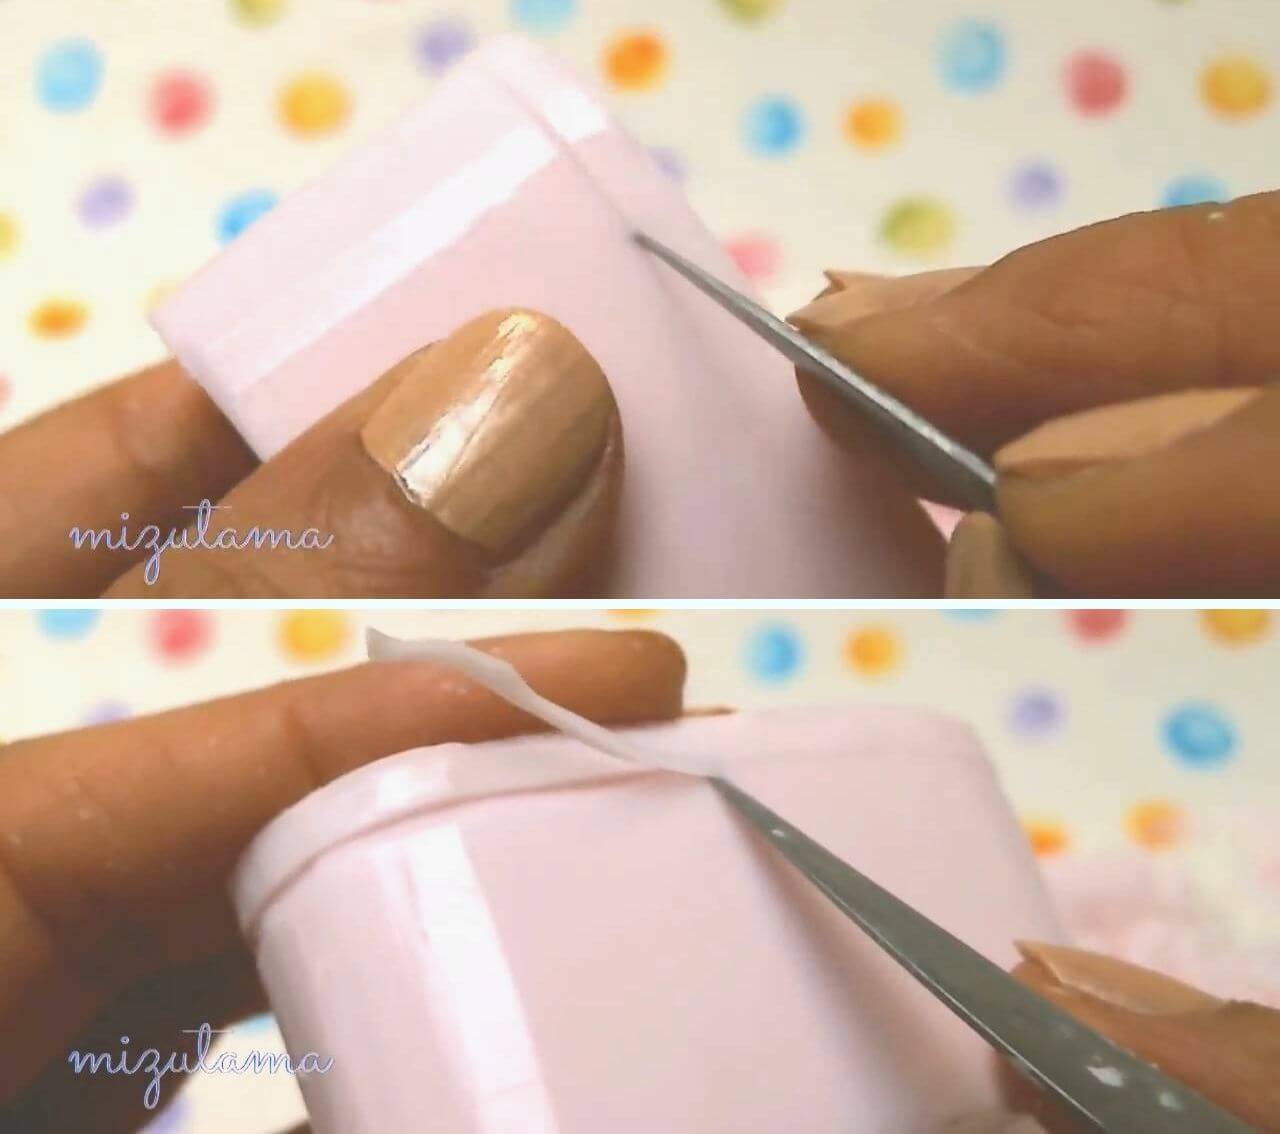
3. Cut the side chunks of the soap along the lines.
4. Cut the soap at sides.
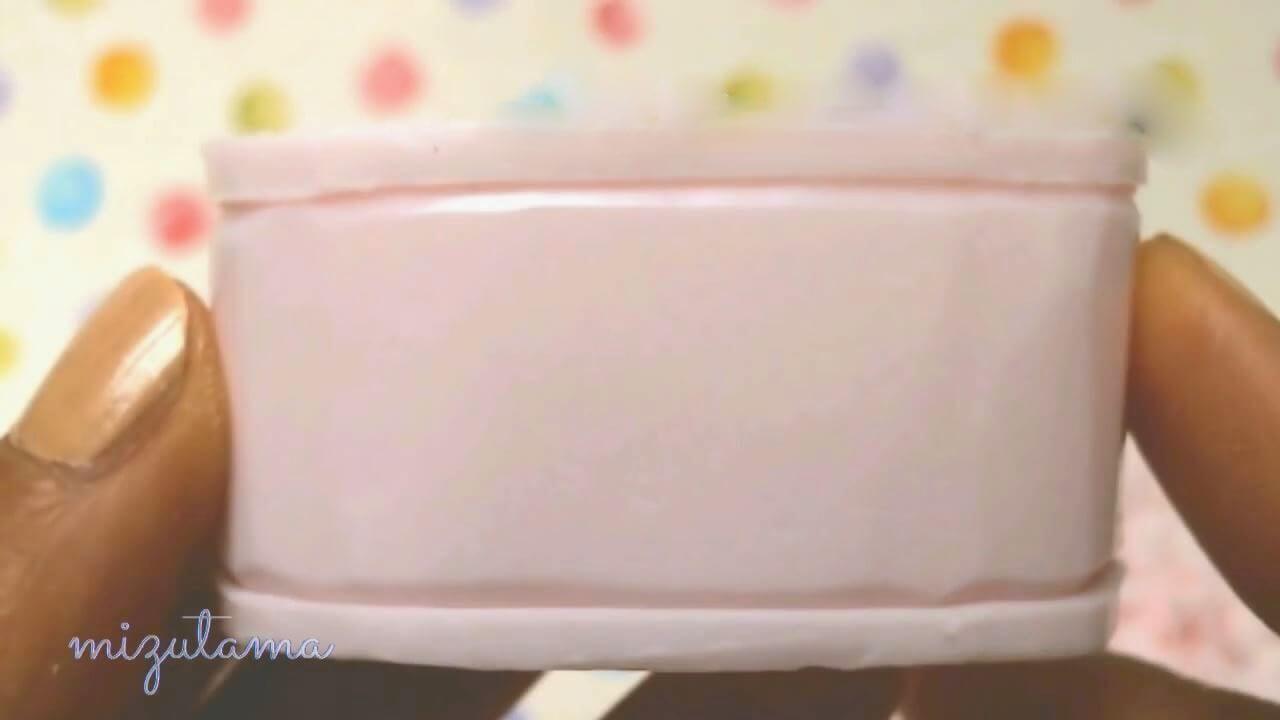
5. Smooth the soap when needed.
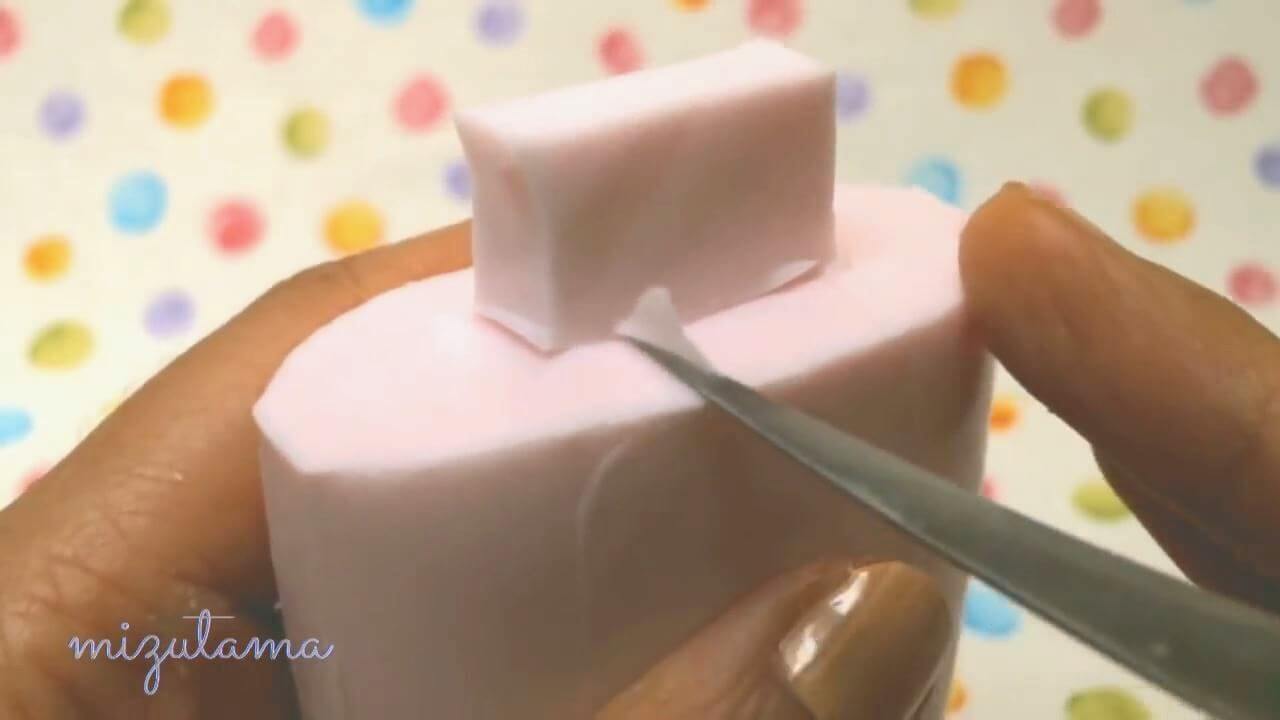
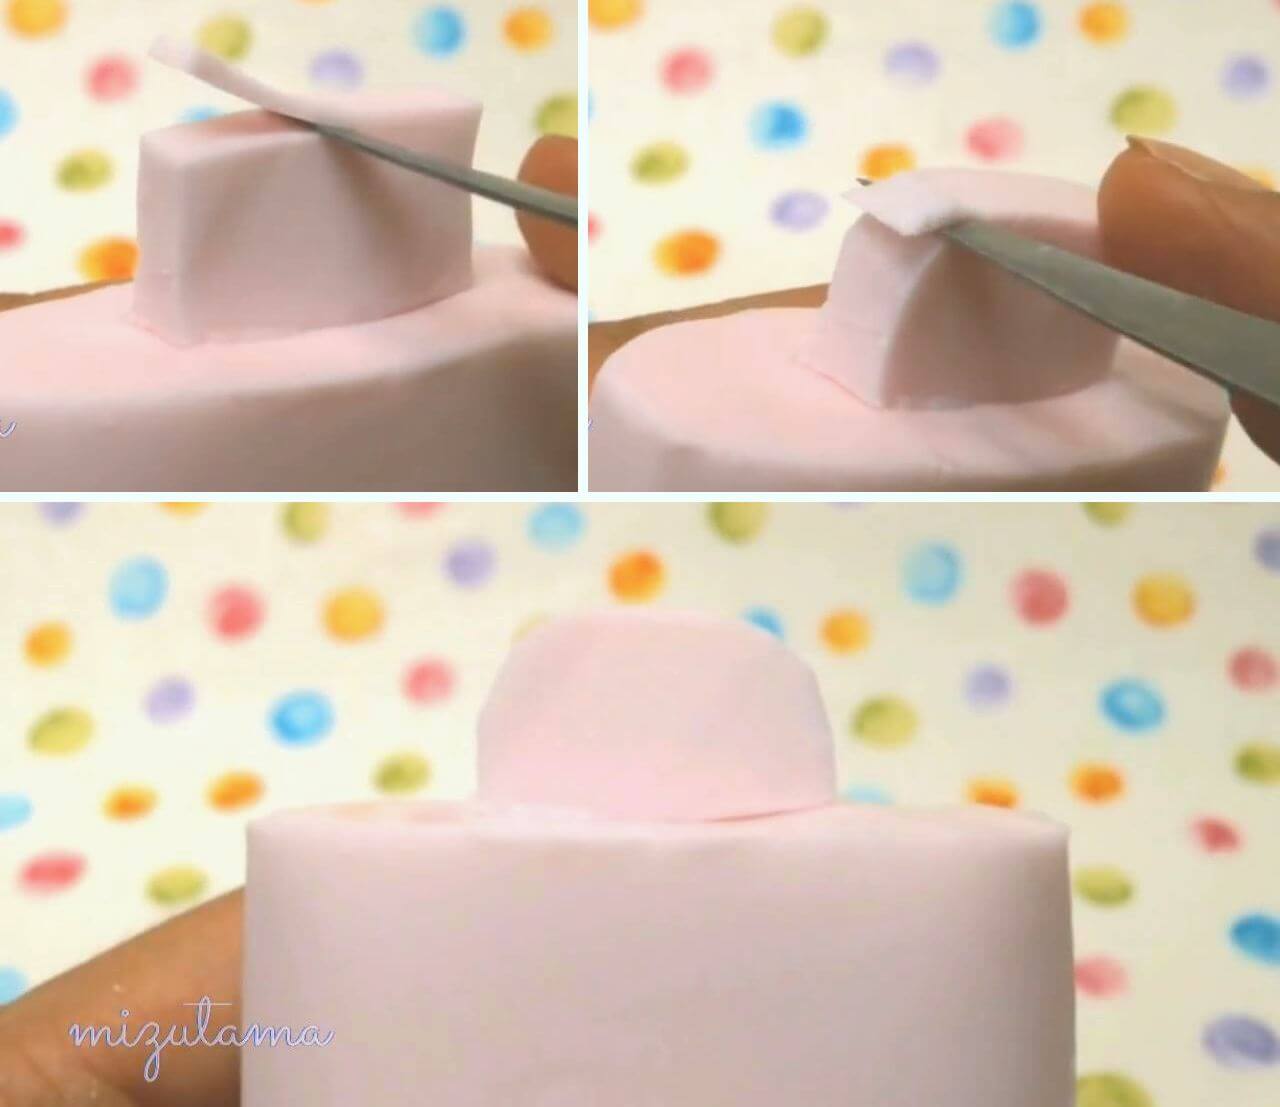
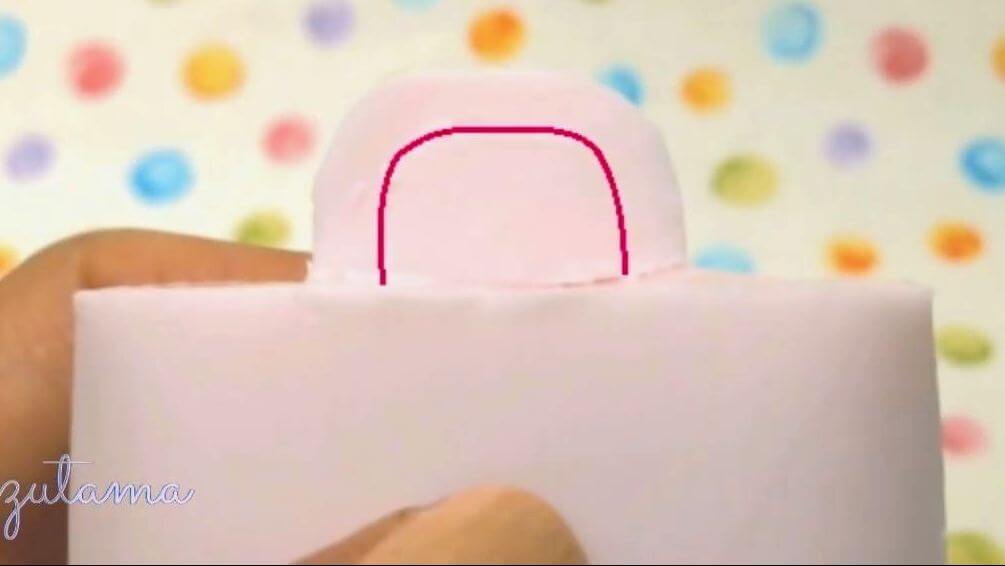
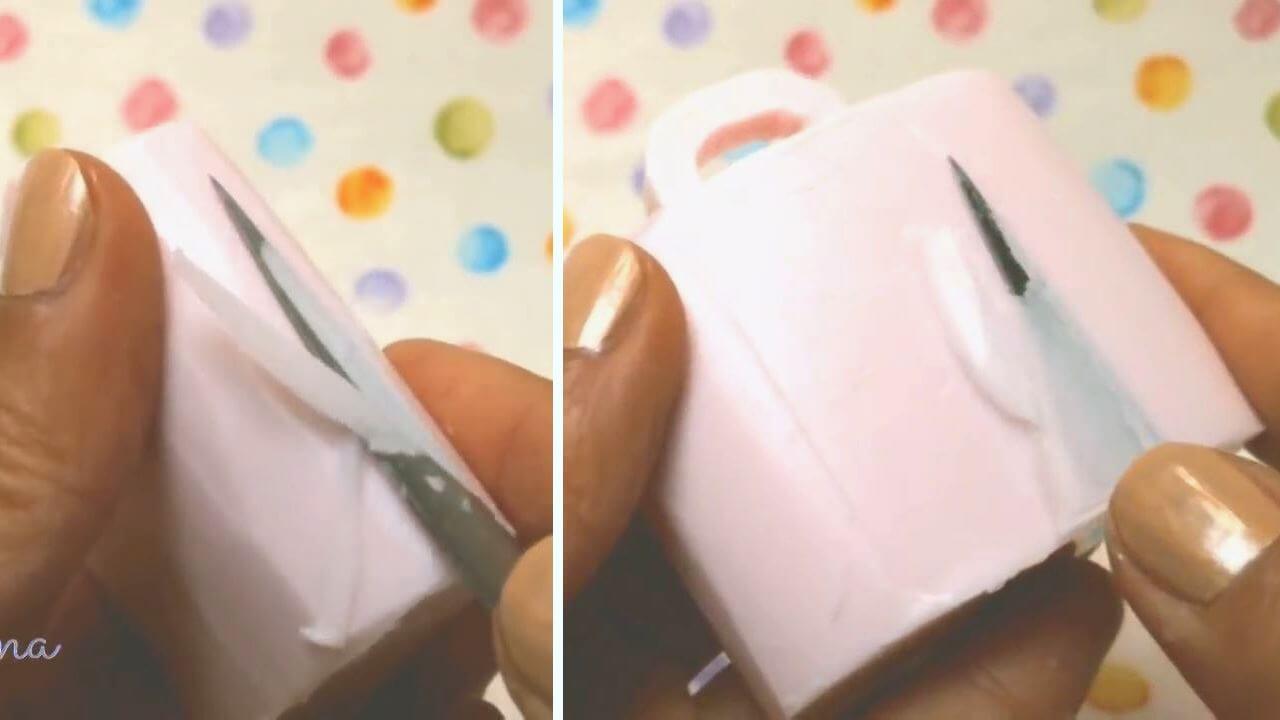
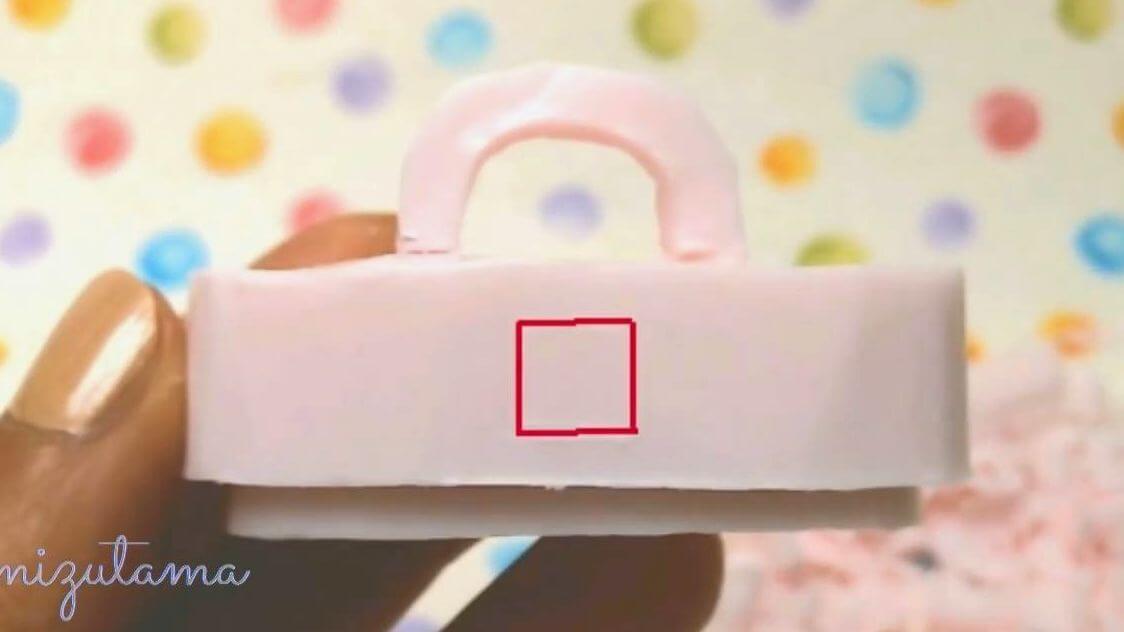
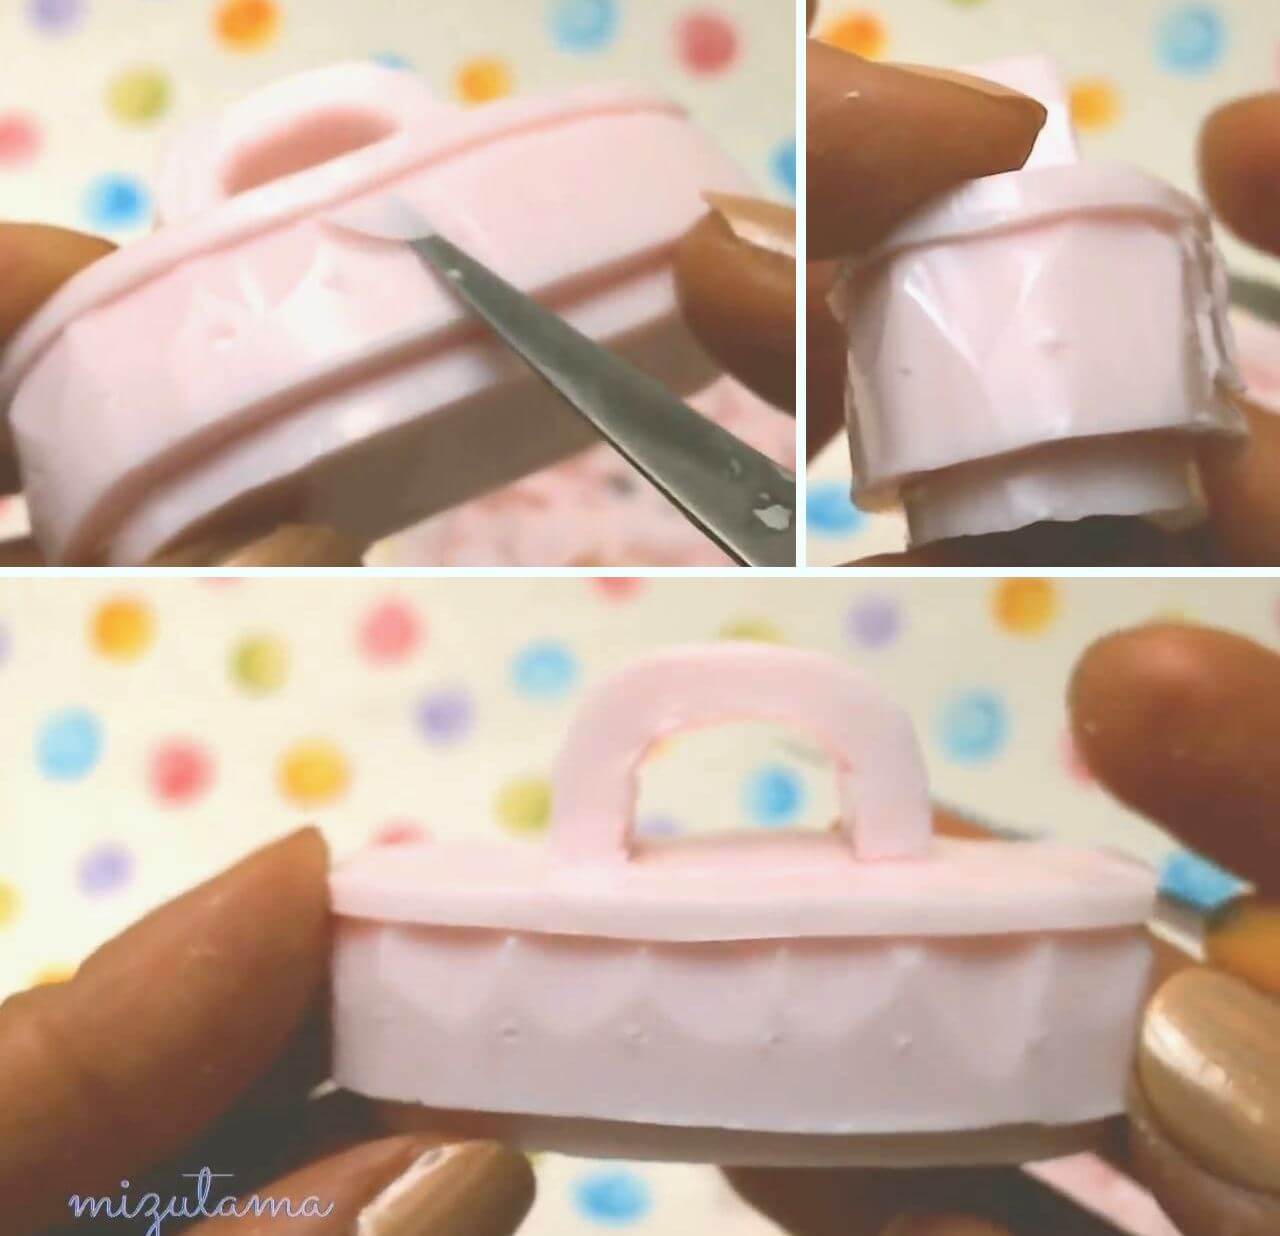
6. Carve a handle.
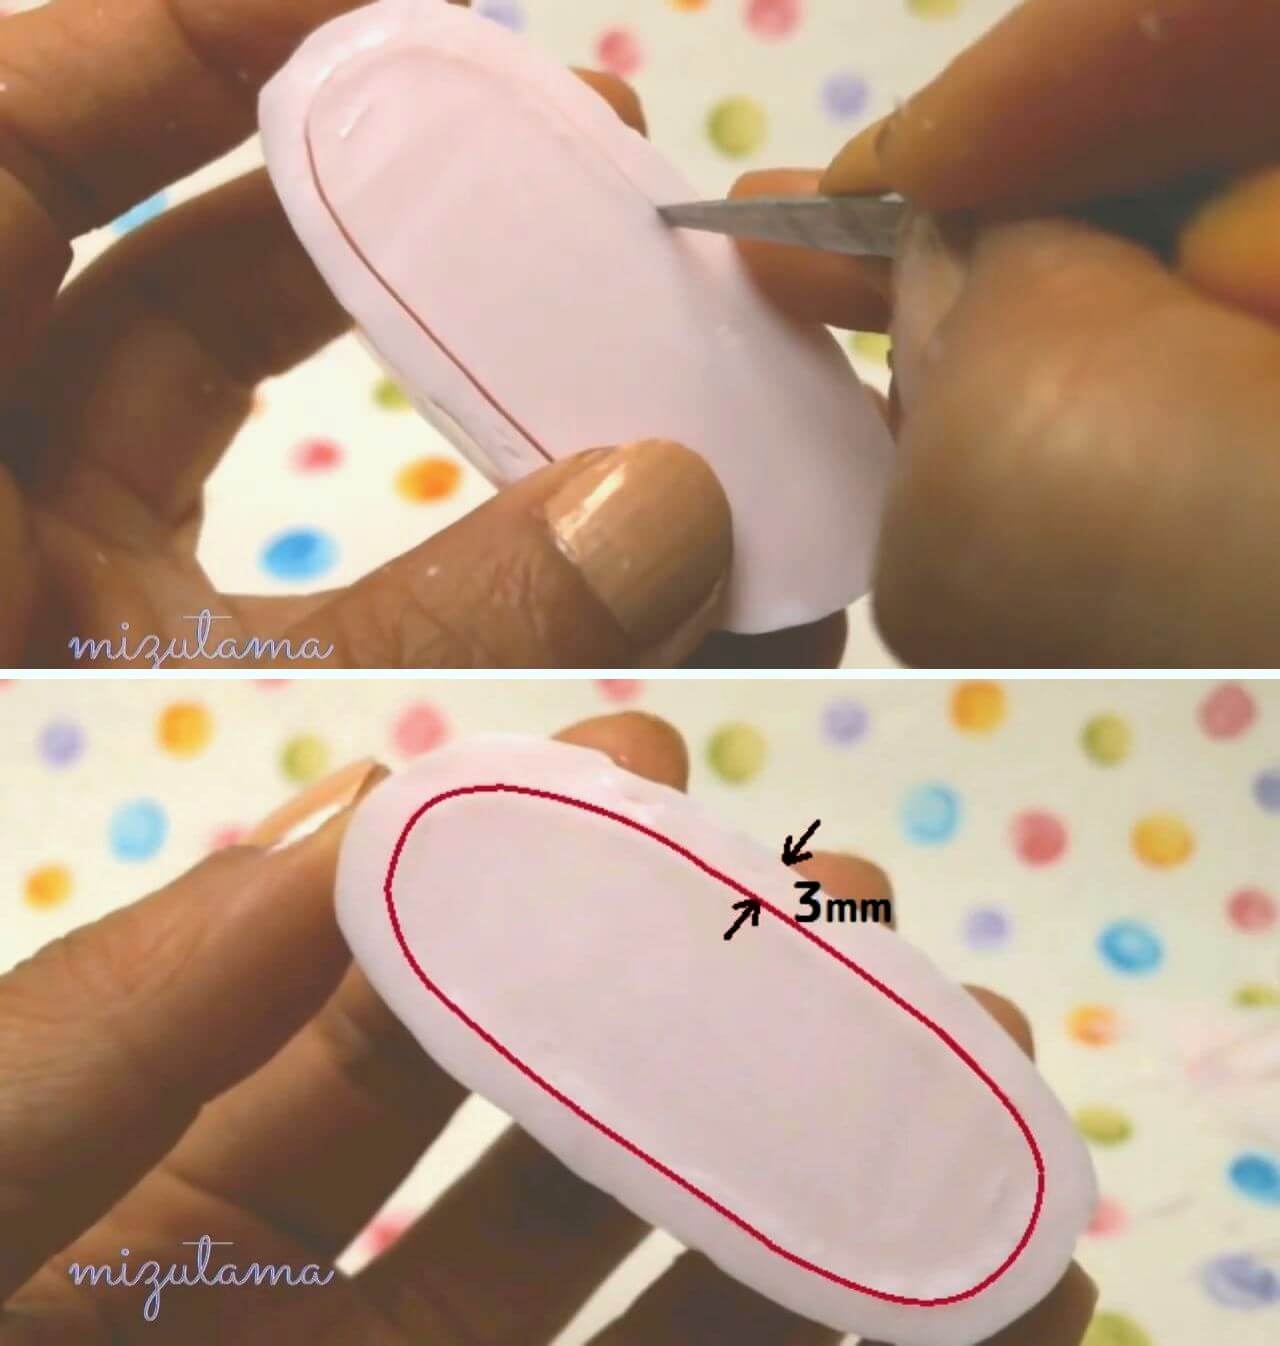
7. Draw a line for a space between the handle and the lid.
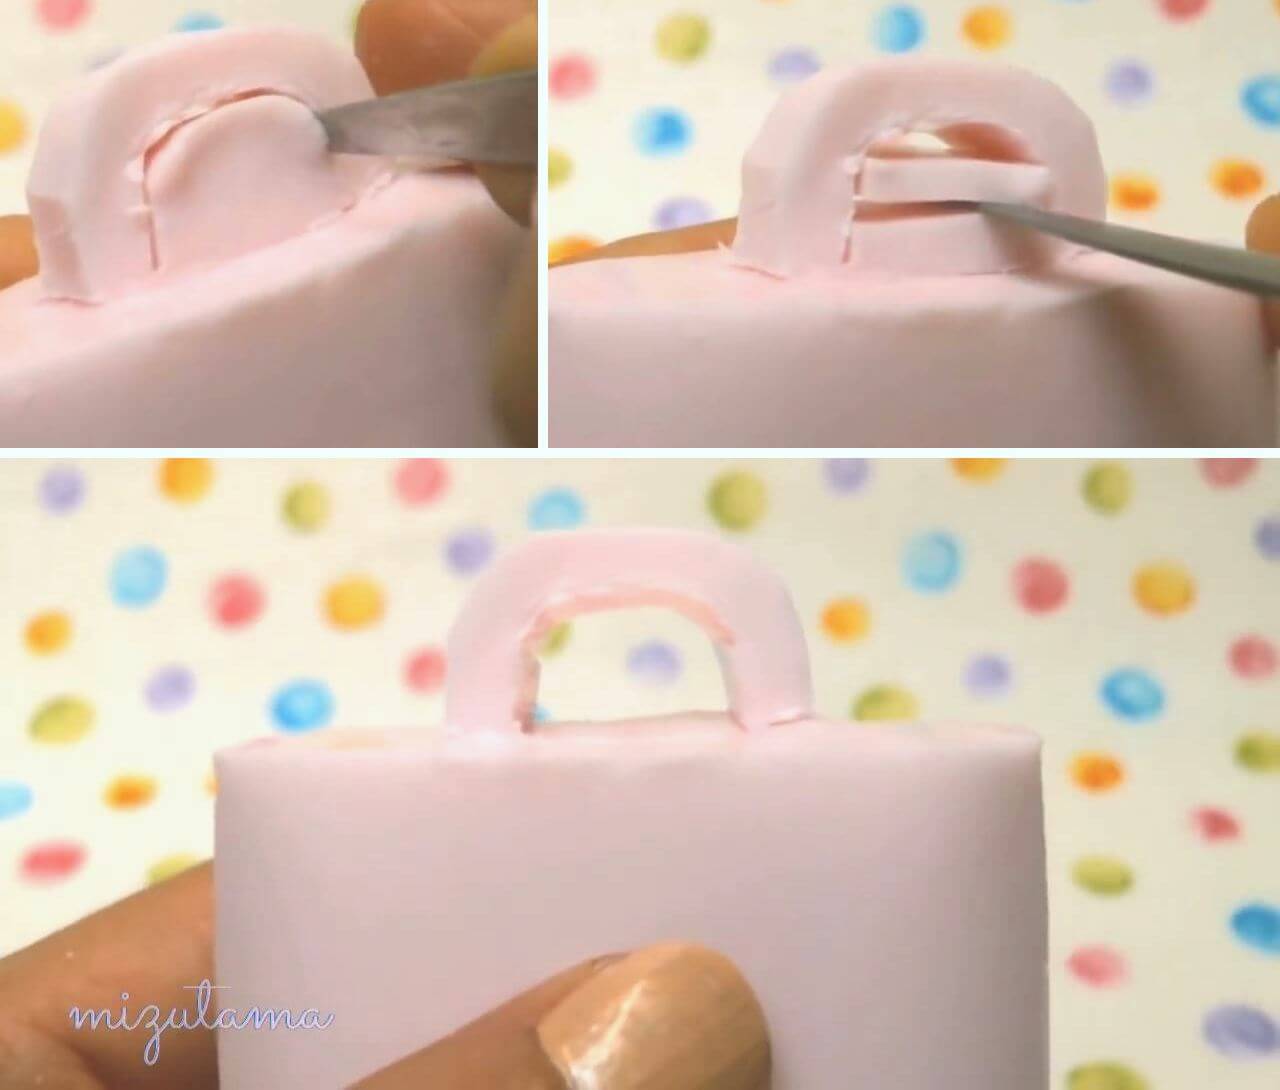
8. Cut out the soap along previously drawn outline.
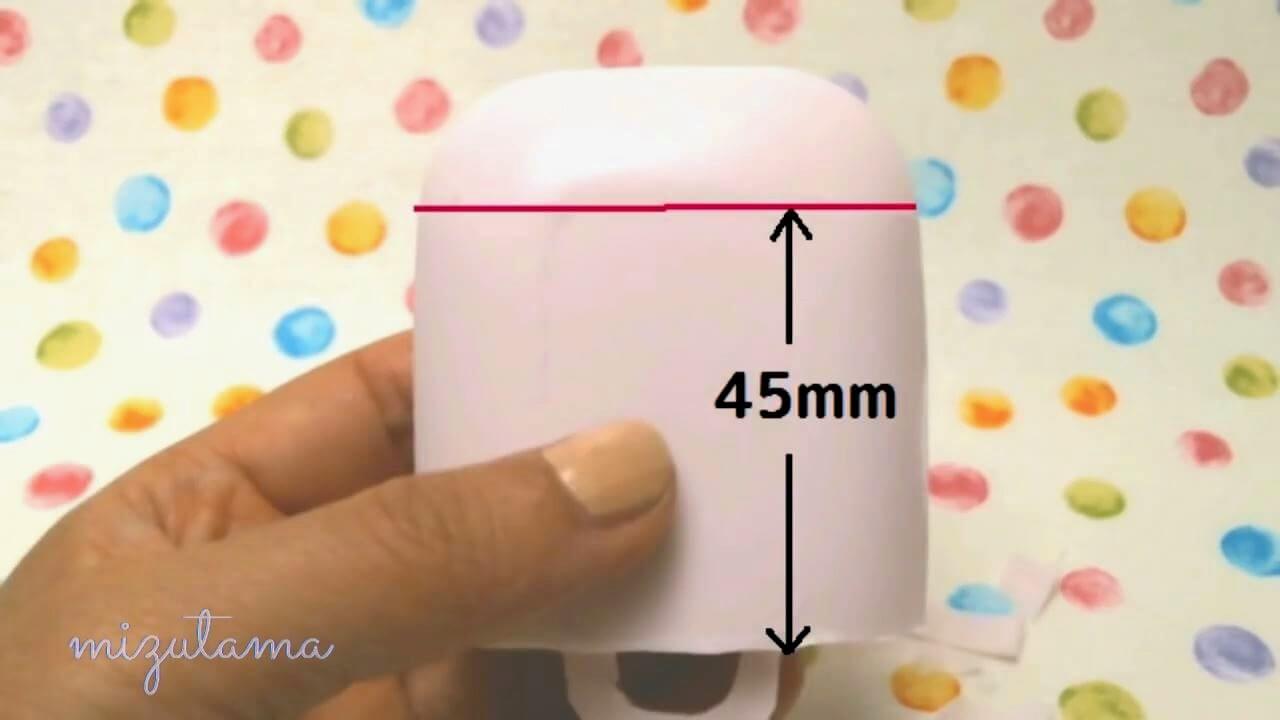
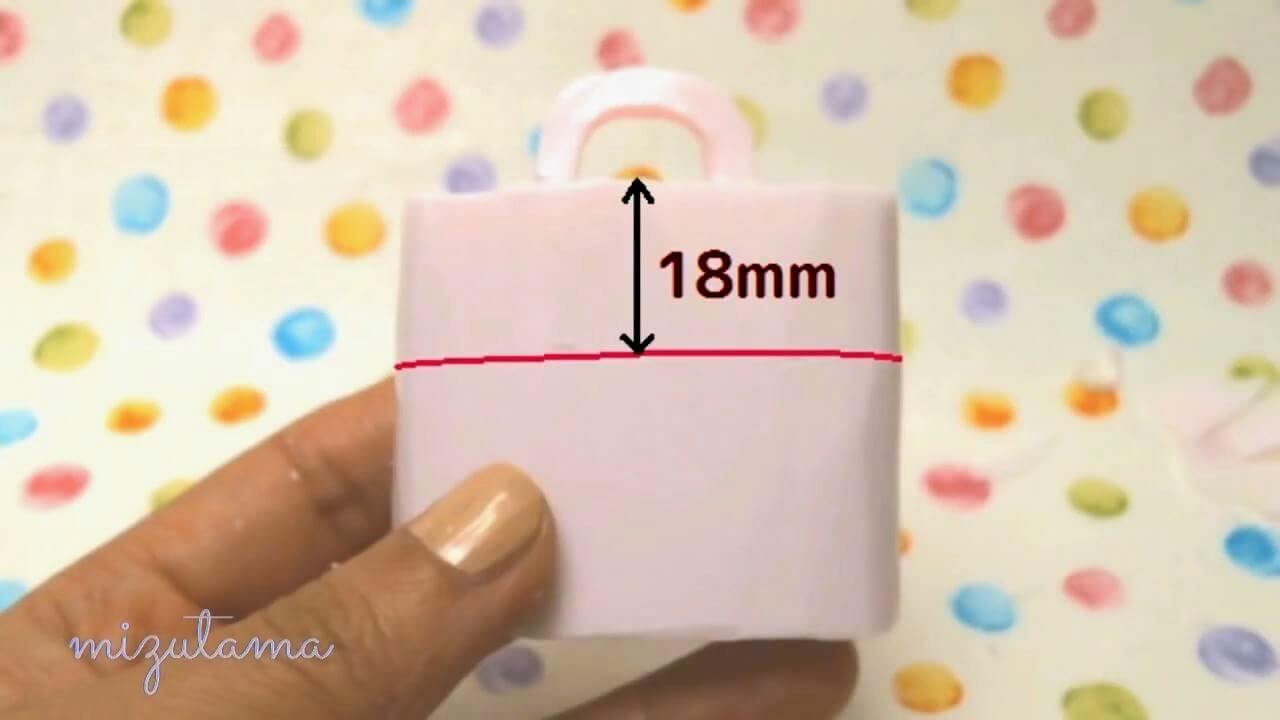
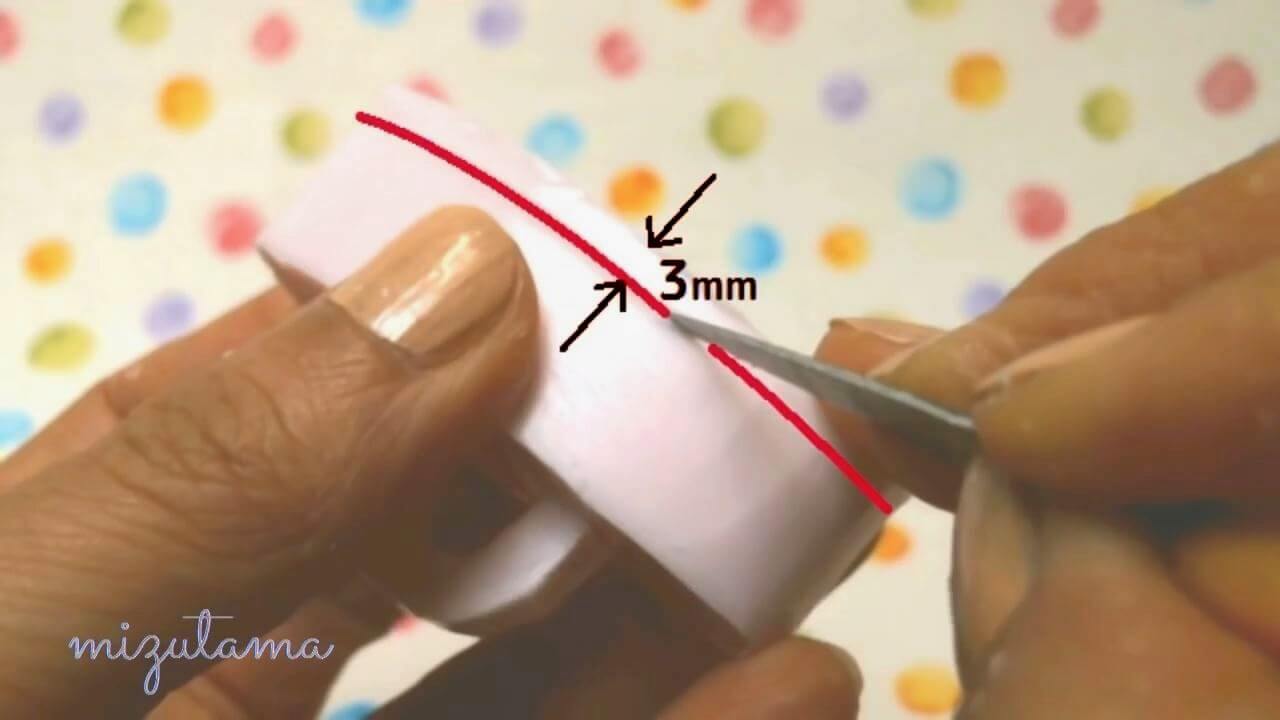
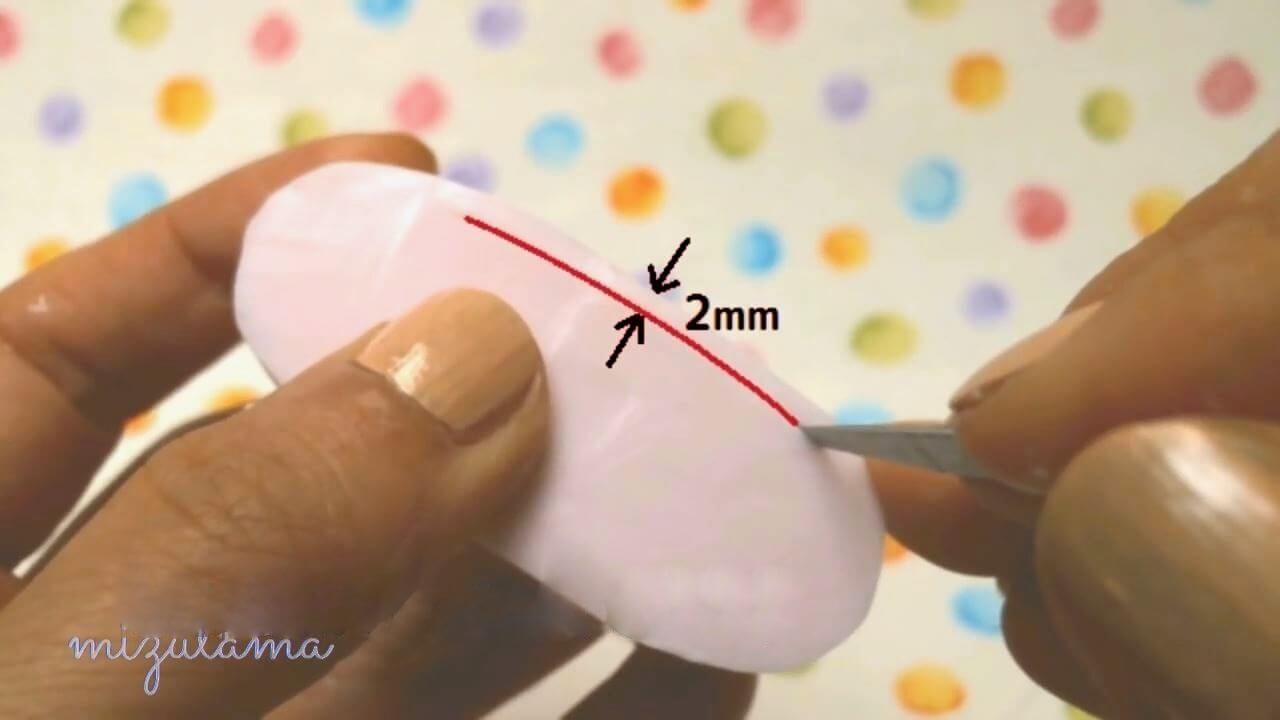
9. Draw a line as shown.
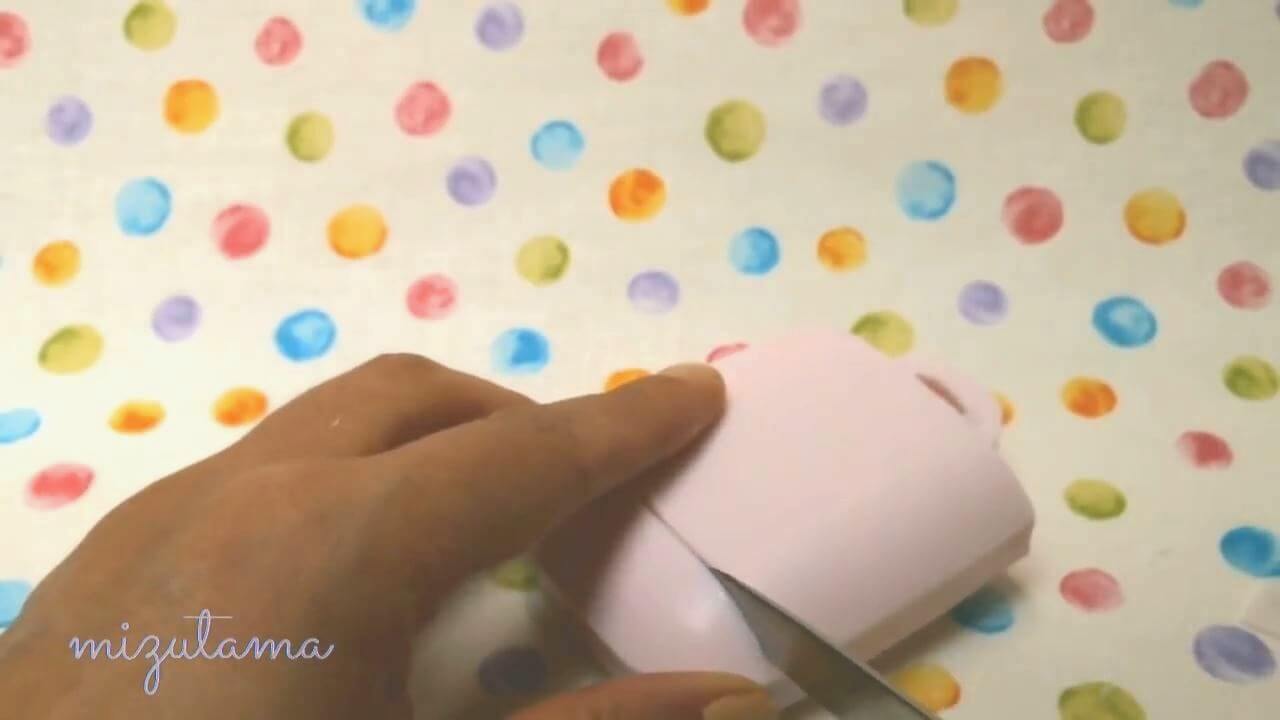
10. Cut your soap along the line with a paring knife.
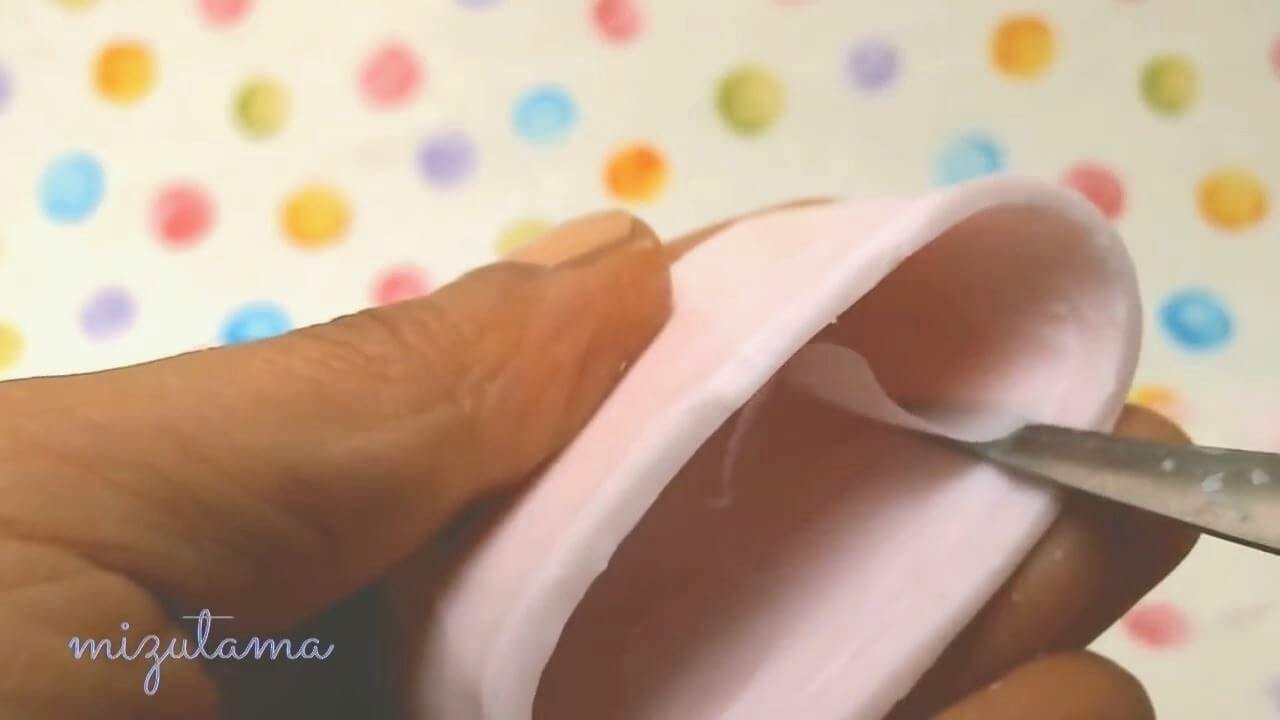
11. Smooth the bottom of the bag.
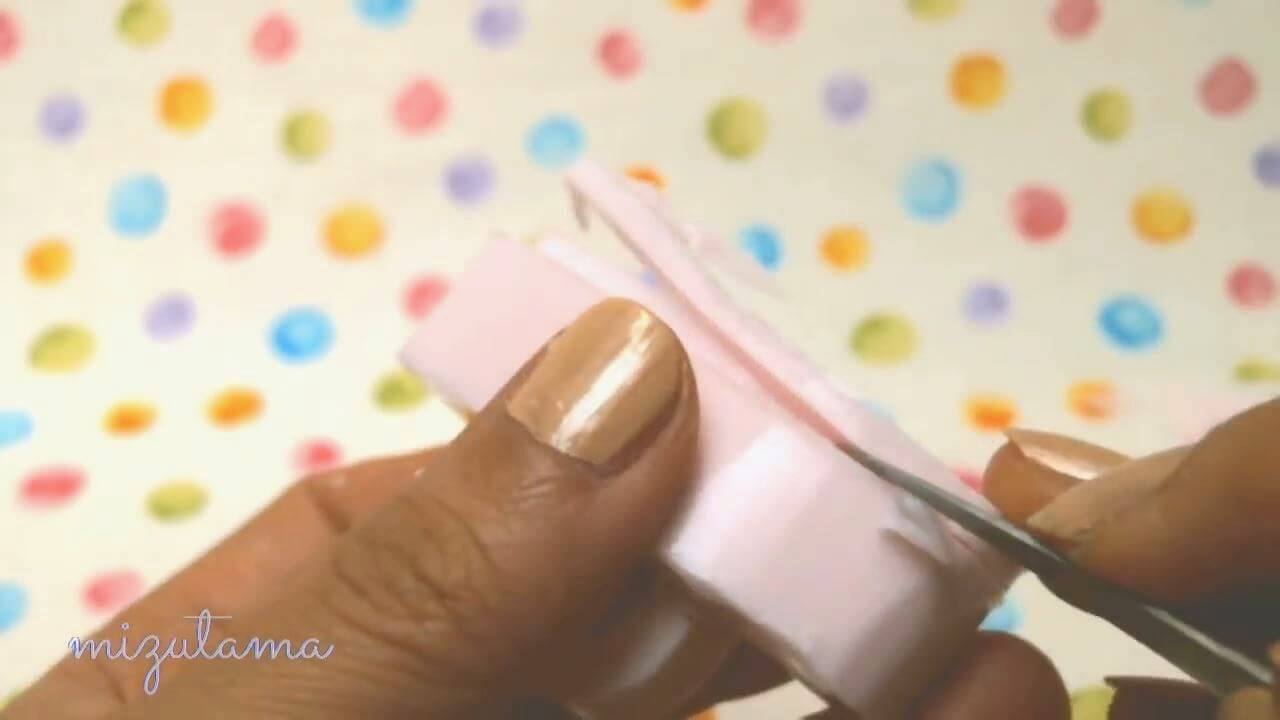
12. Slice off the side of the bag to create a smooth surface.
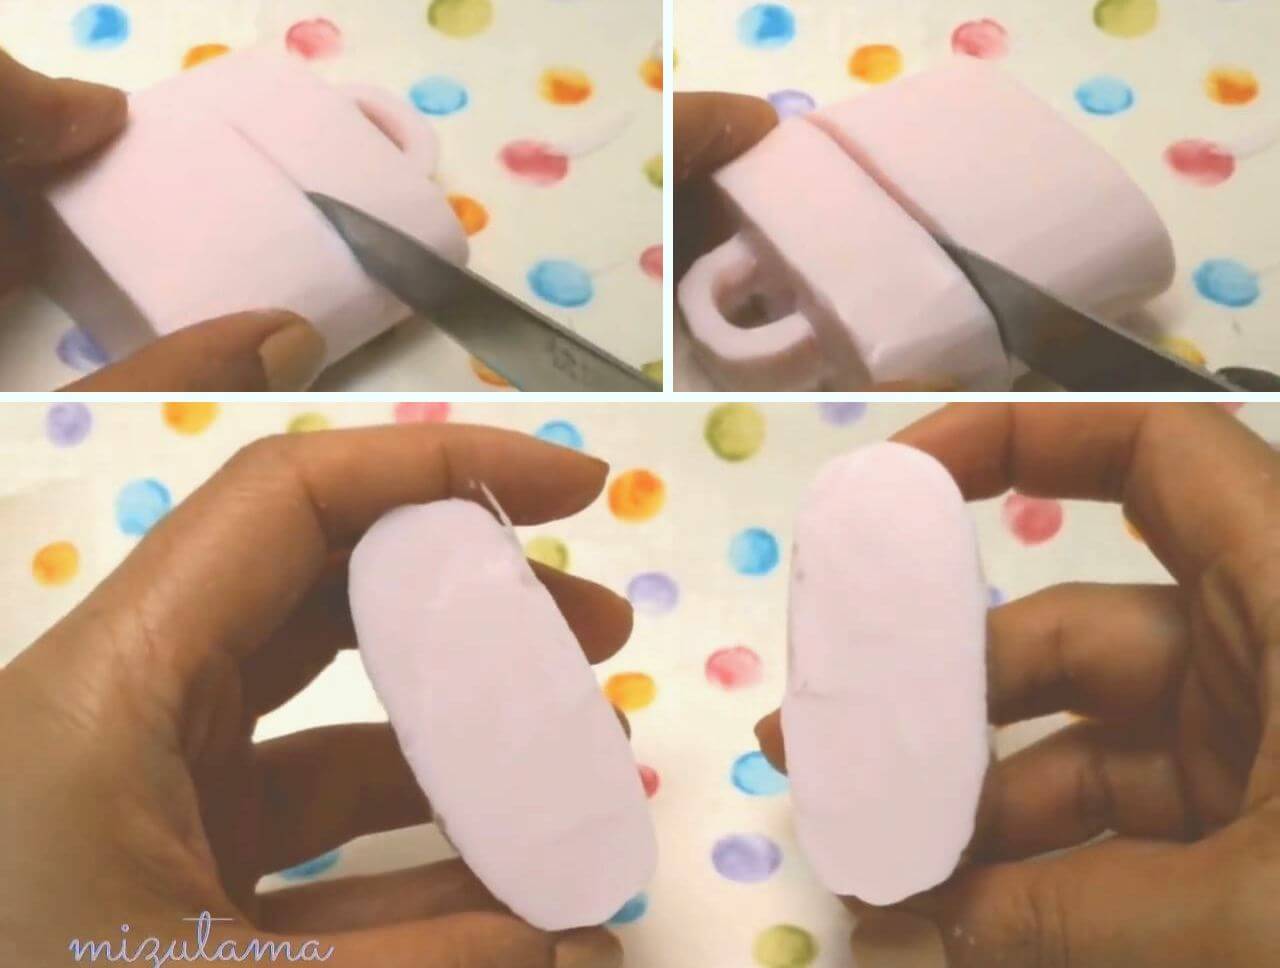
13. Draw a line as shown.
14. Cut your soap along the line with the paring knife.
15. Smooth the lid underside.
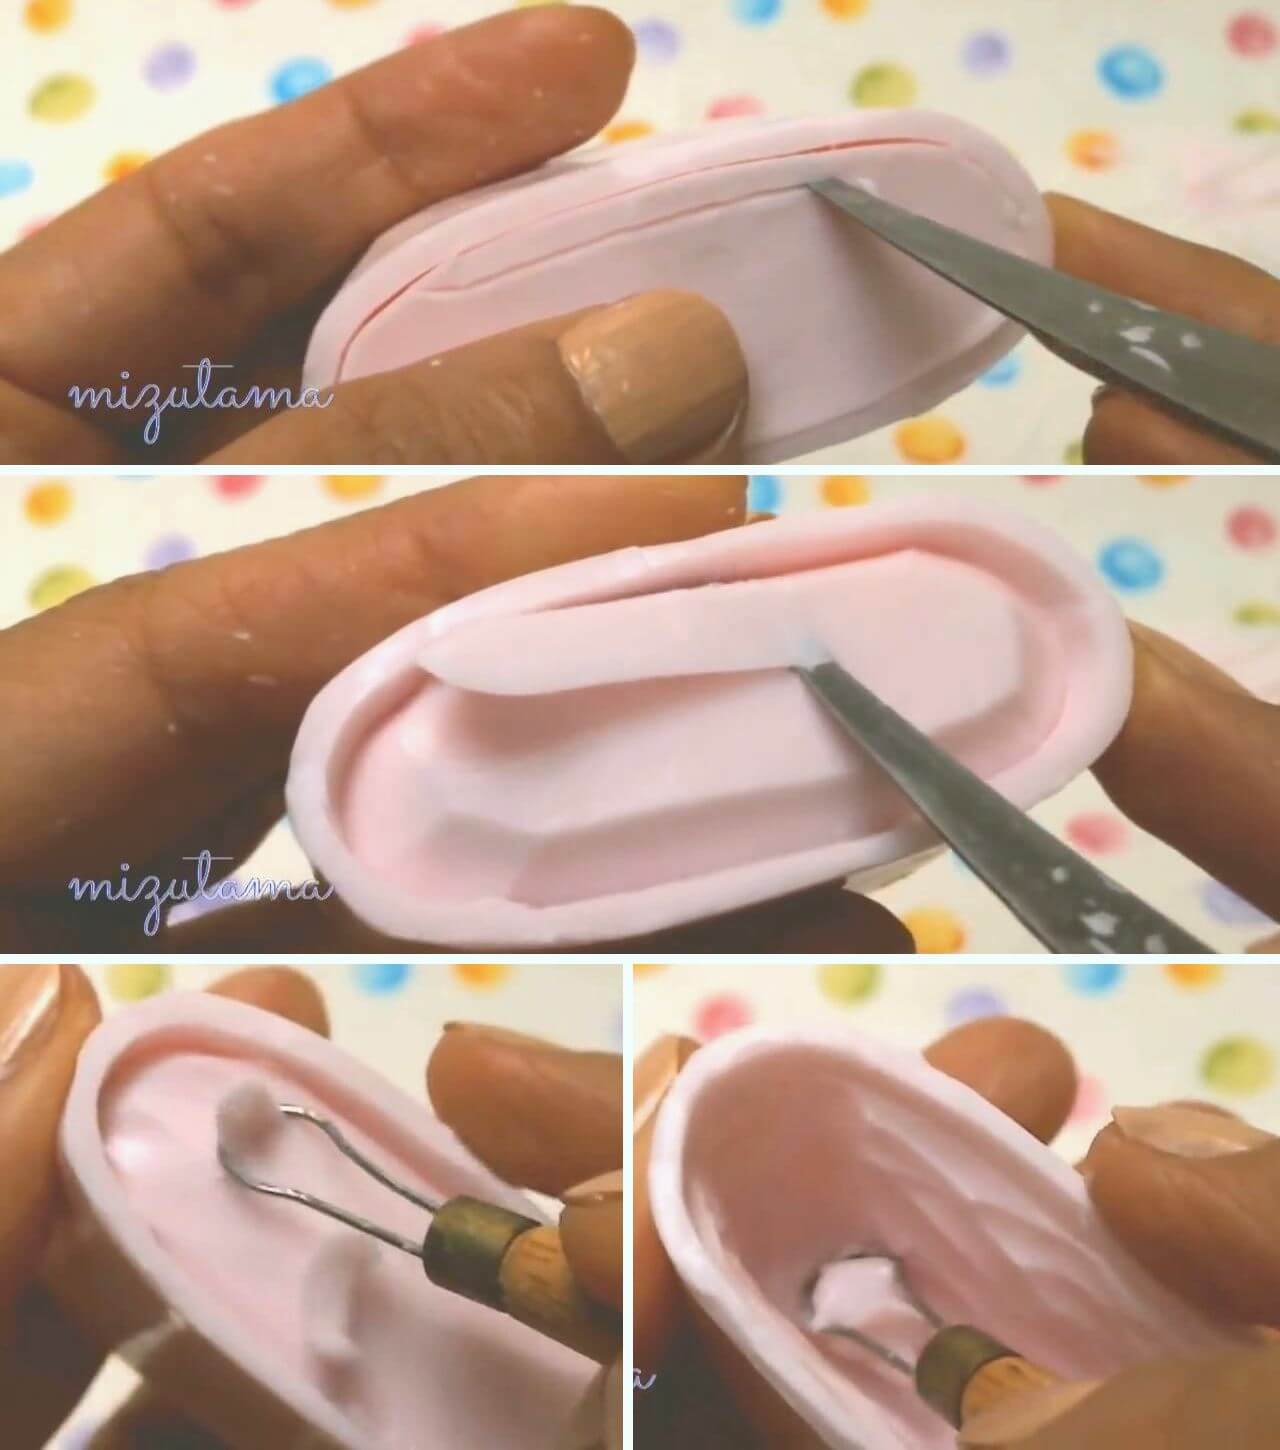
16. Cut inside the bottom surface of the lid.
17. Cut all around the side of the lid.
18. Remove the unwanted soap.
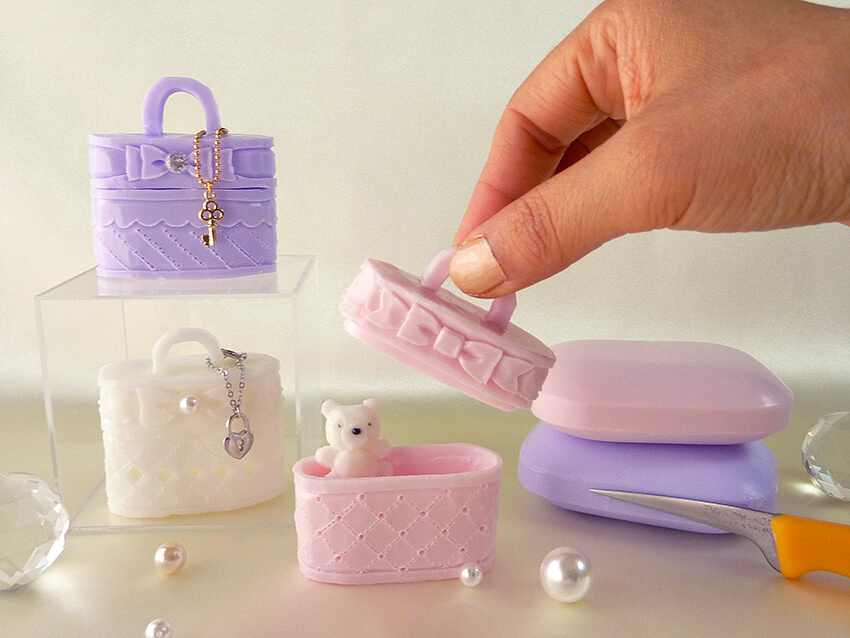
19. Cut inside the top surface of the bottom of the bag.
20. Remove the unwanted soap inside the bag.
21. Smooth the soap inside the bag.
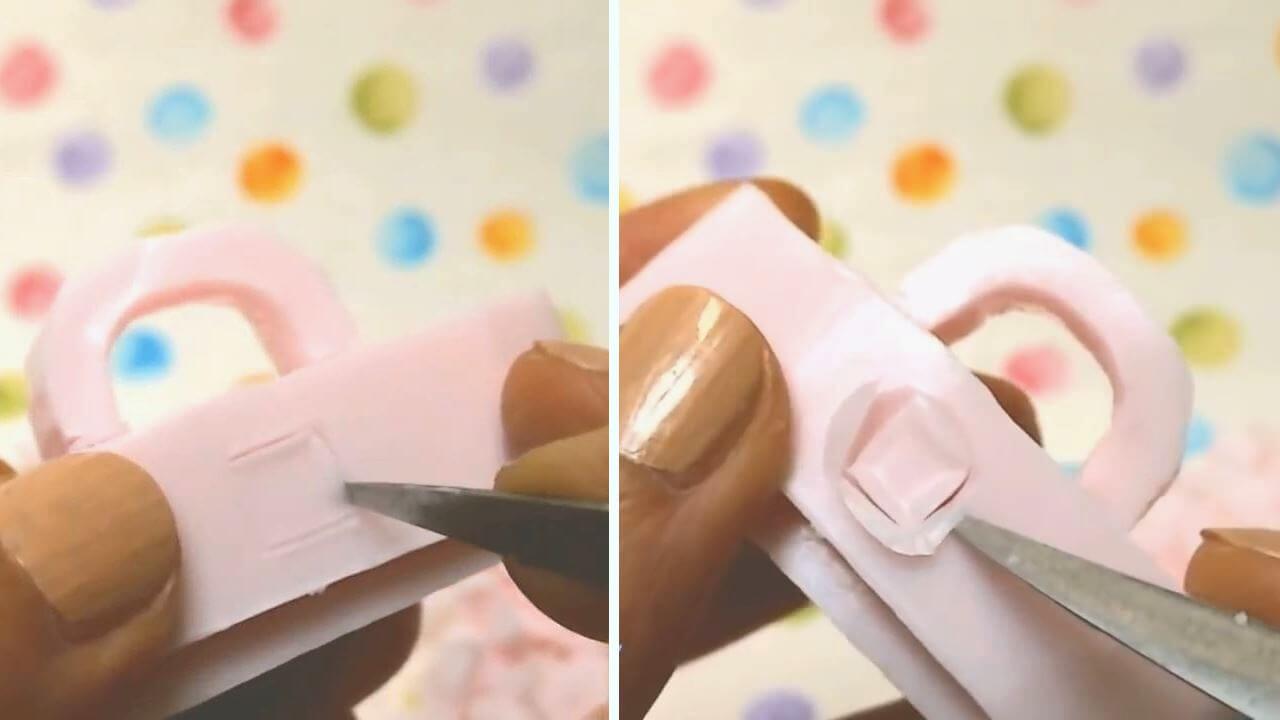
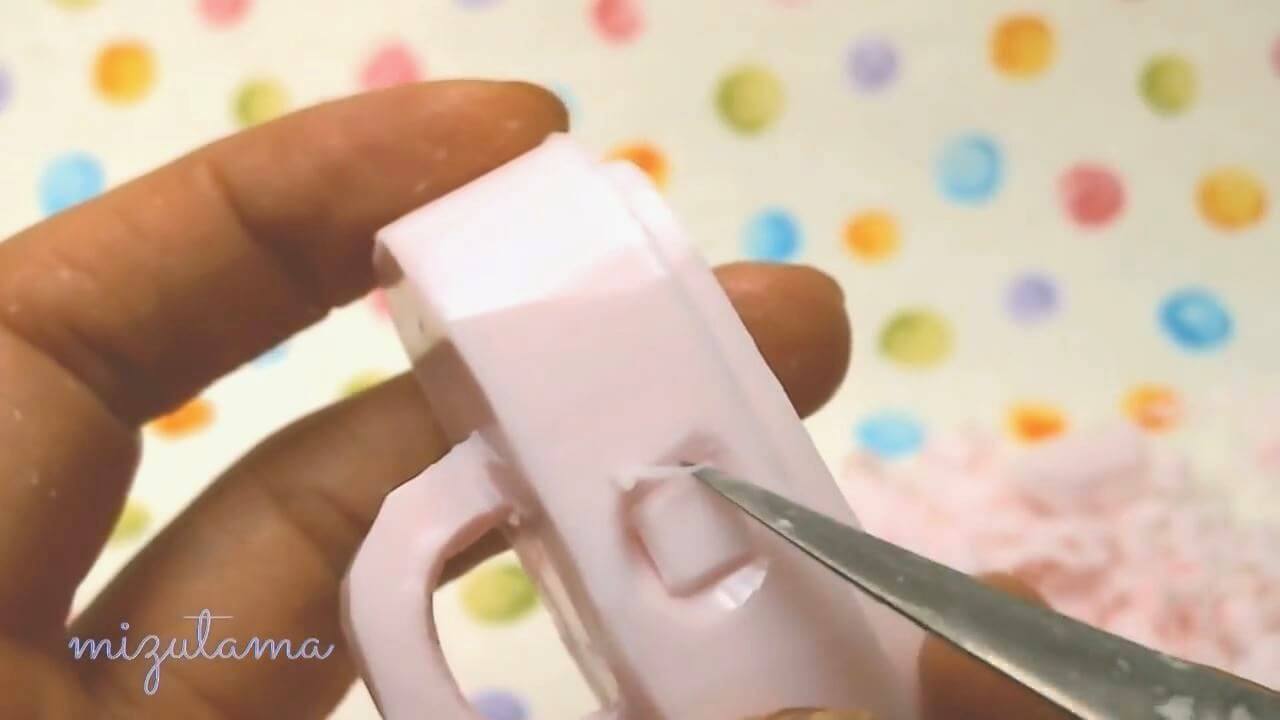
22. Draw a square in the middle of the side of the lid.
23. Cut and remove the soap around the square.
24. Trim the edge of the square.
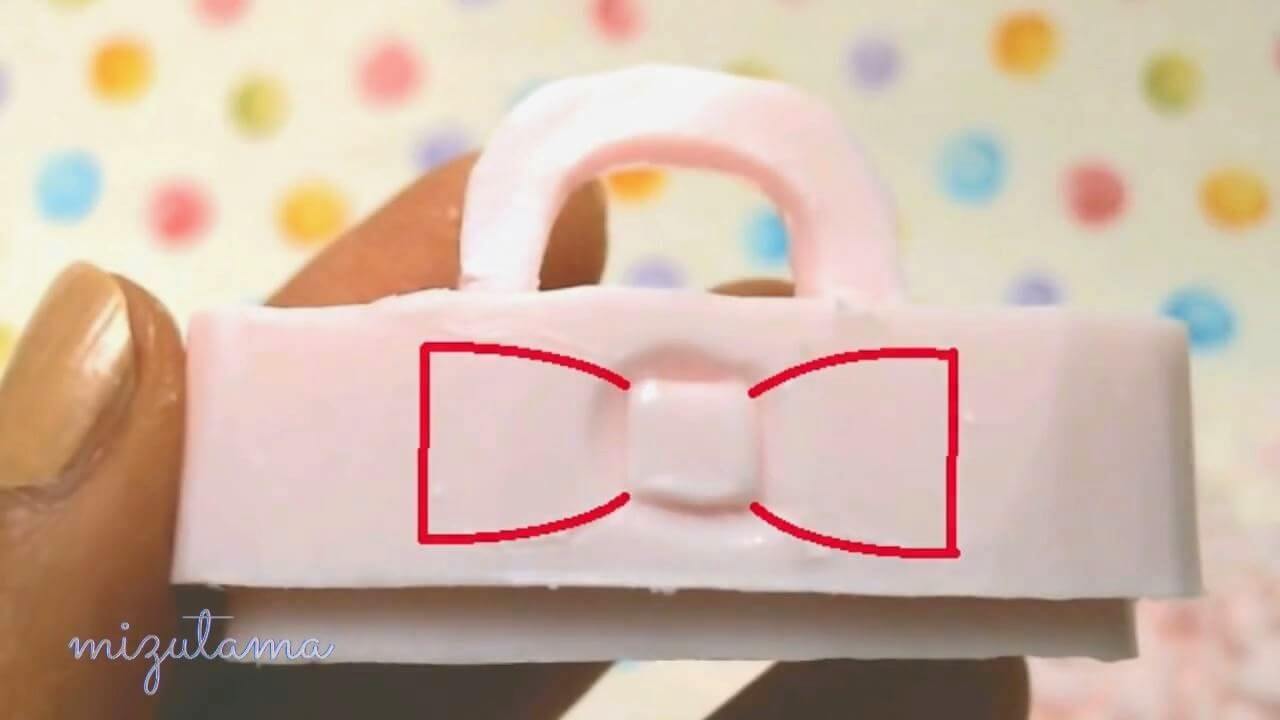
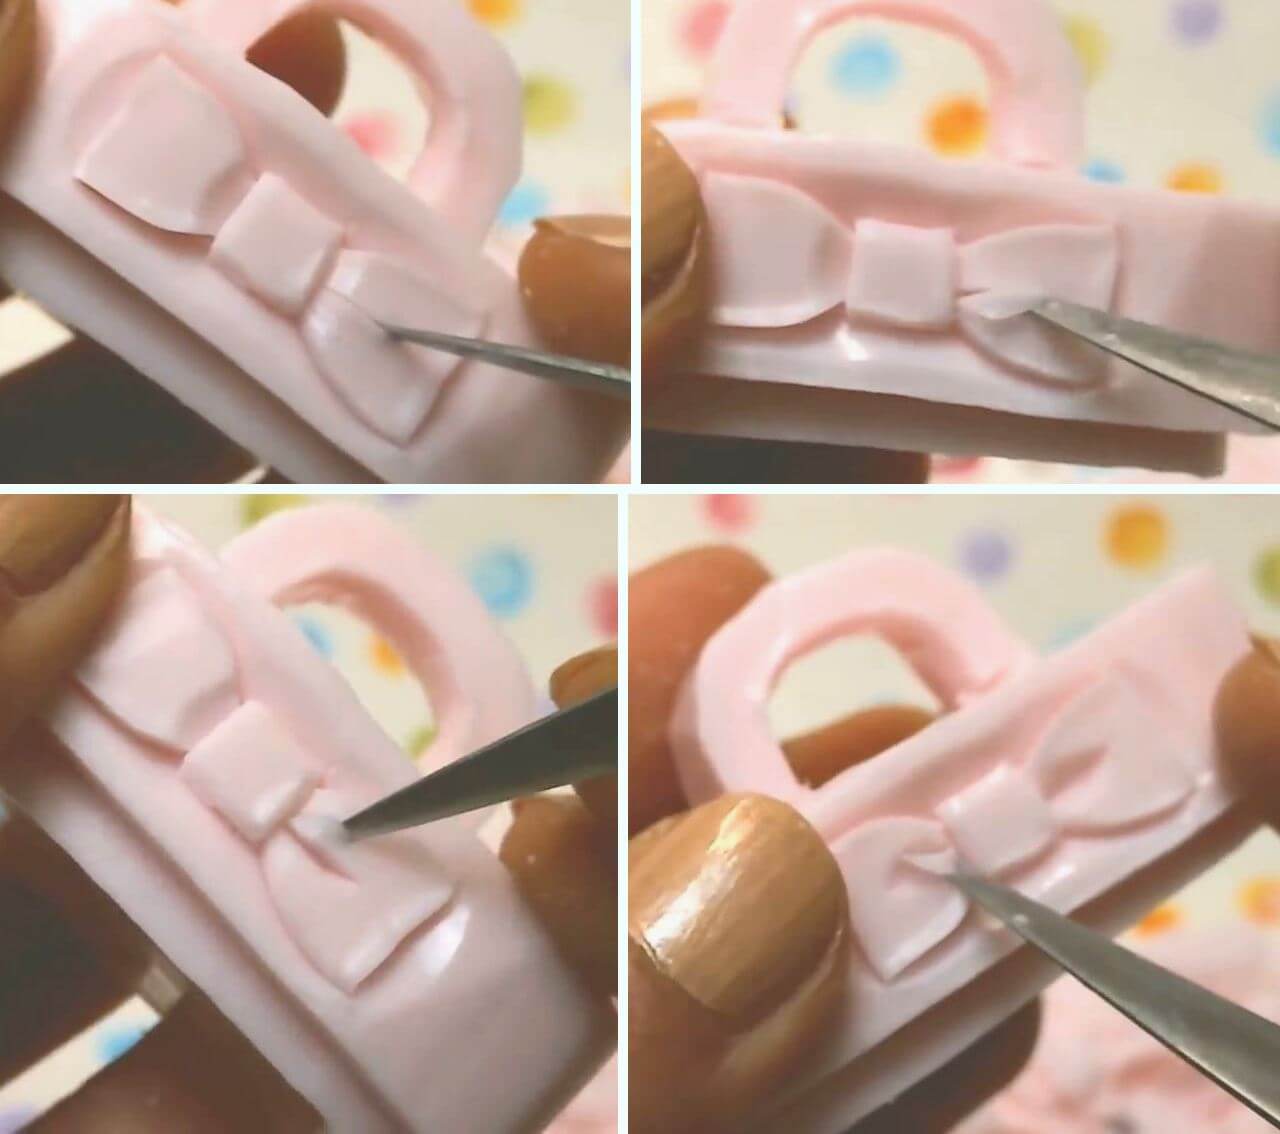
25. Draw a bow.
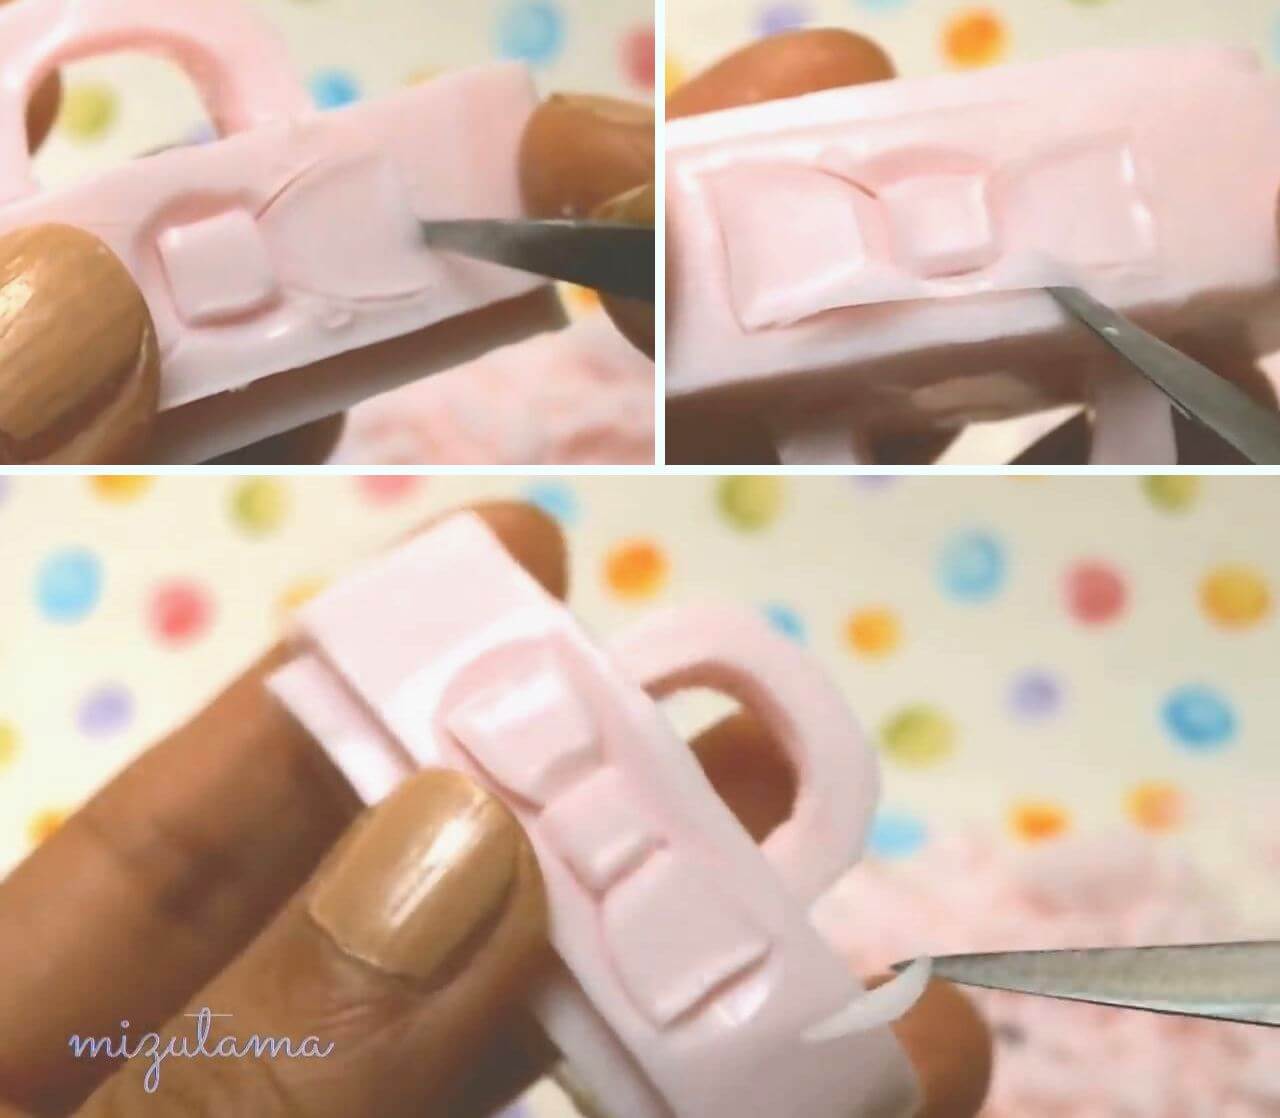
26. Cut and remove the soap around the bow.
27. Cut the grooves on the both of the bow ends.
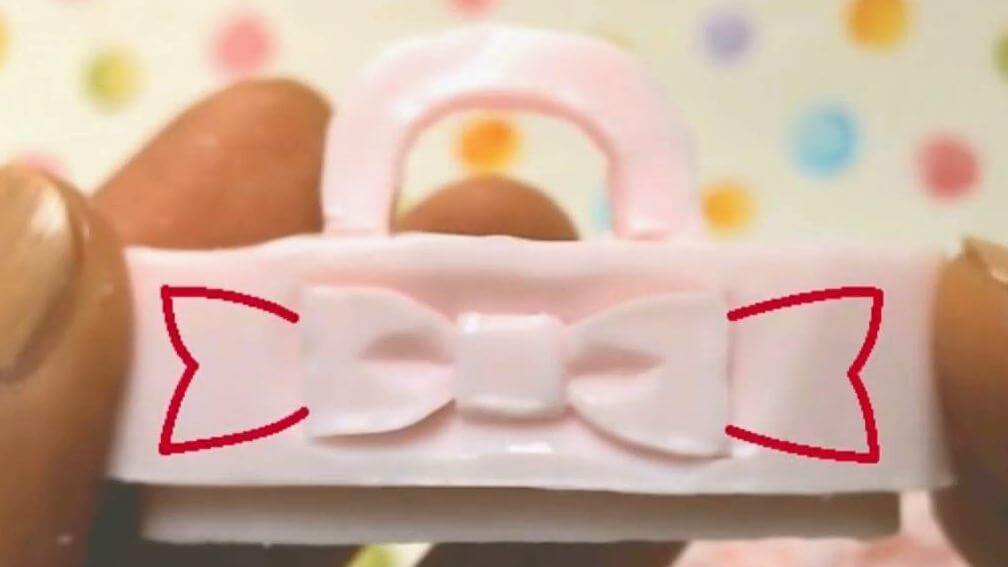
28. Draw outlines of the ribbon ends.
29. Cut the ribbon ends and remove soap around them.
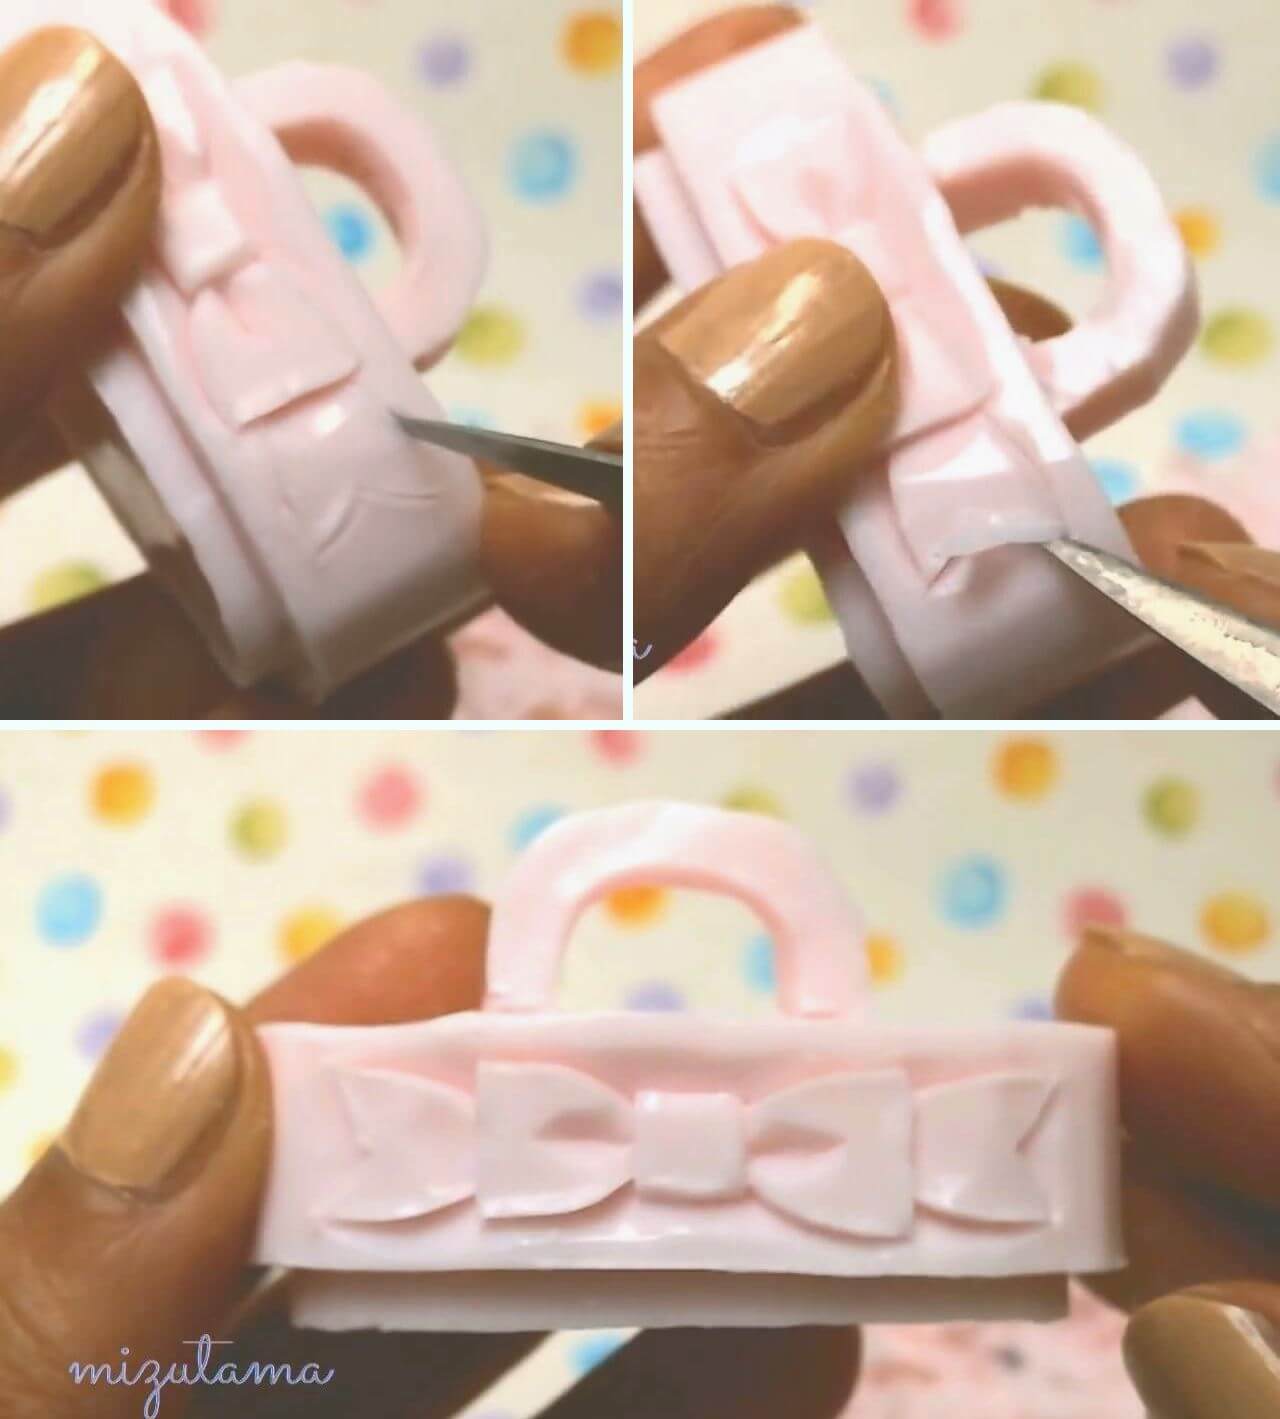
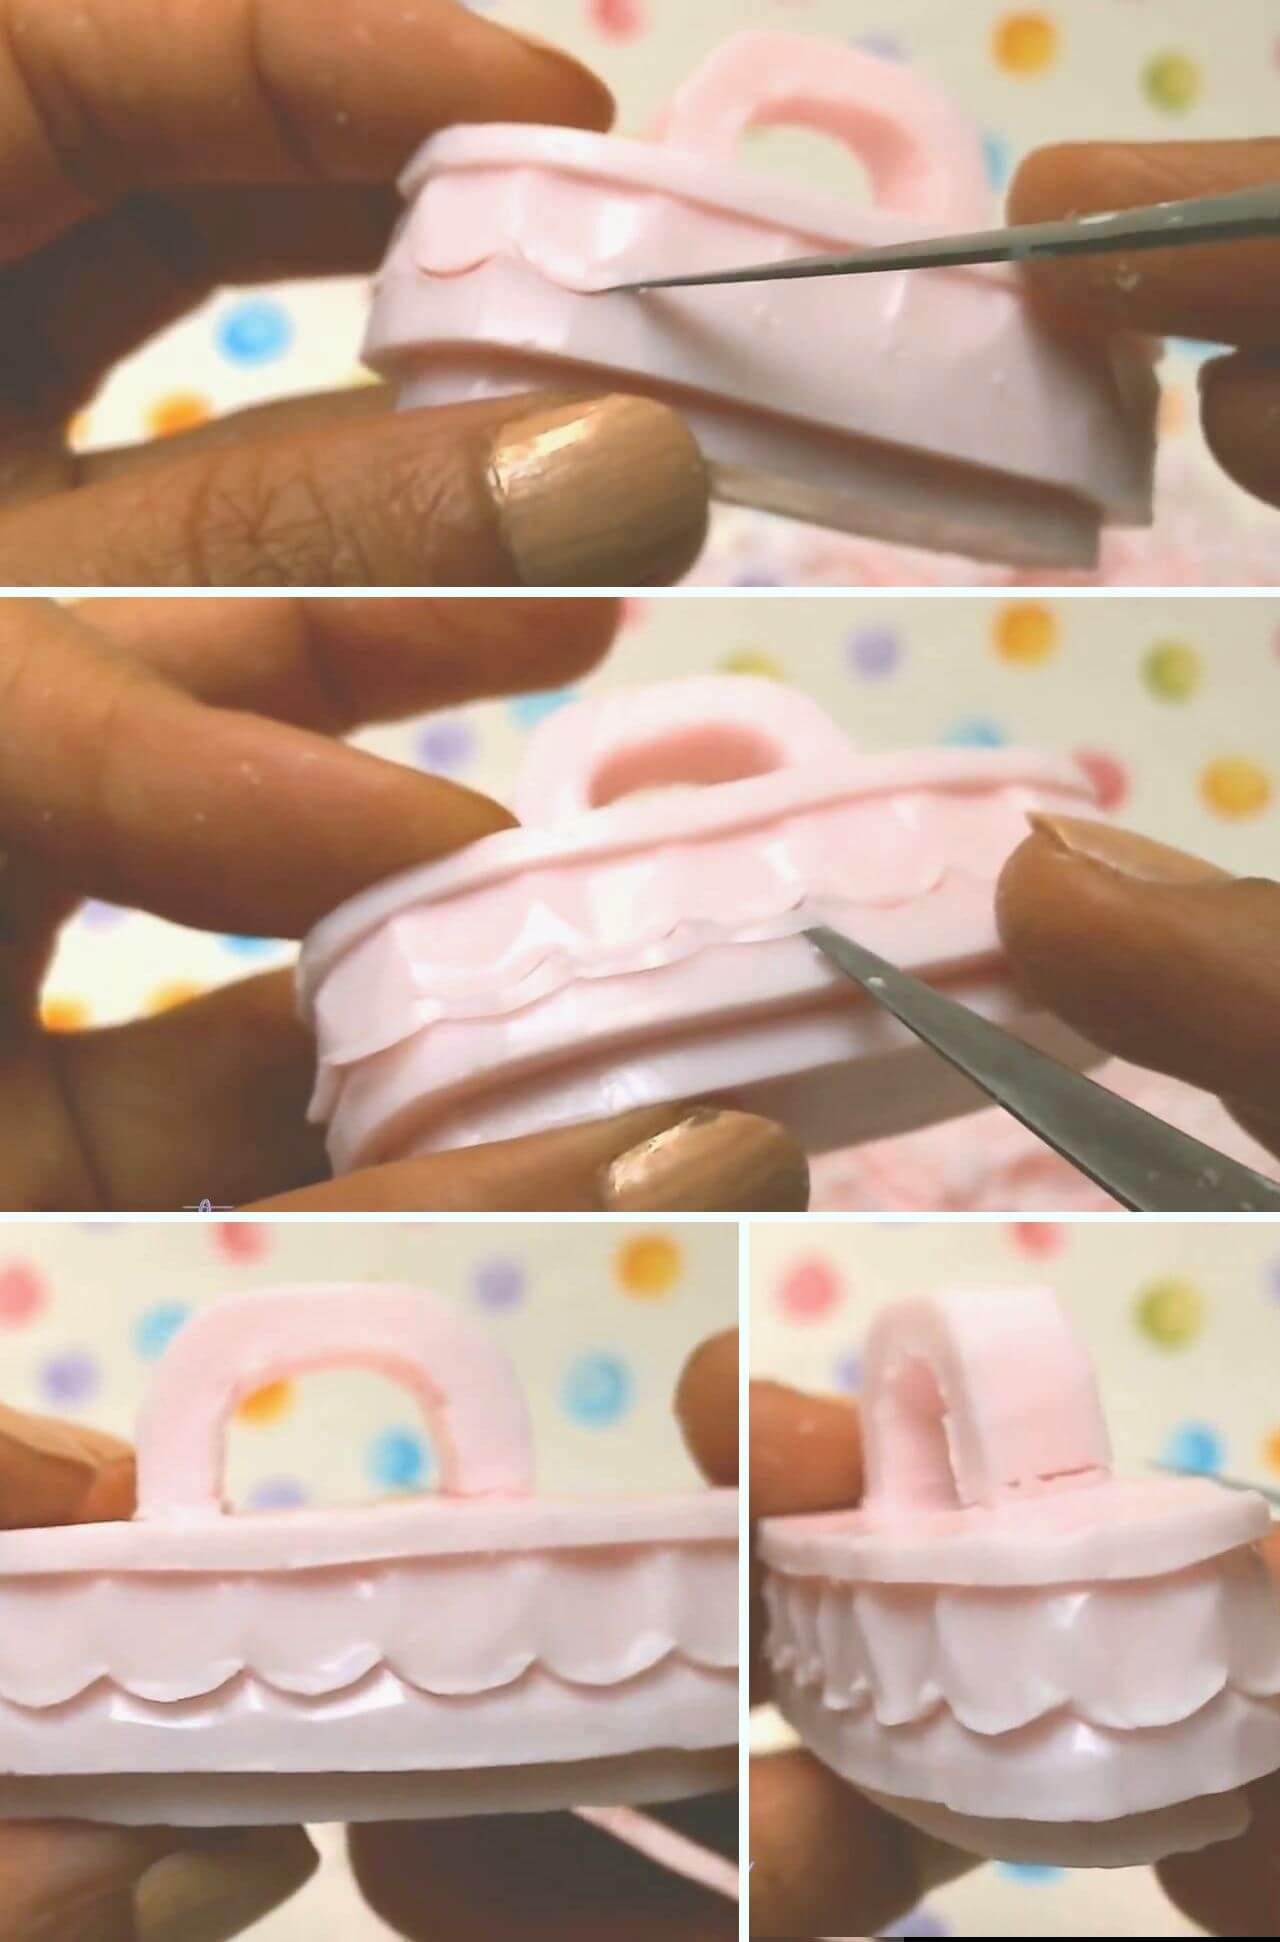
30. Cut a straight line all around the side of the lid, except for the segment occupied by the bow. Then, remove soap under the line.
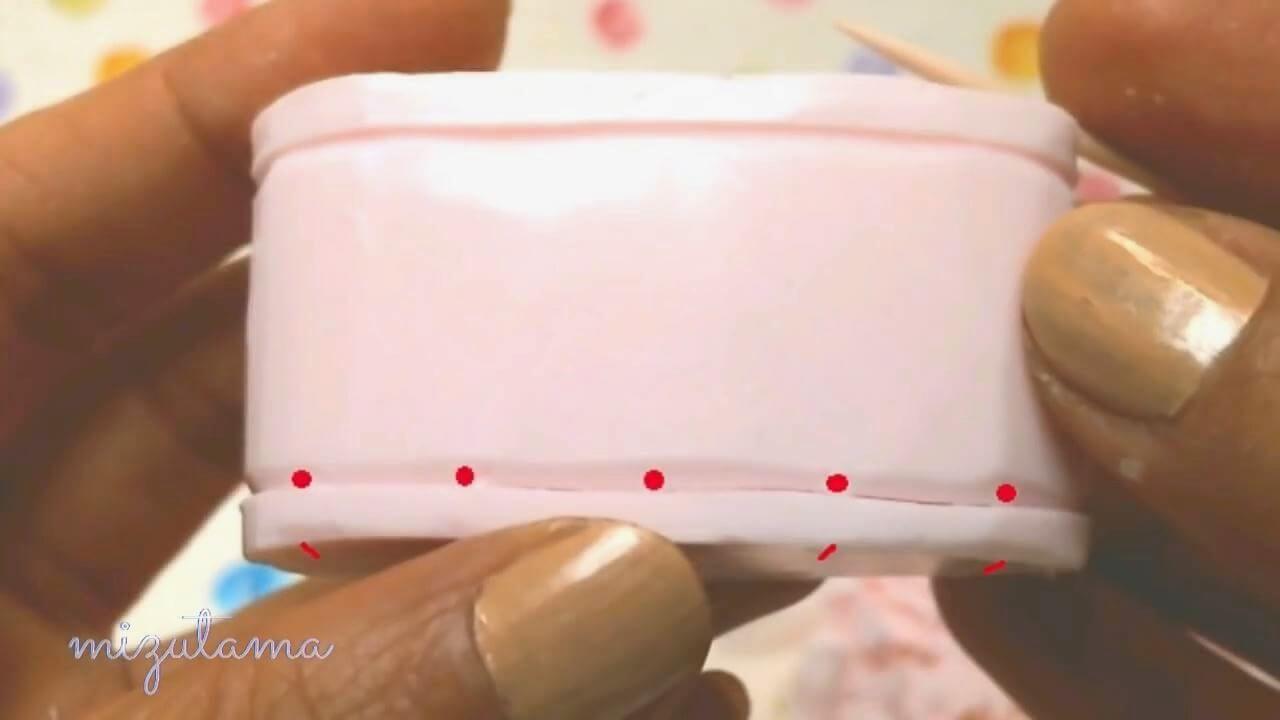
31. Mark small dots all around the lid.
32. Carve a shallow trench in each part divided with dots.
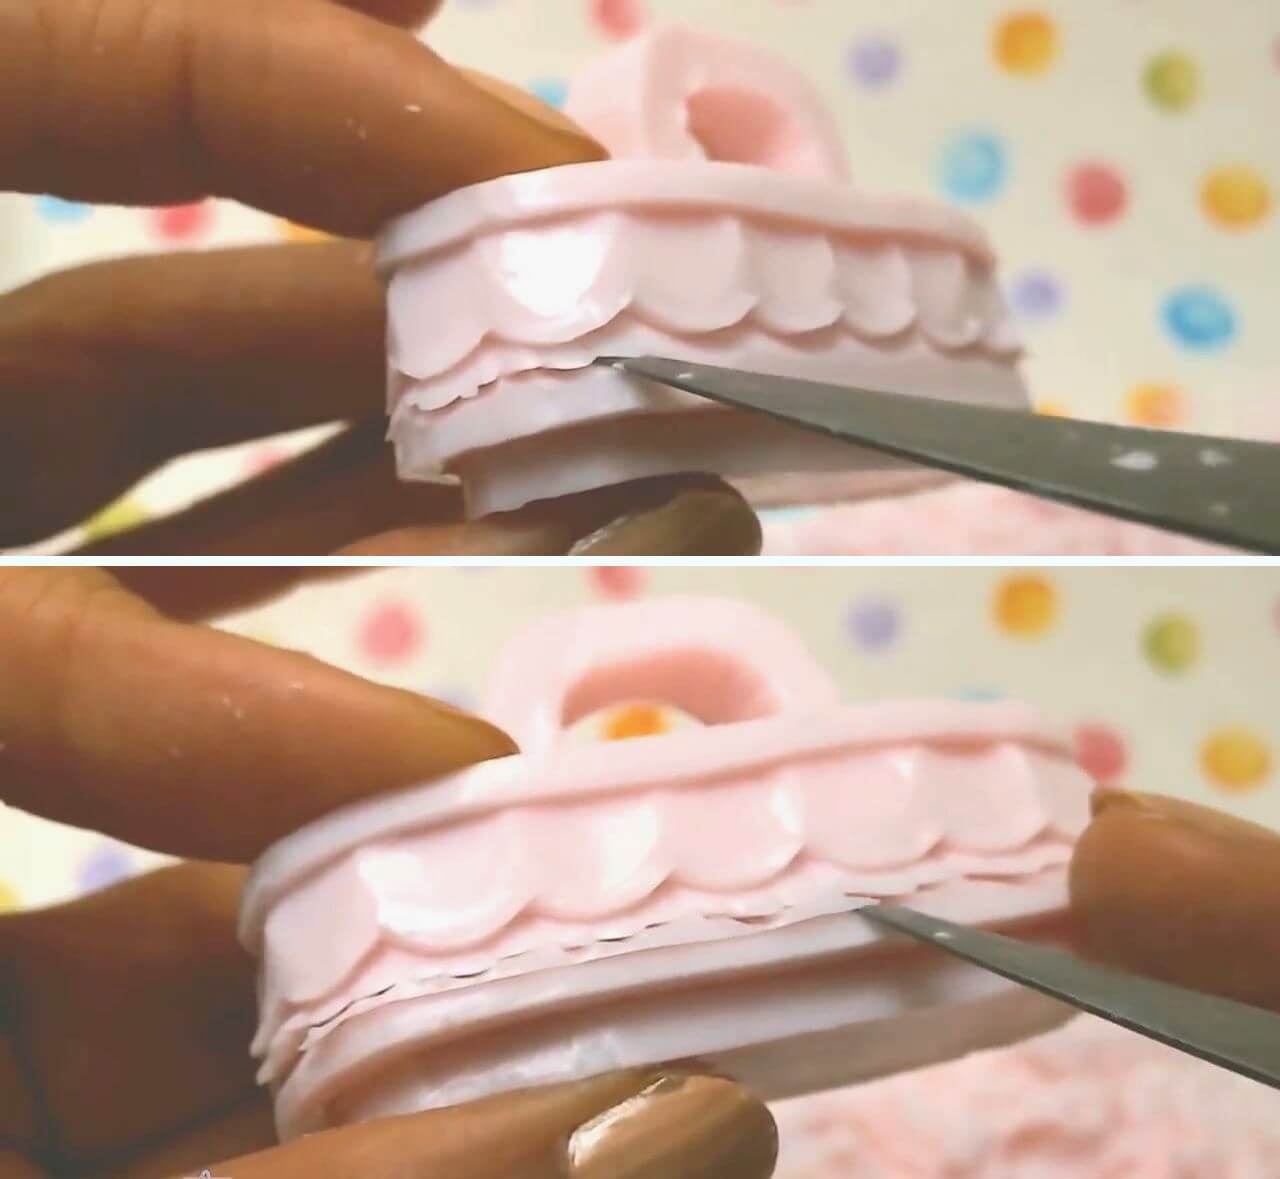
33. Cut a scallop line and remove the soap under it.
34. Cut a wavy line around the scallop line and remove the soap under the it.
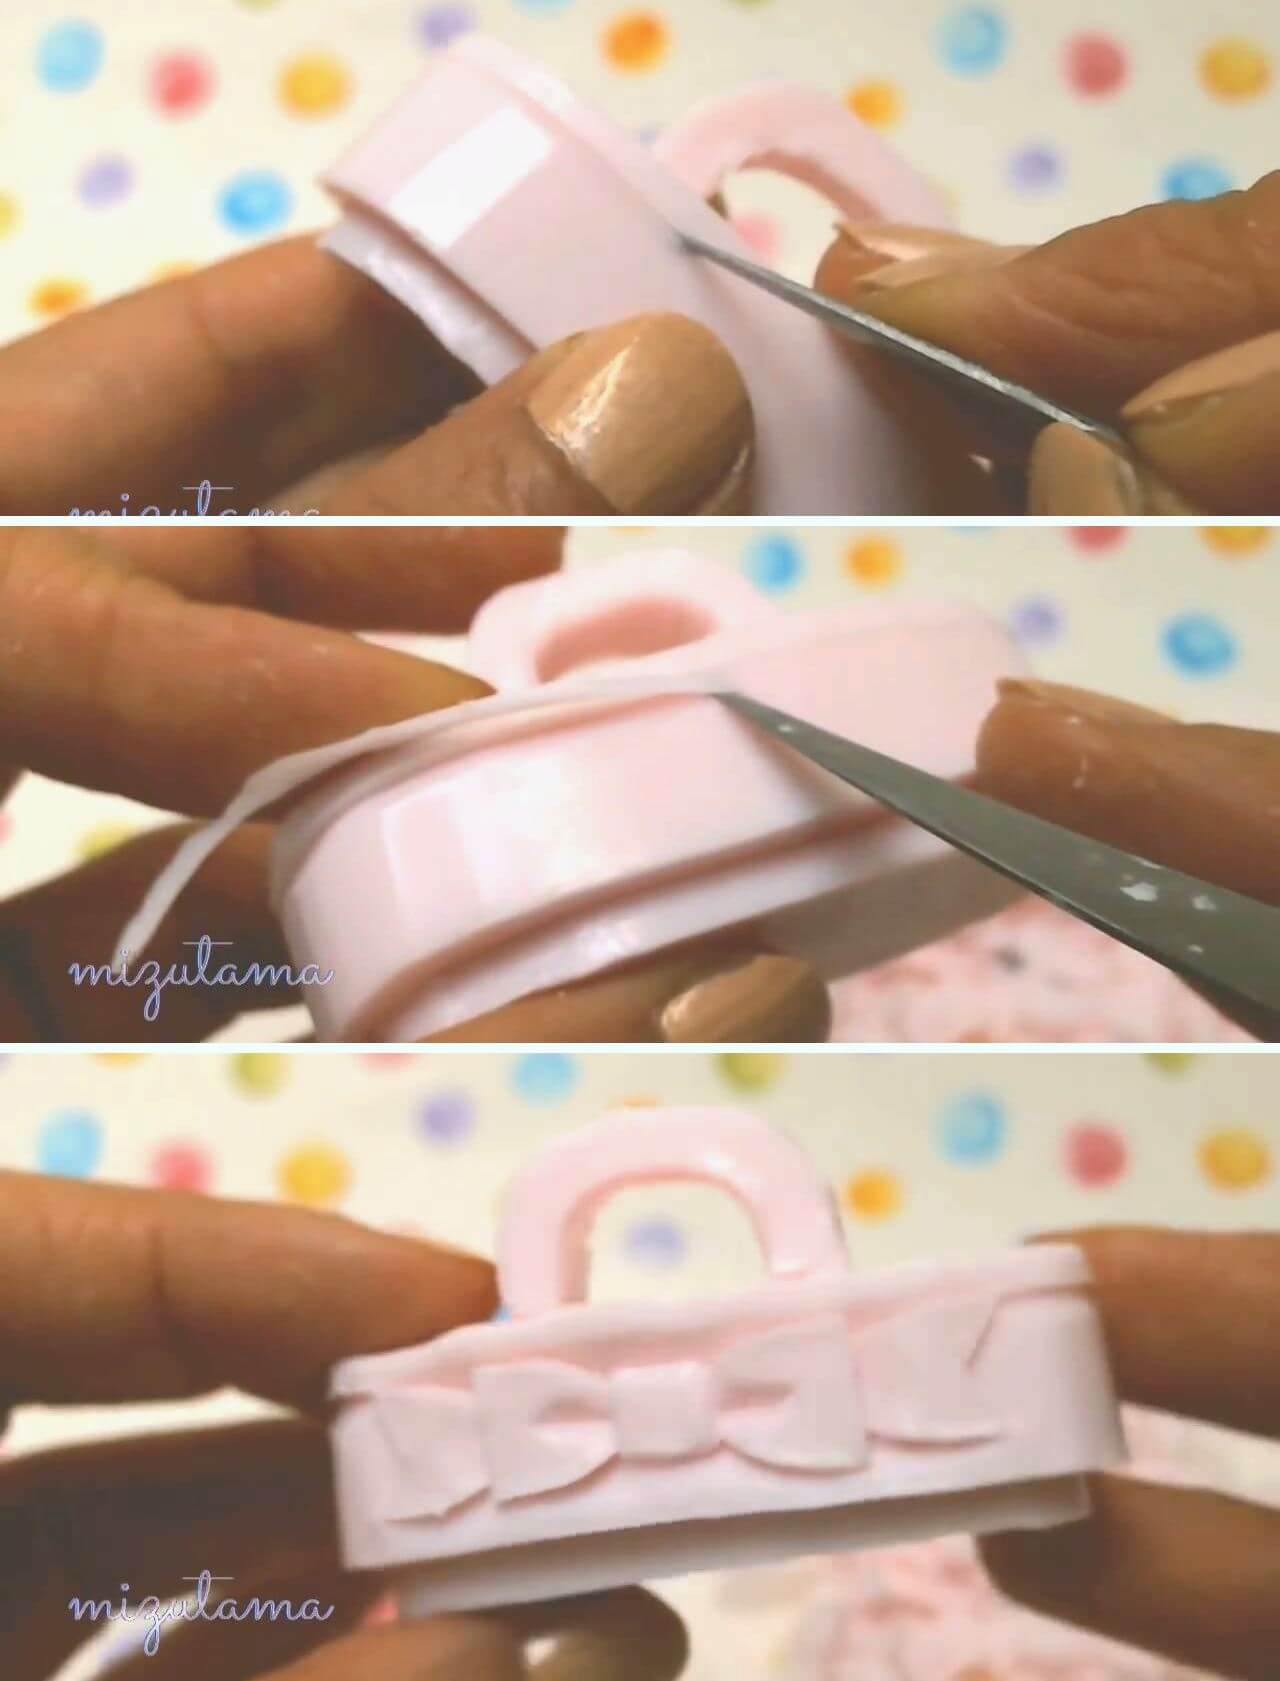
35. Cut a straight line all around the top edge of the bag lightly in order to avoid pushing the knife through the wall. Remove the soap under the line, holding knife lightly as well.
36. Repeat previous step for the bottom edge.
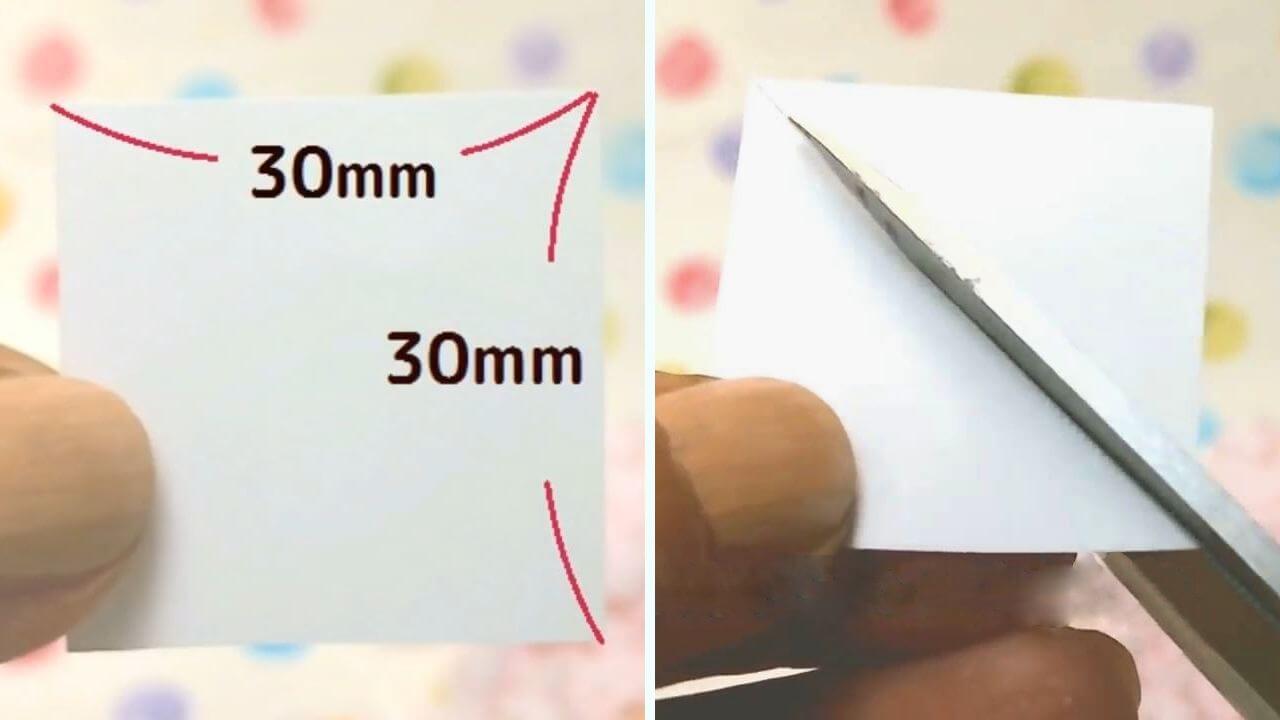
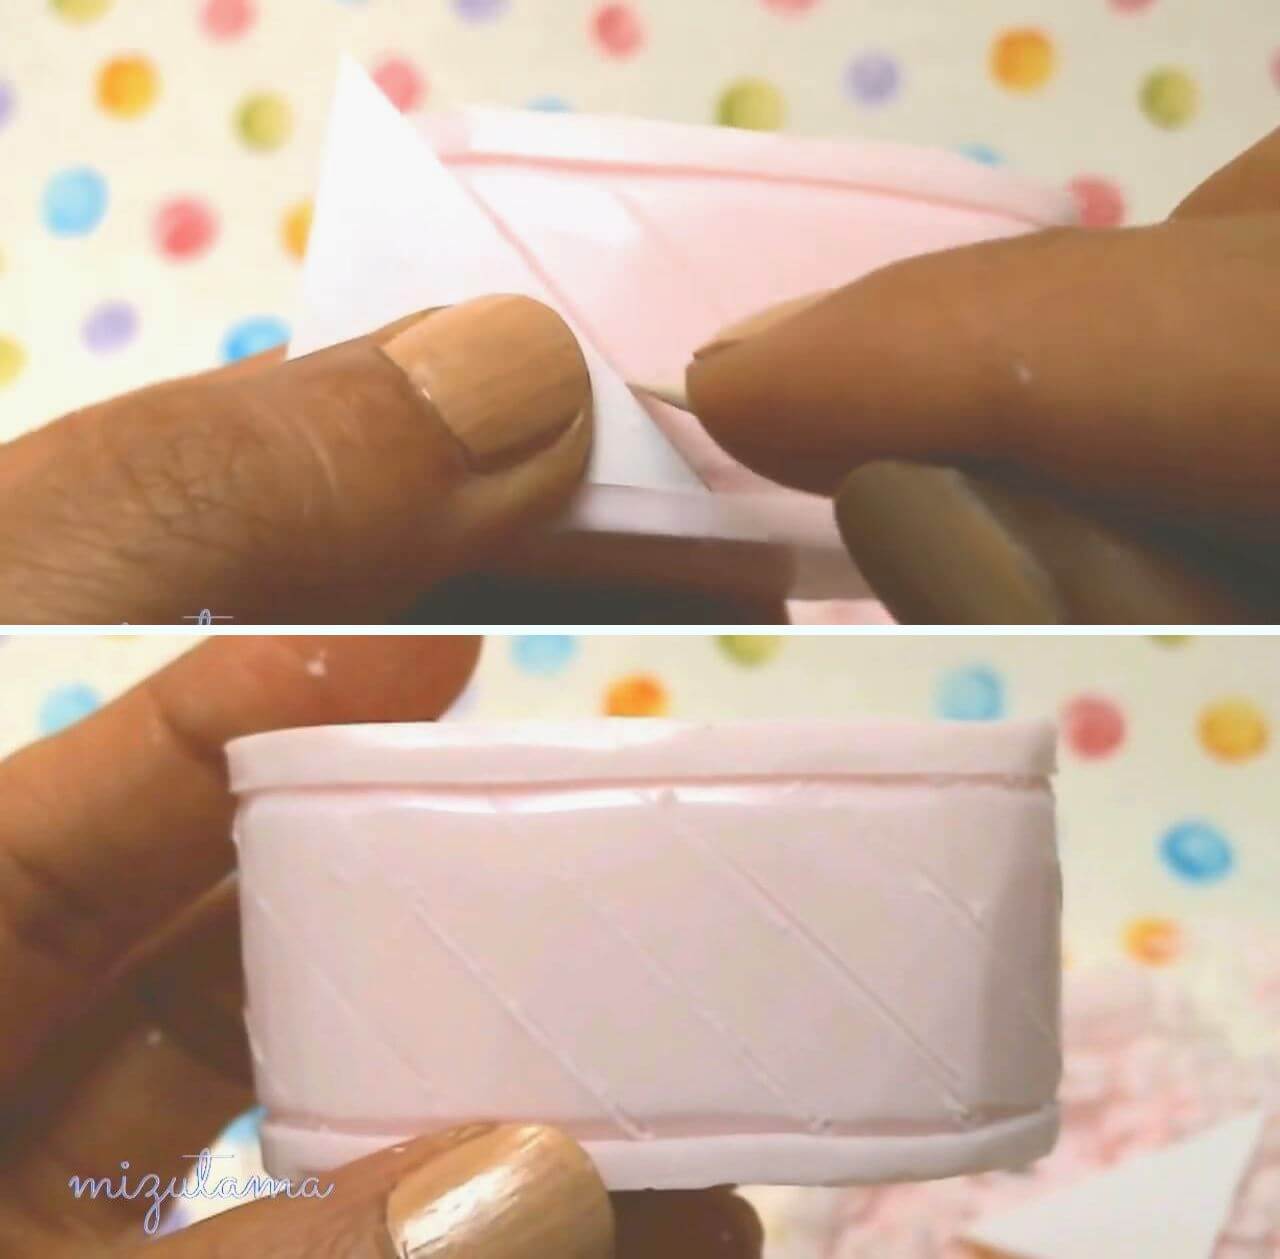
37. Cut the shown piece of paper diagonally.
38. Divide the bottom edge into 12 equal parts.
39. Divide the bottom line into analogous parts.
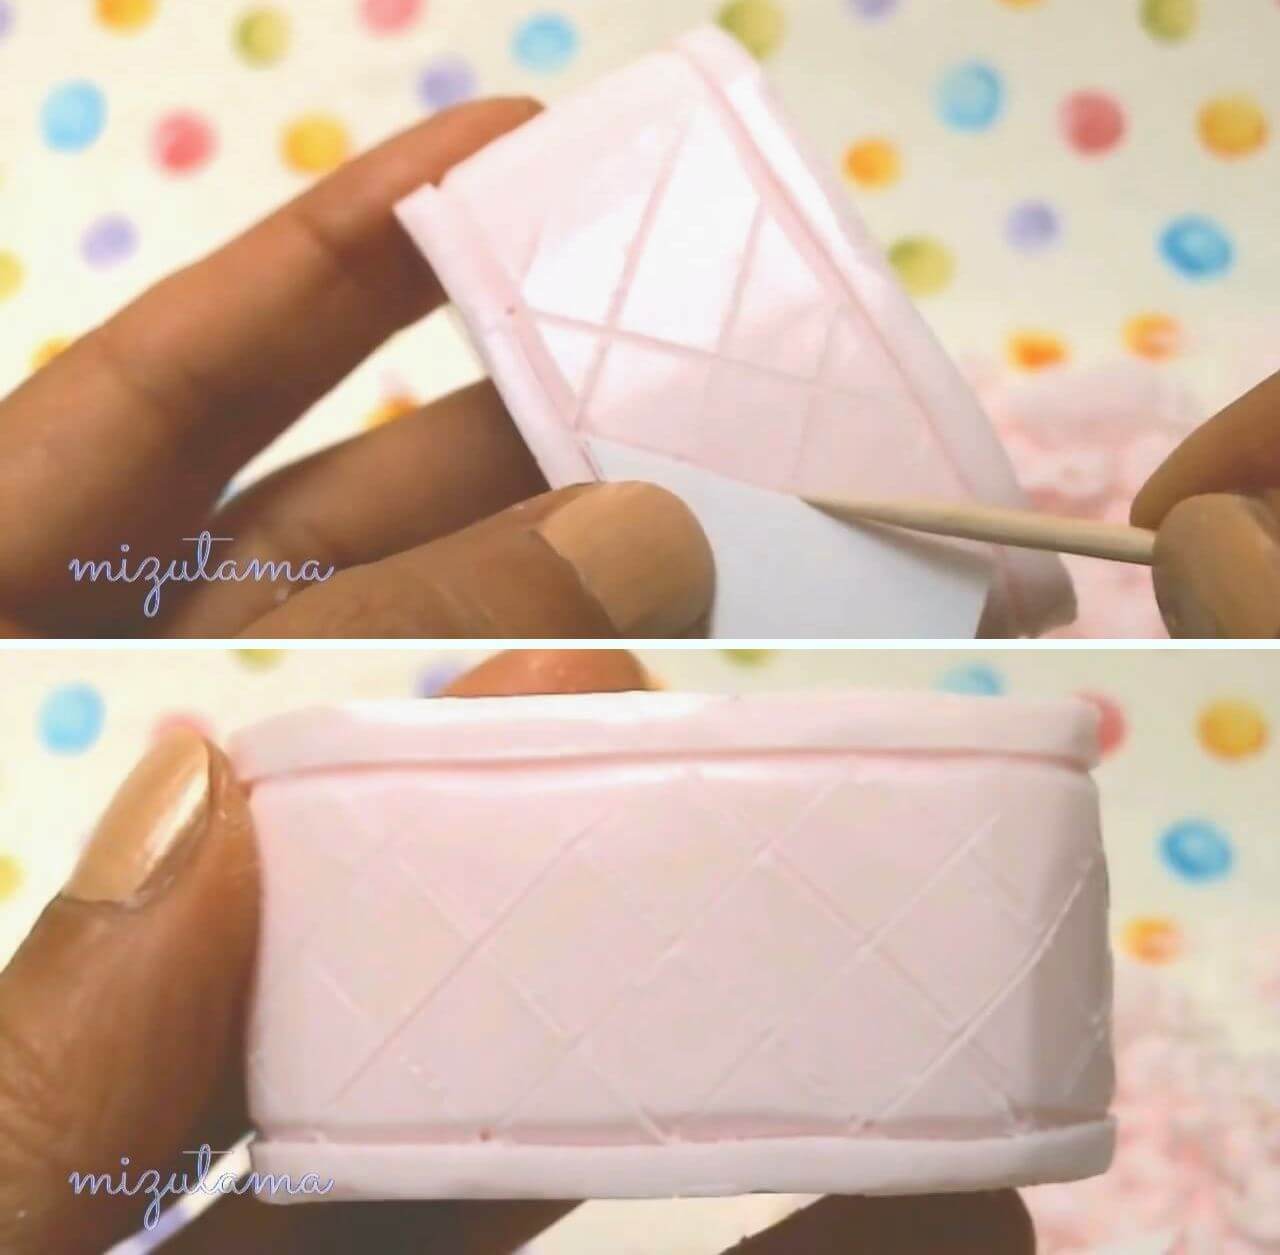
40. Draw 12 diagonal lines using the paper template.
41. Draw 12 diagonal lines to create the check pattern.
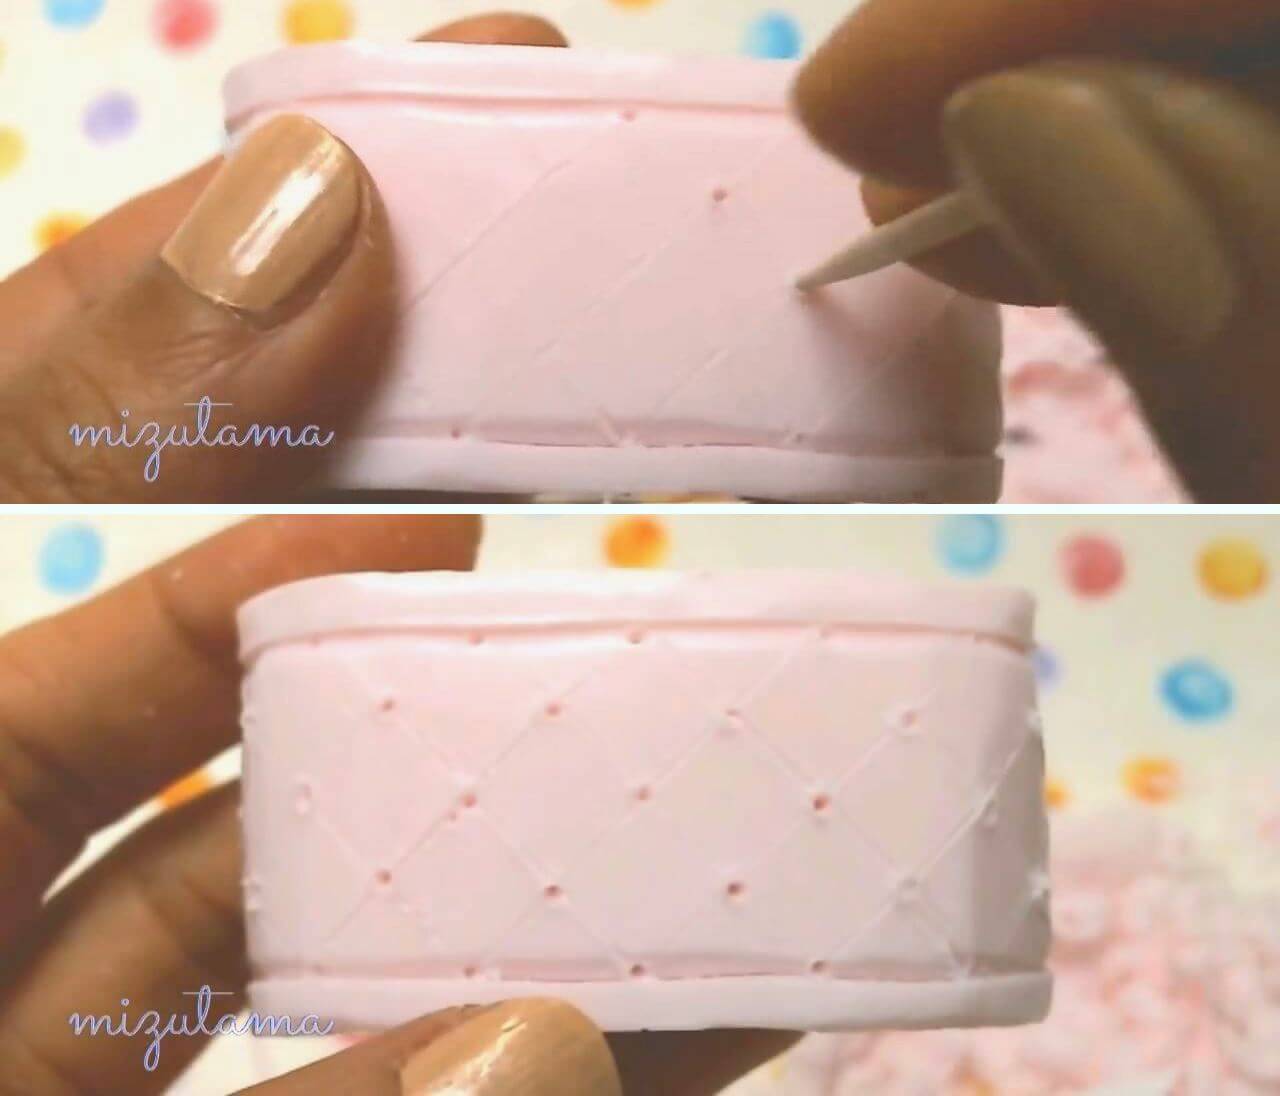
42. Make holes on each intersection point, using thicker pointer tool, such as the toothpick.
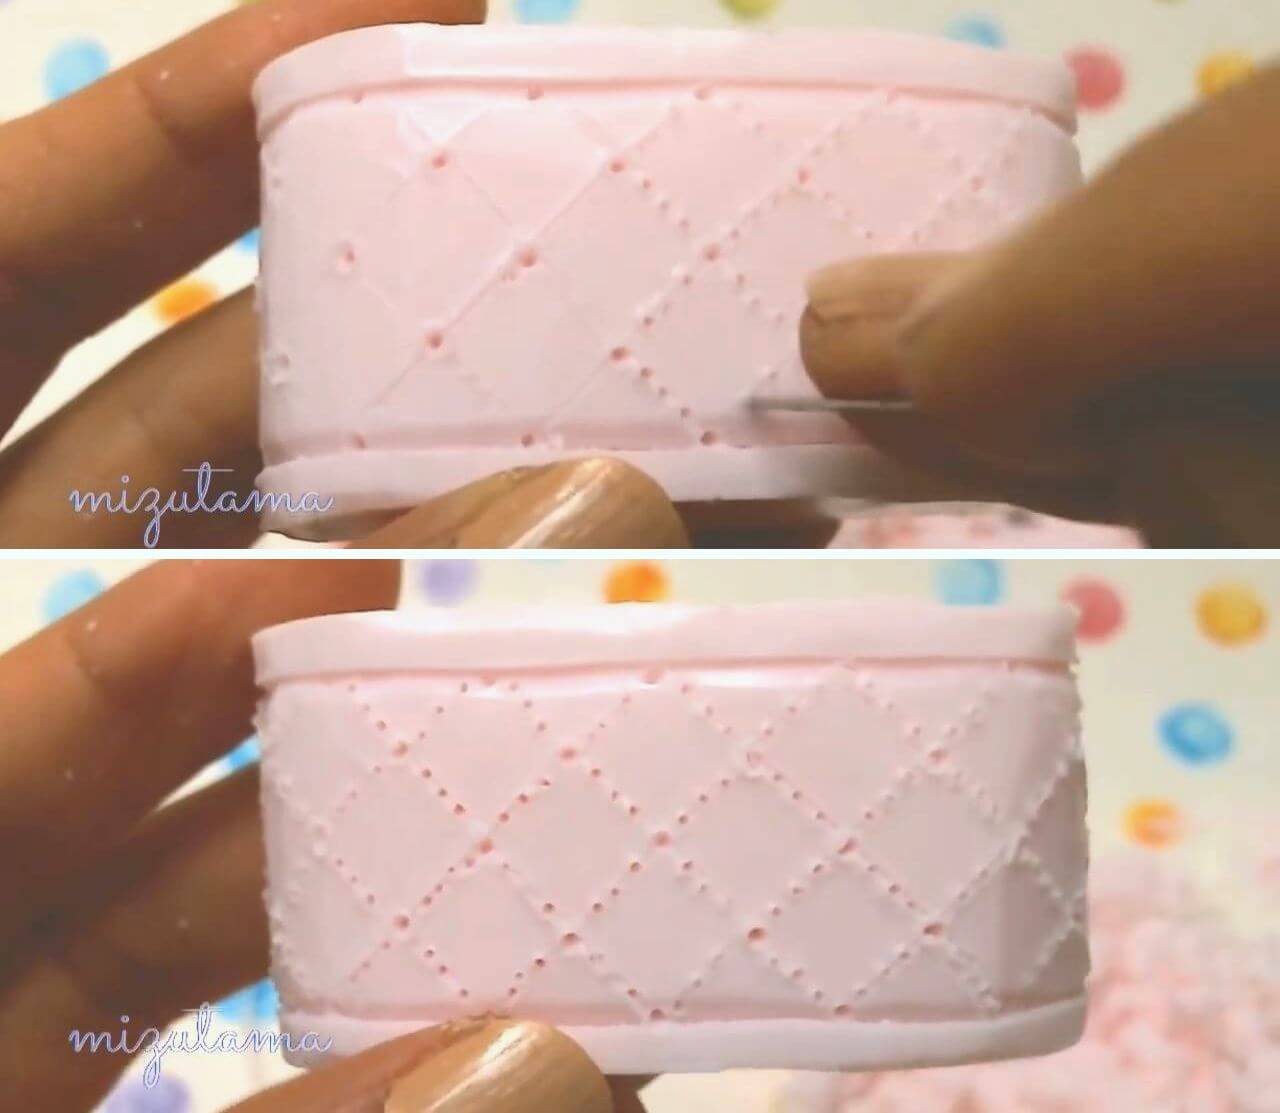
43. Make small holes with a thinner pointed tool, such as the needle on each segment between bigger holes.
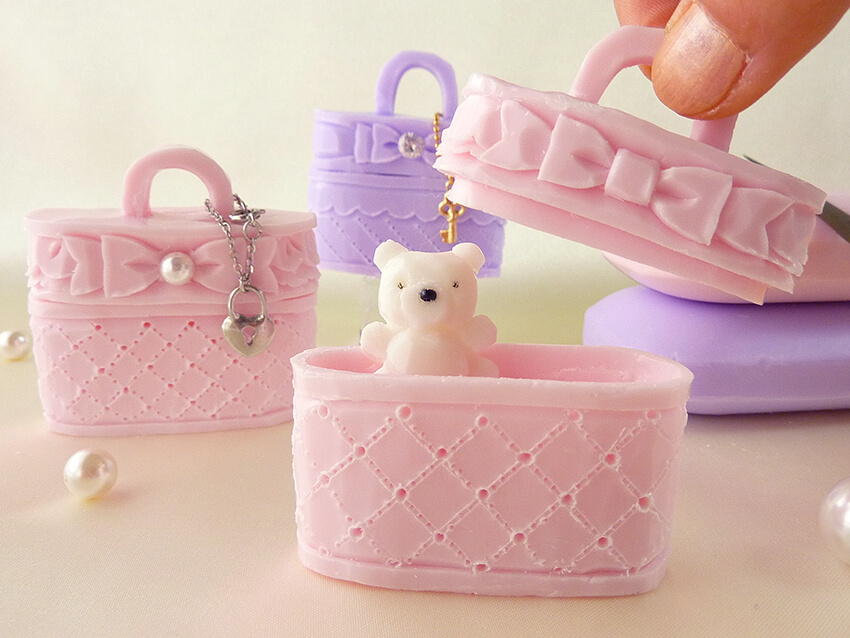
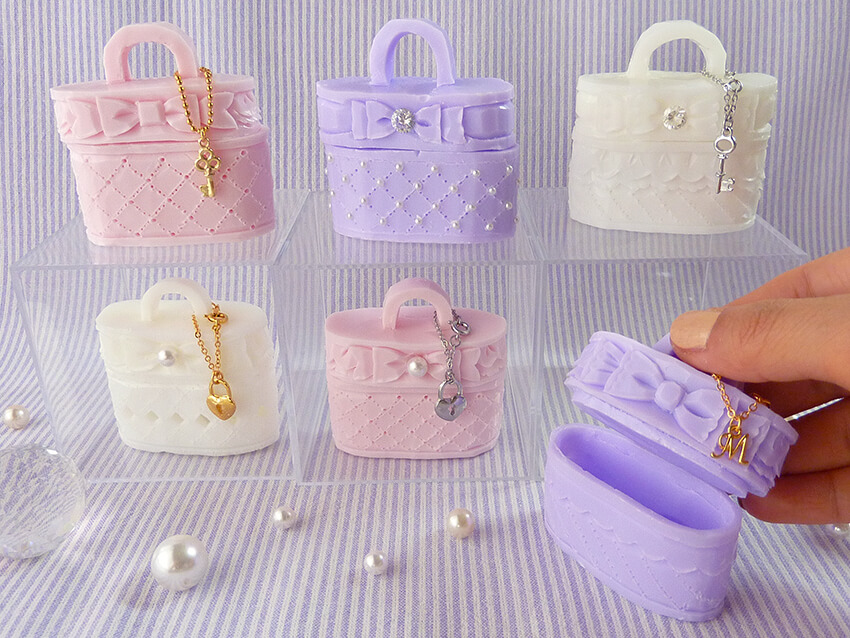
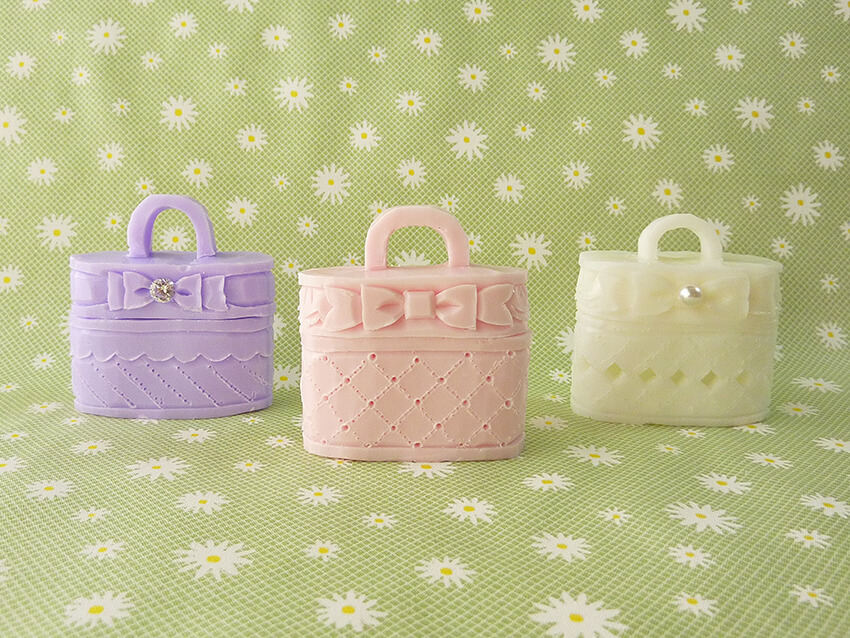
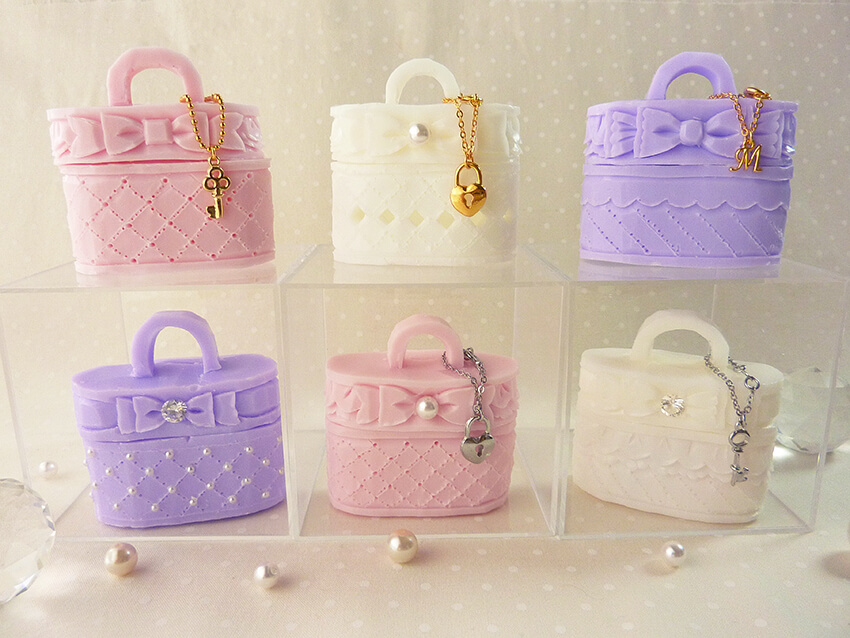
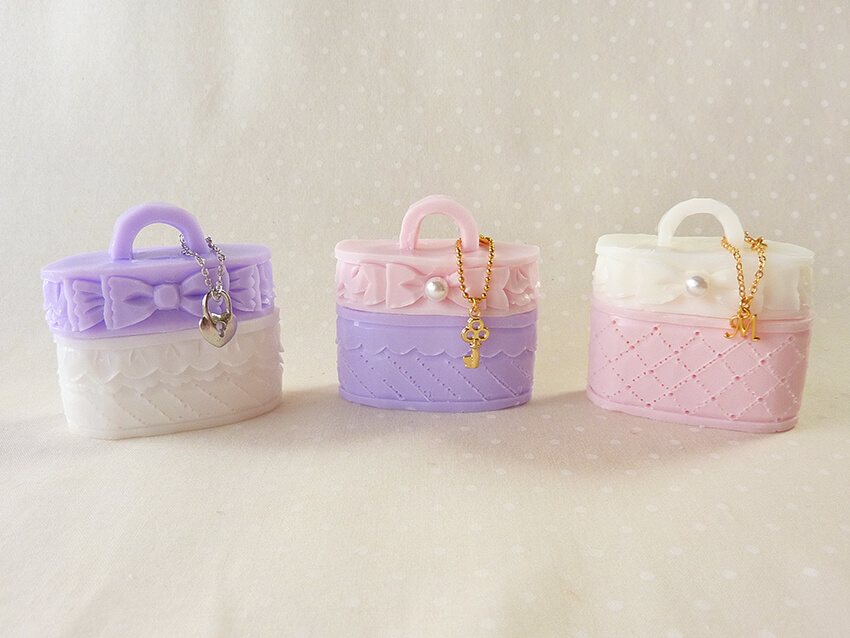
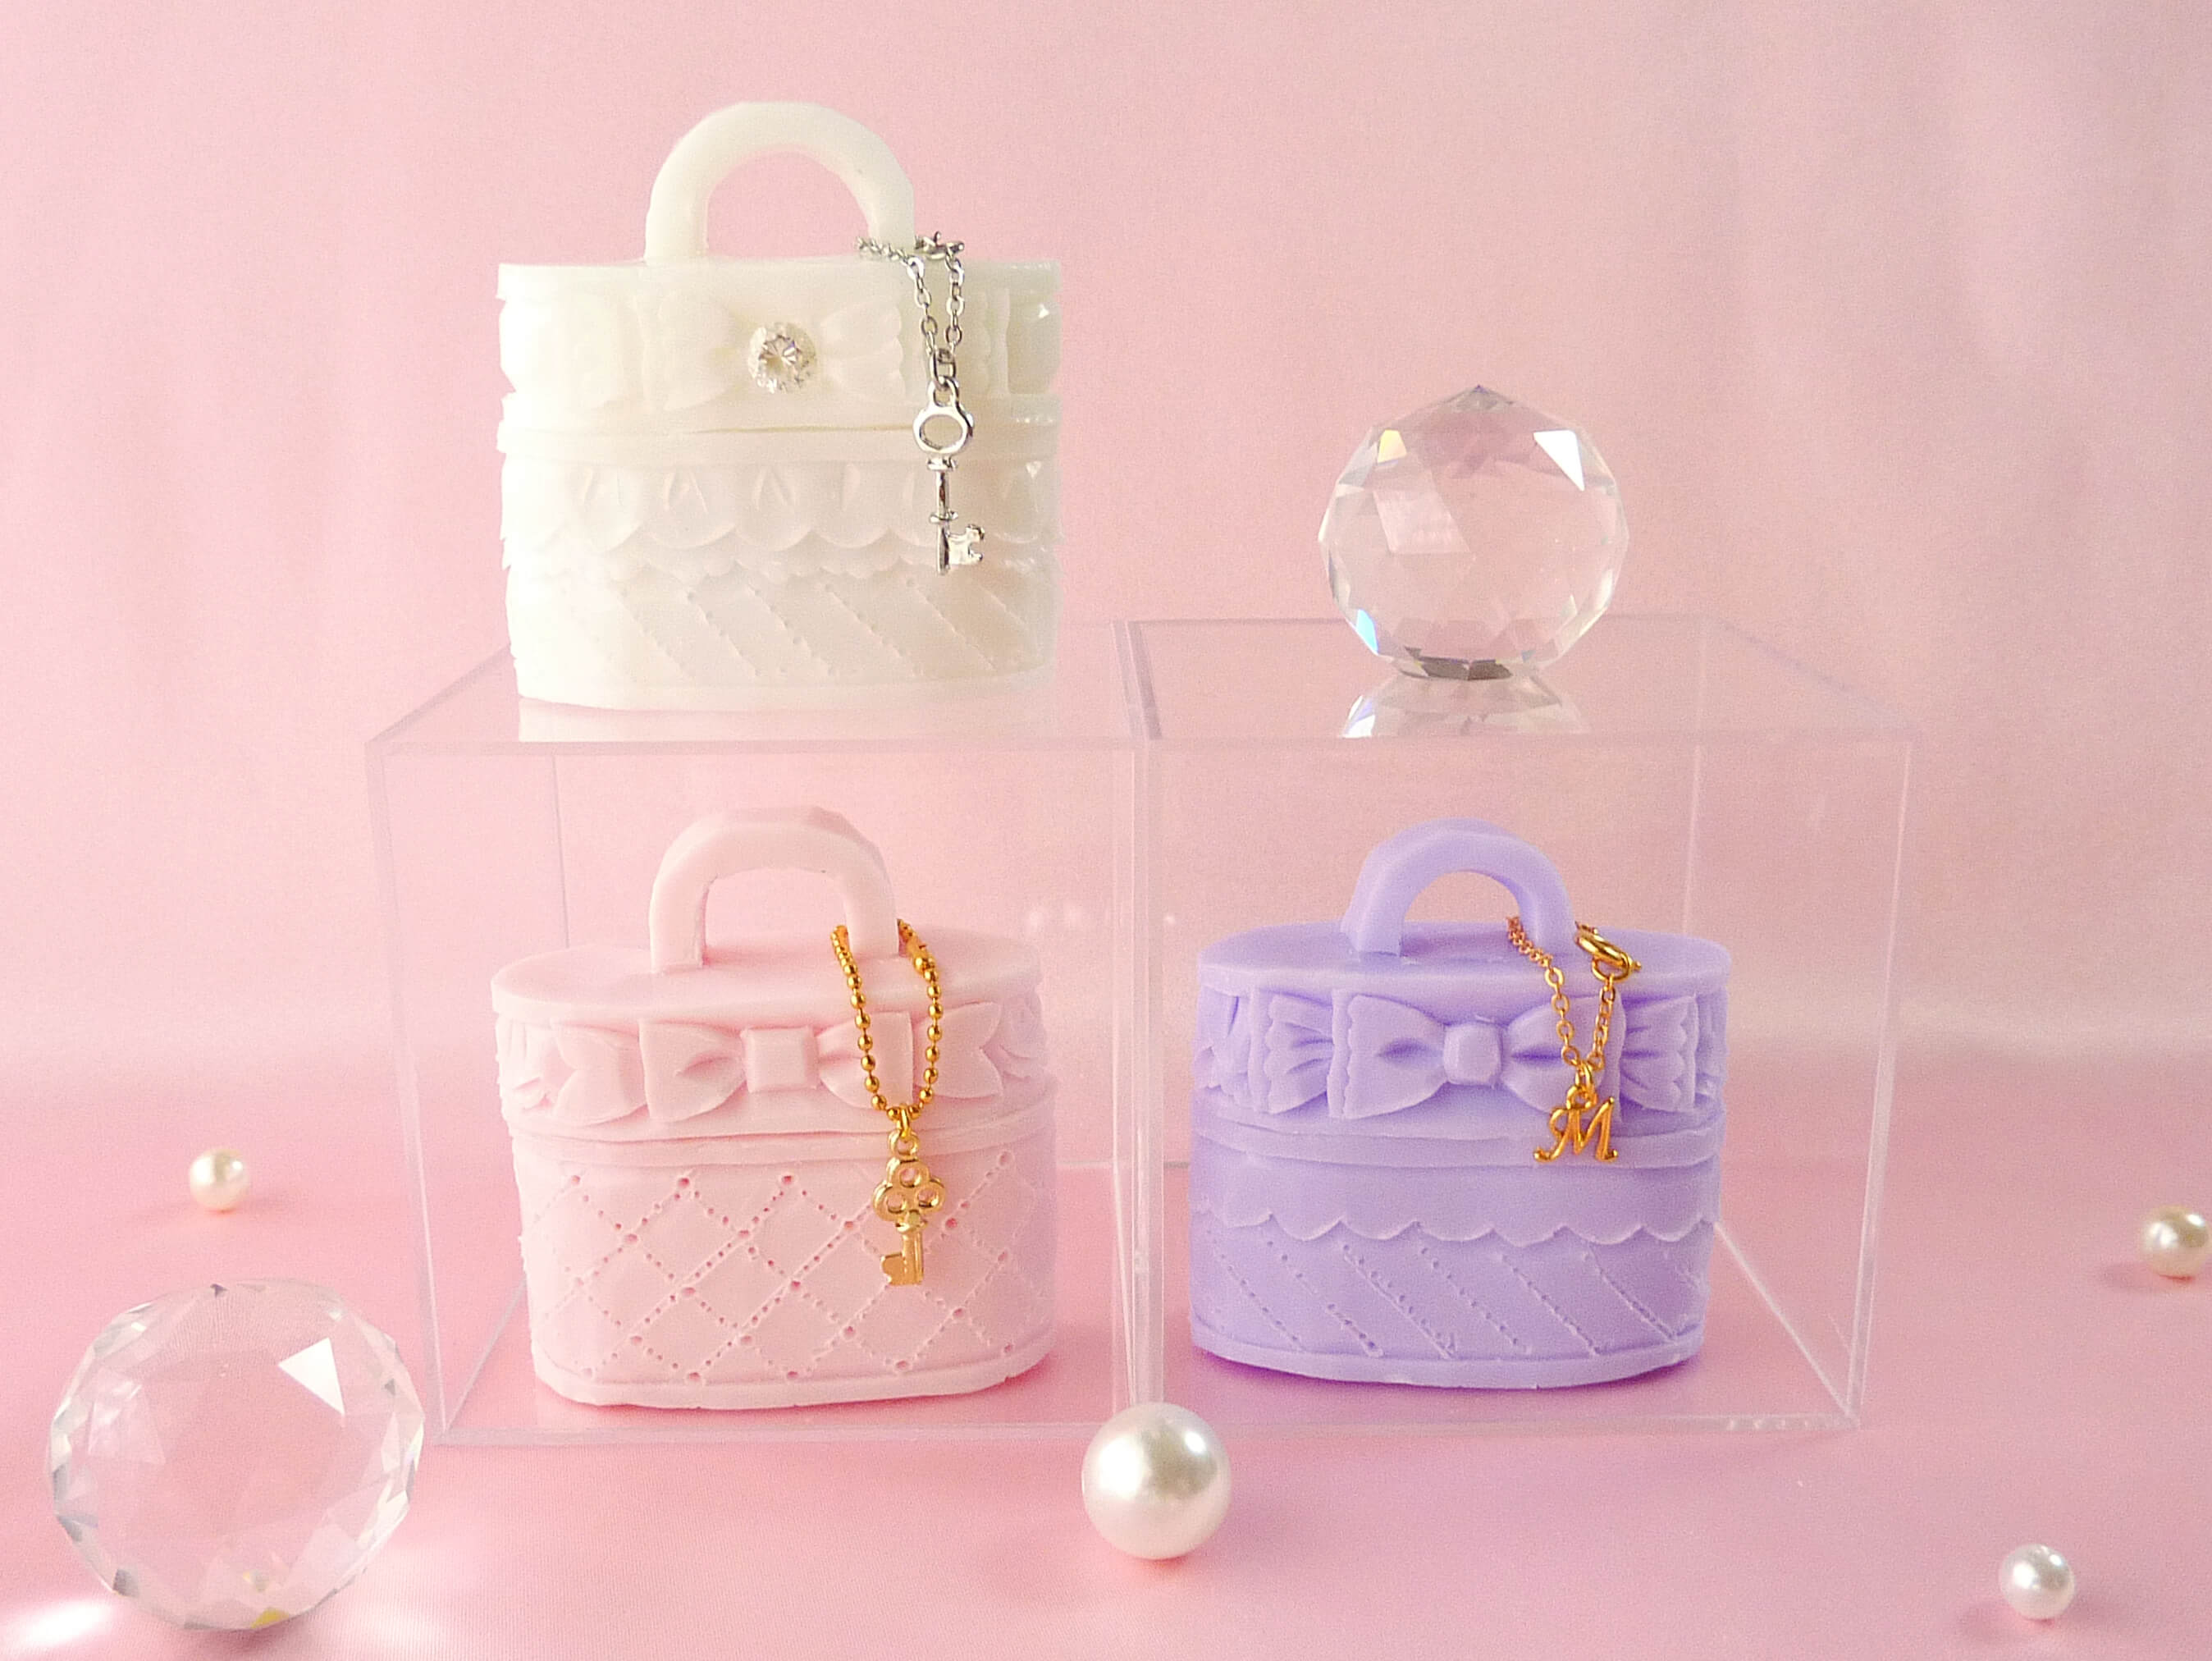
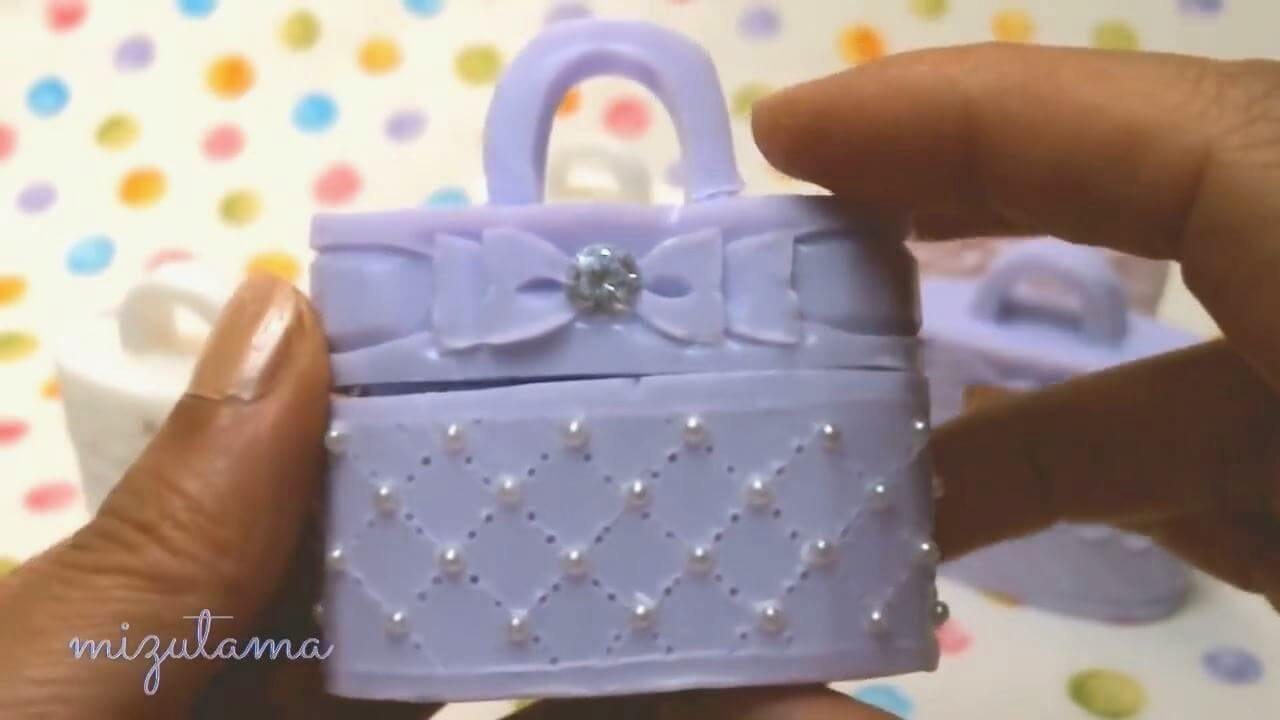
44. Your vanity bag is done!
45. (Optional) Decorate your vanity bag with pearl beads or charms.