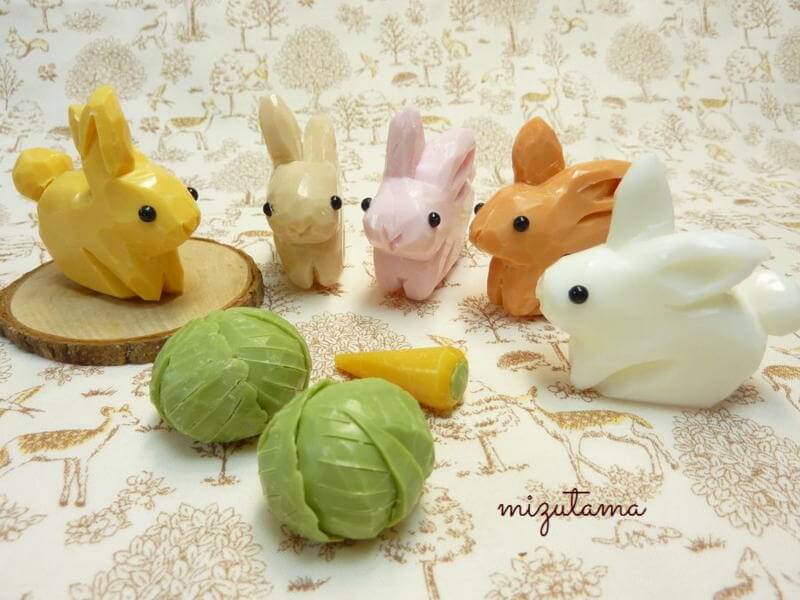
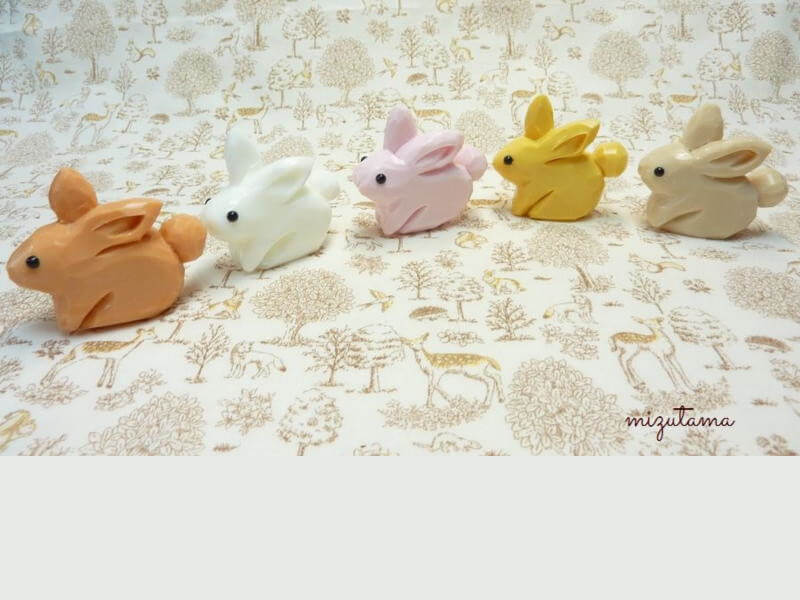
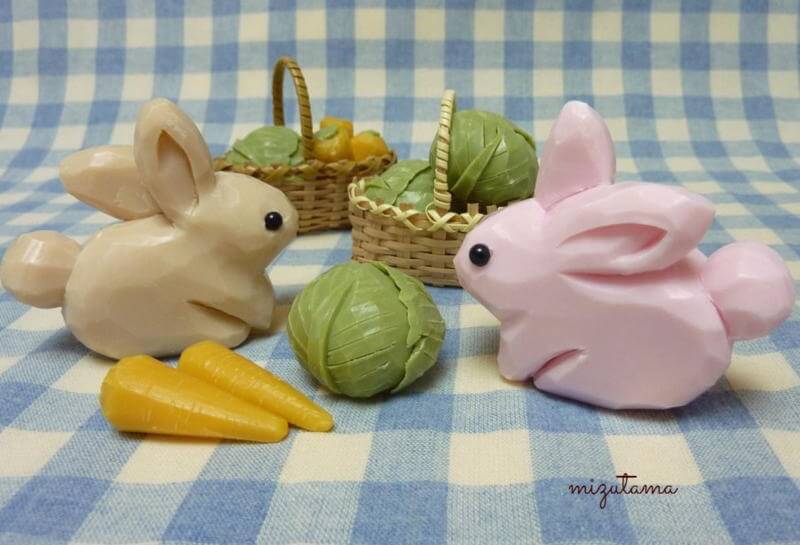
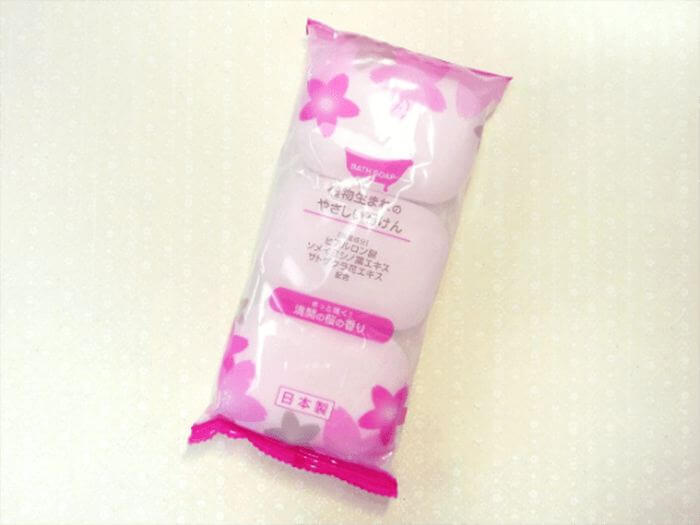
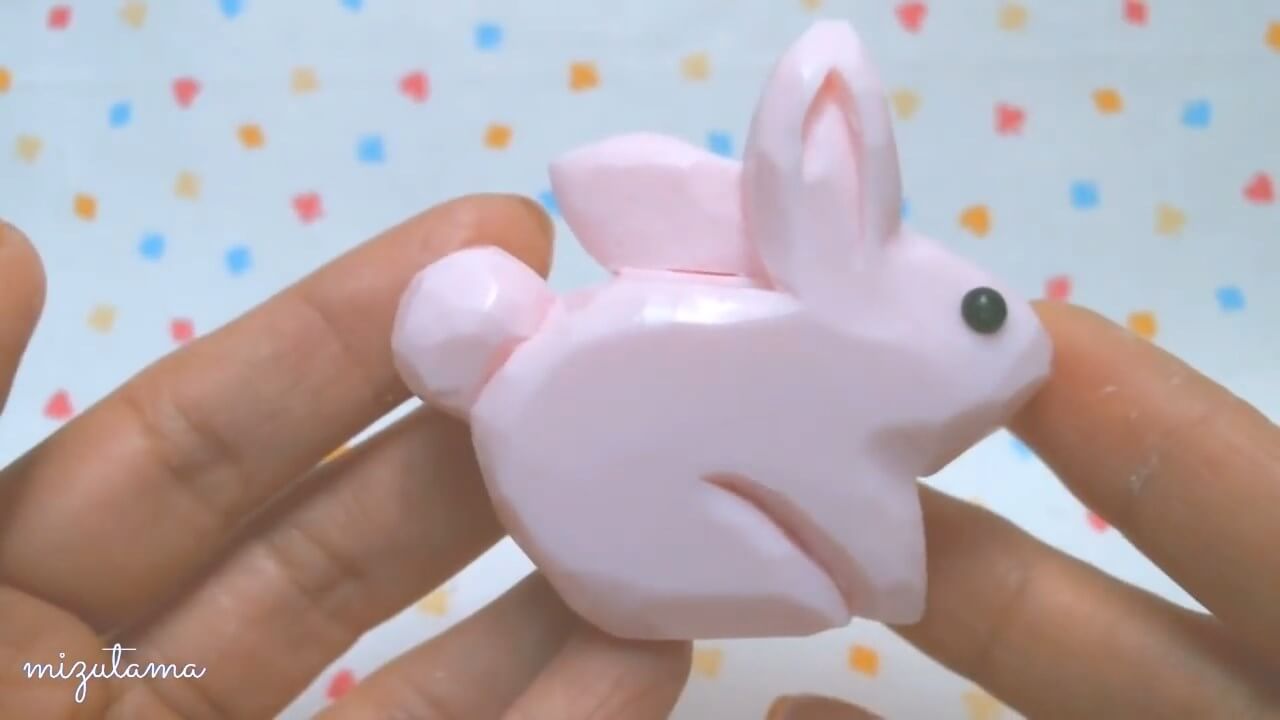
Size: 7 cm (2-3/4") x 5.2 cm (2-1/8") x 2.5 cm (1")
Weight: 80 g (5 oz)
🎞️
Instruction video
❔
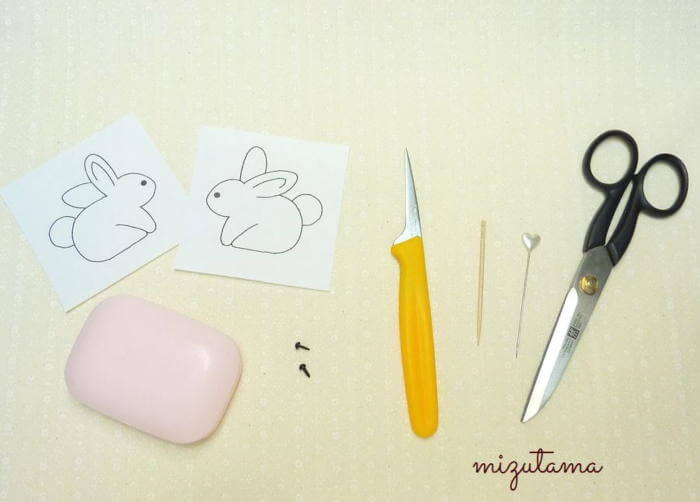
Instructions
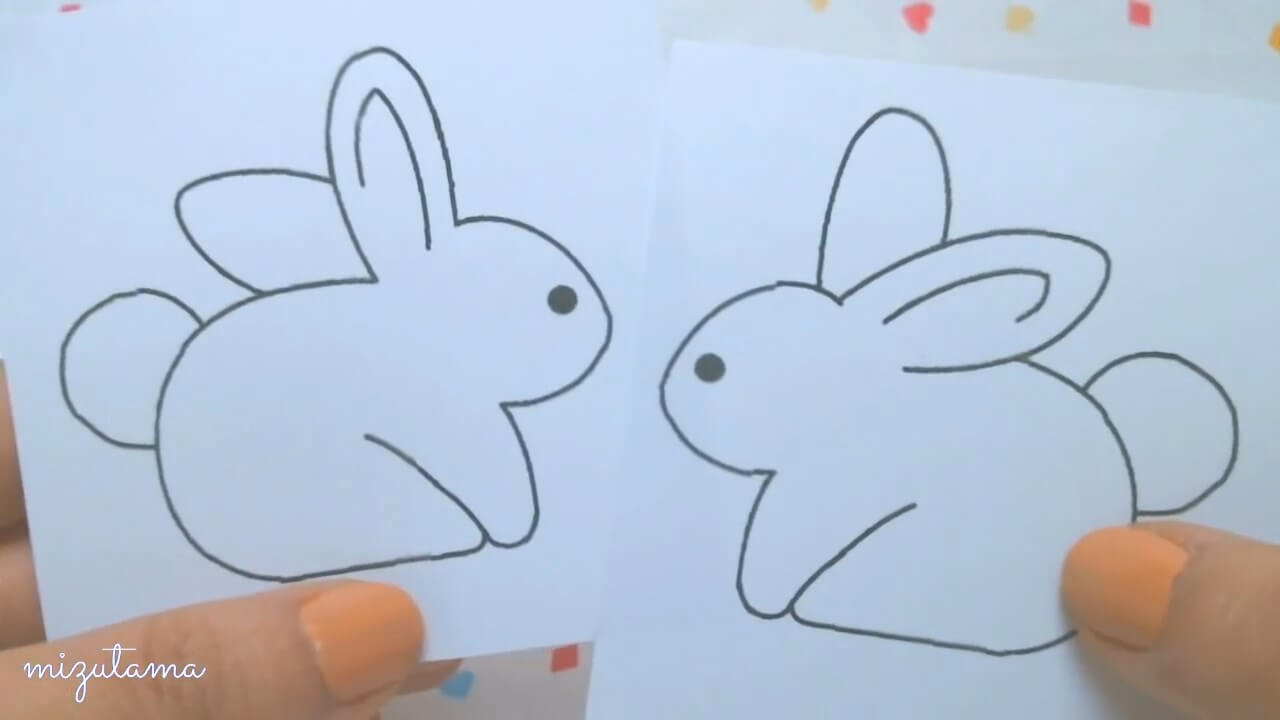
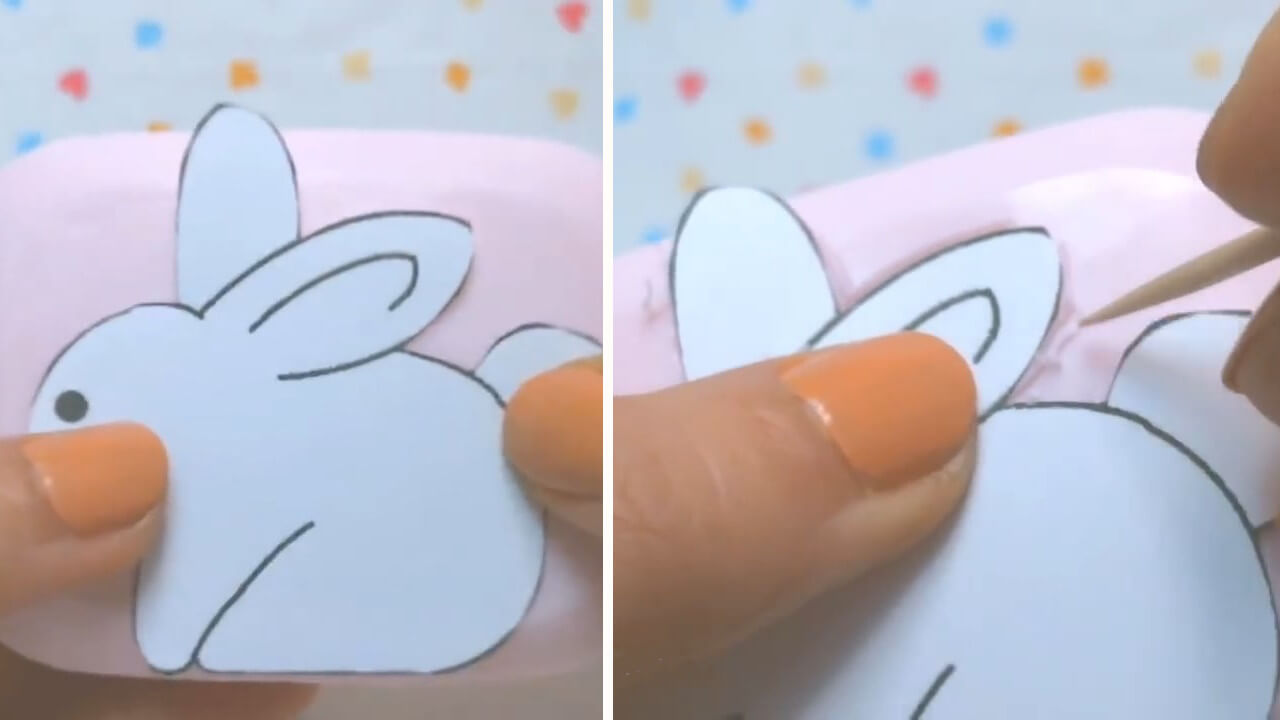
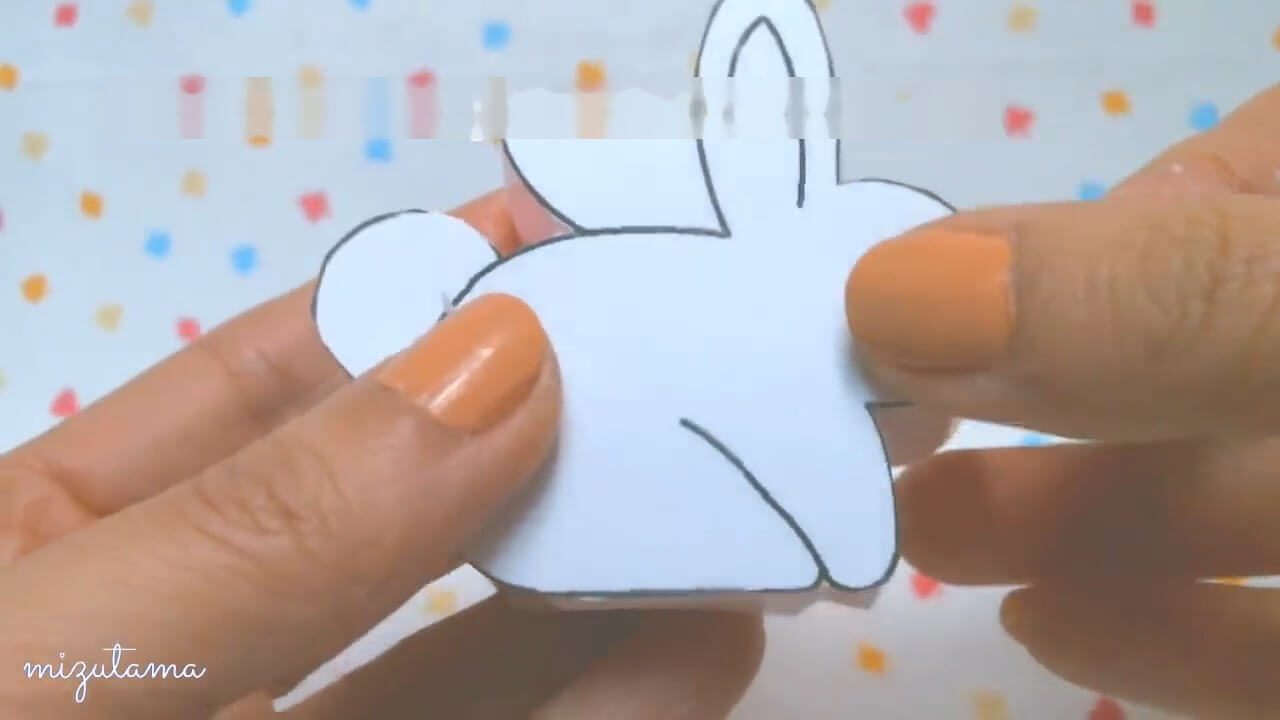
1. Cut out the 2 templates of different sides of the bunny.
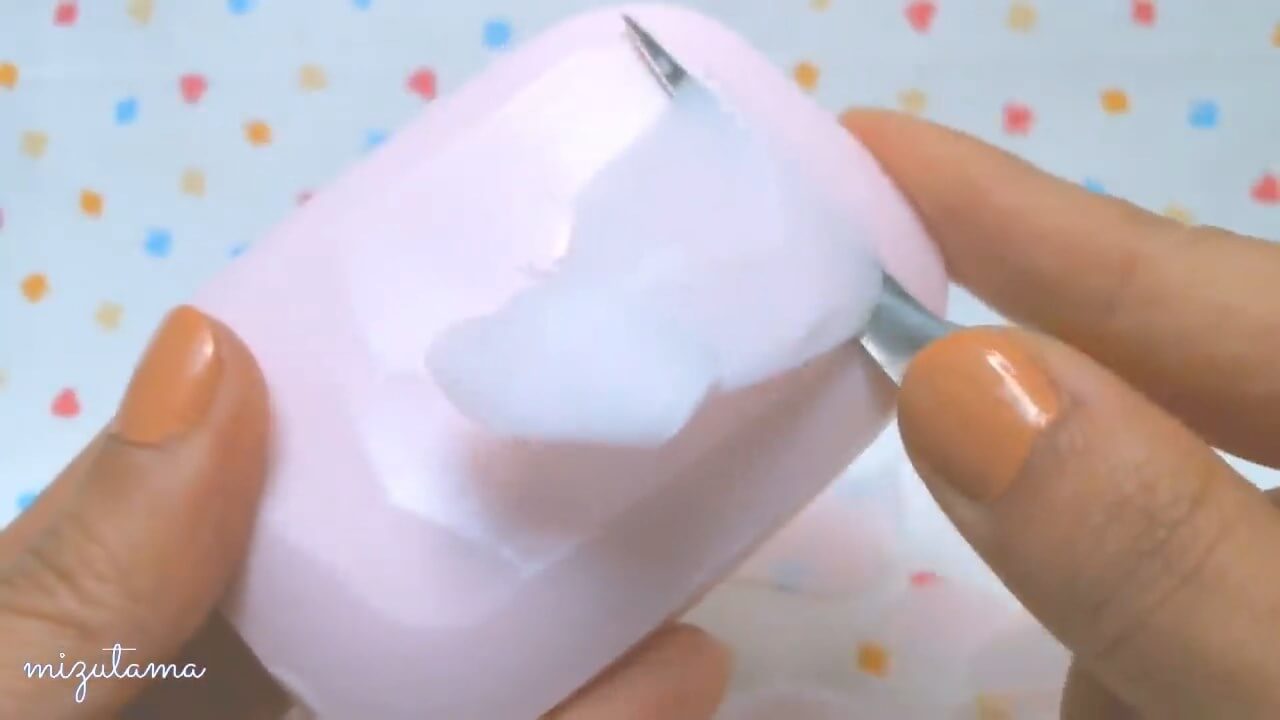
2. Slice off the top and the bottom of your soap with a carving knife. Soap should have 20 mm of thickness.
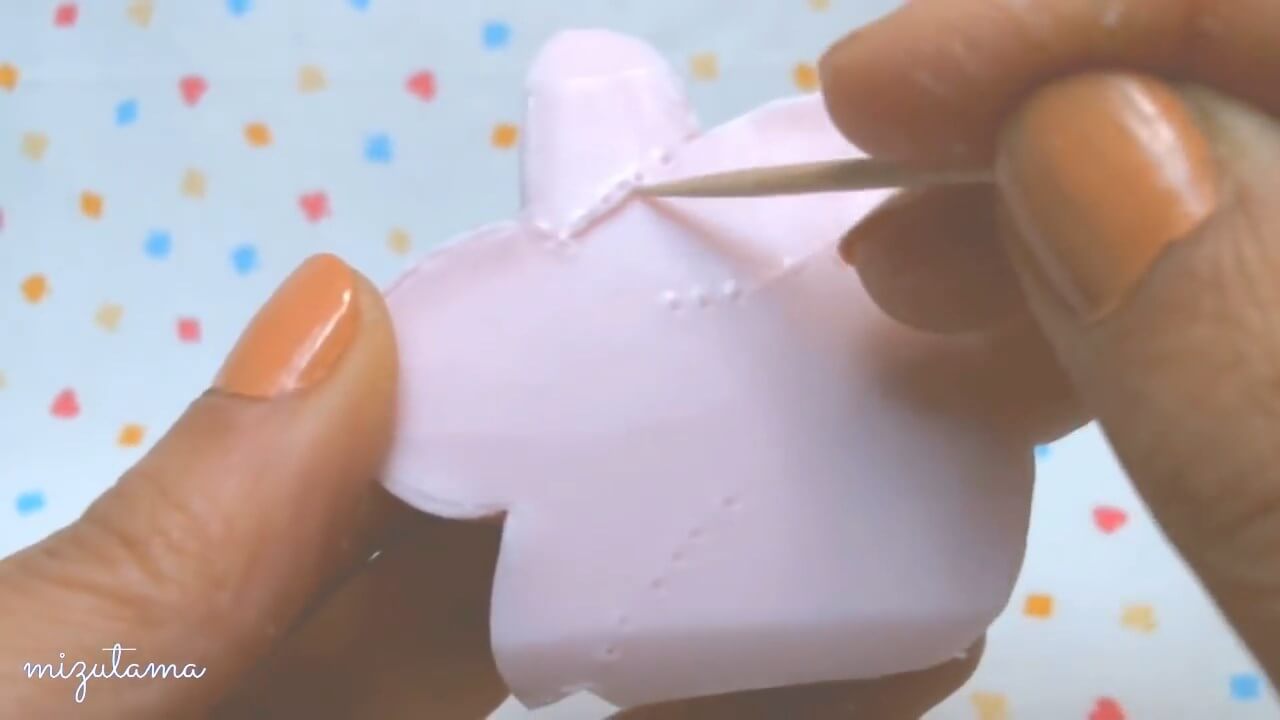
3. Trace the bunny shape onto your soap with a toothpick.
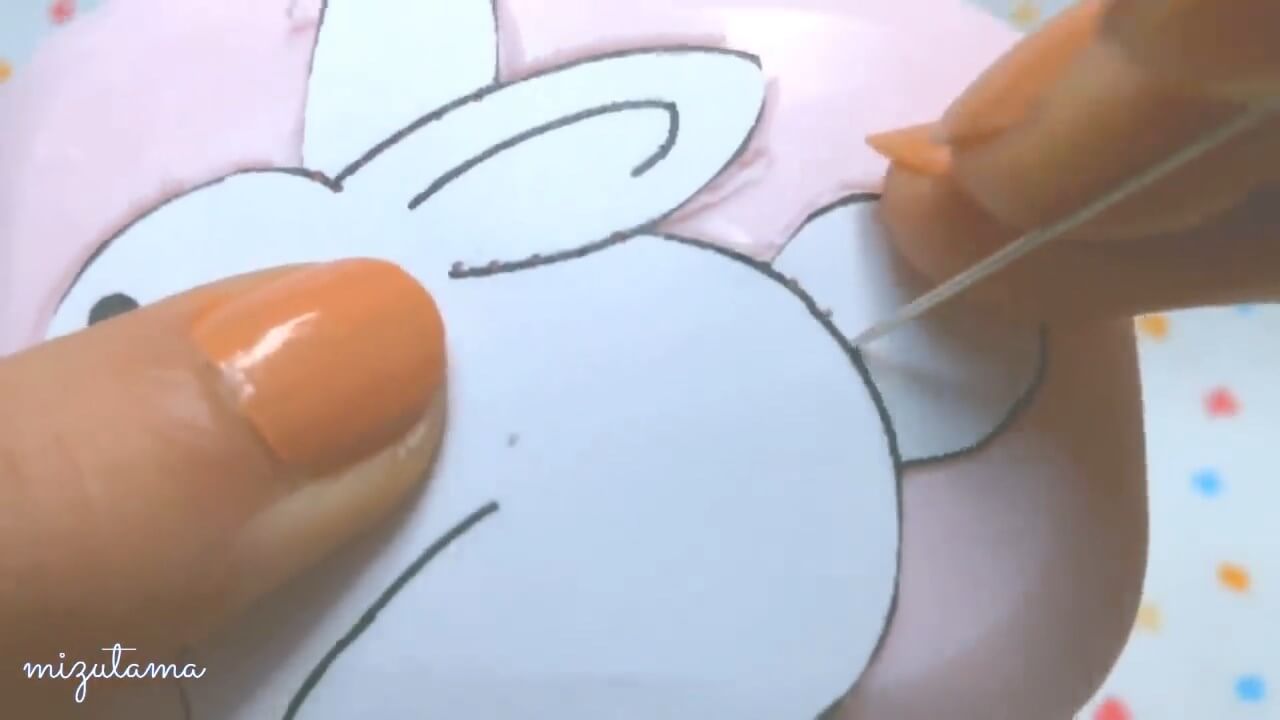
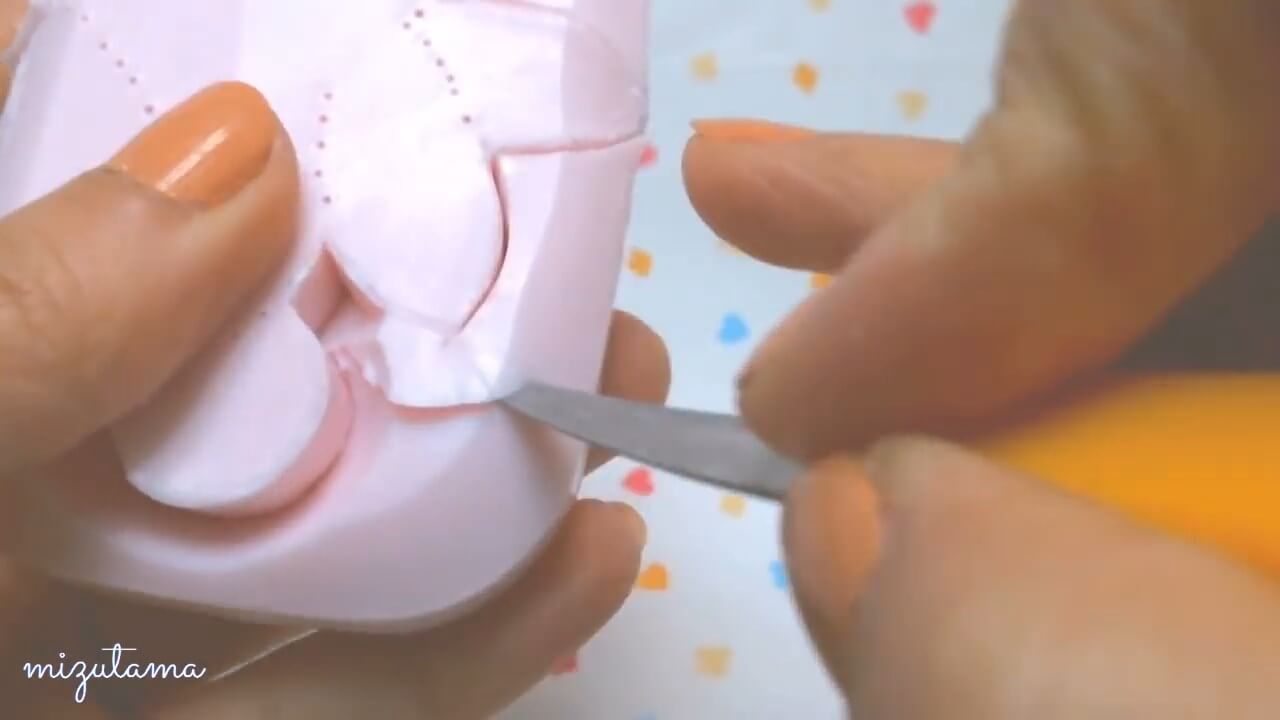
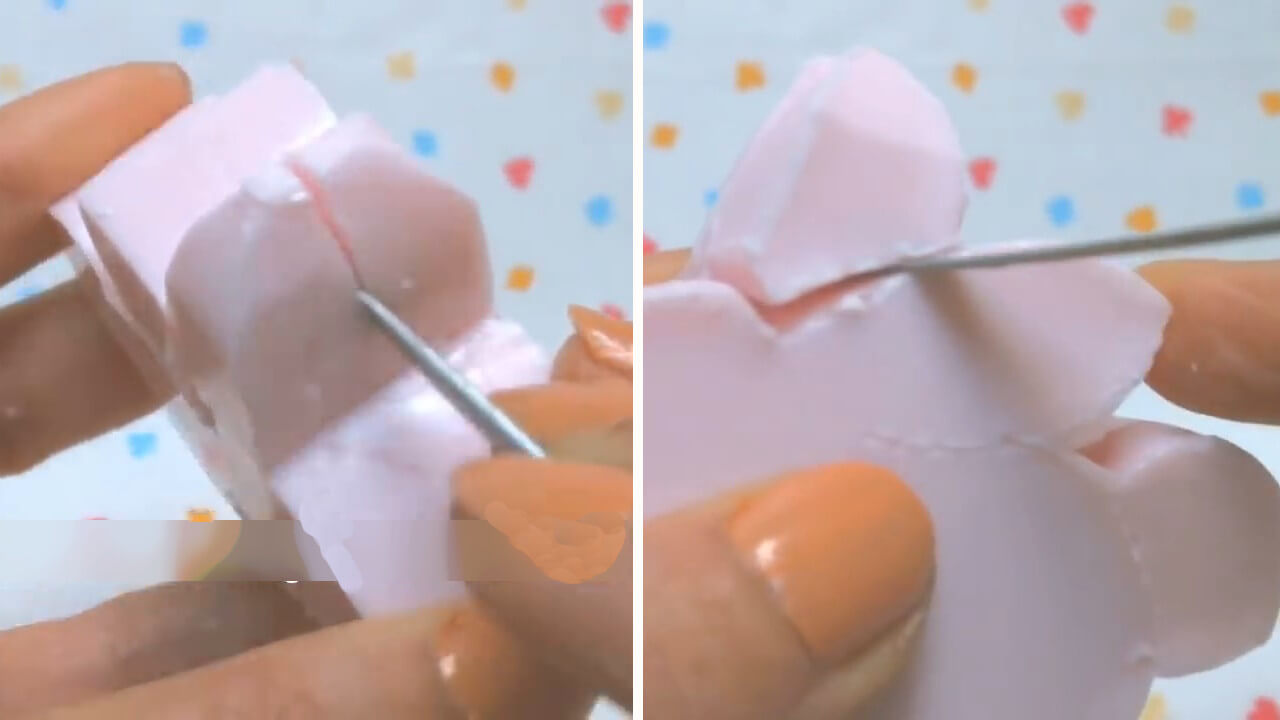
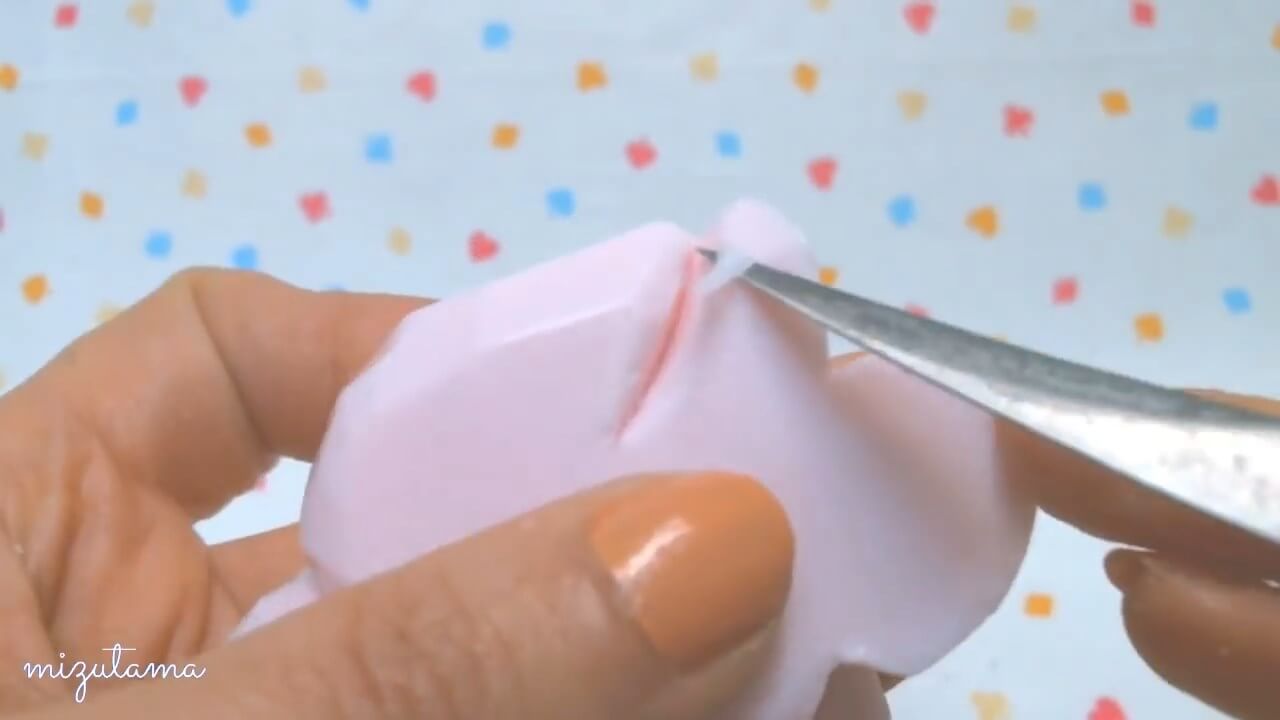
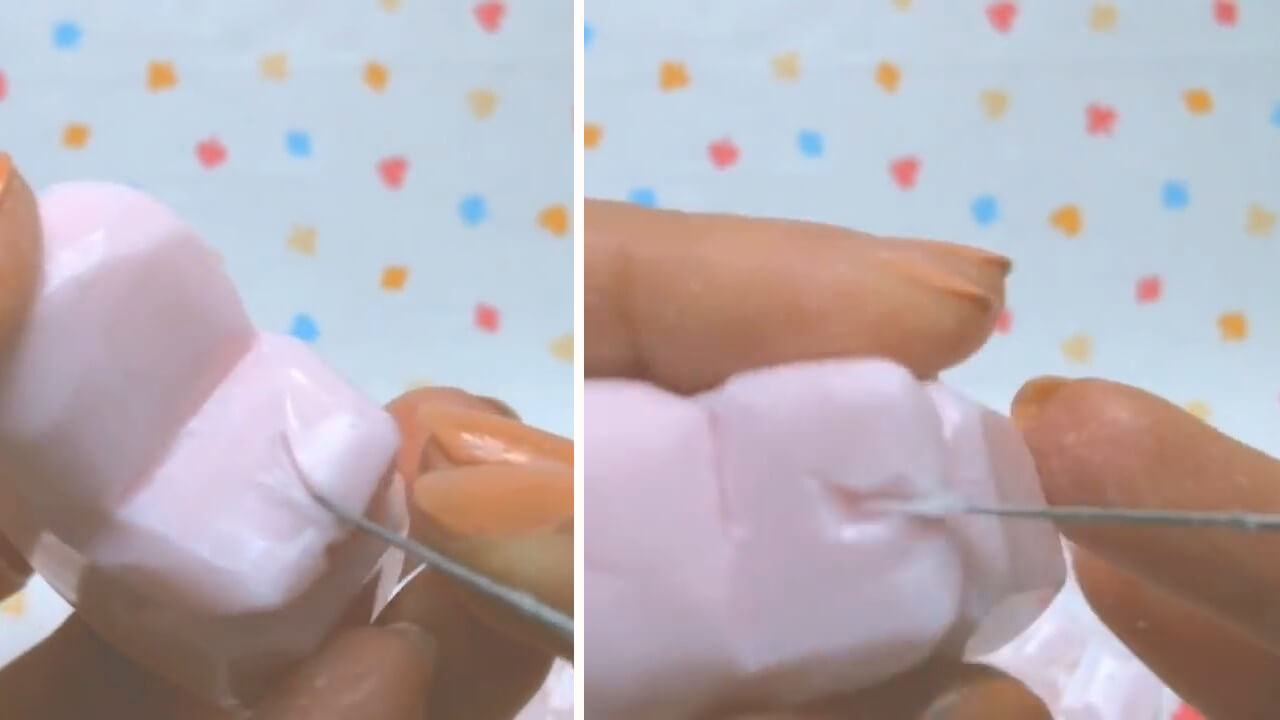
4. Poke holes along the ear and the body outline with a needle.
5. Cut the bunny shape.
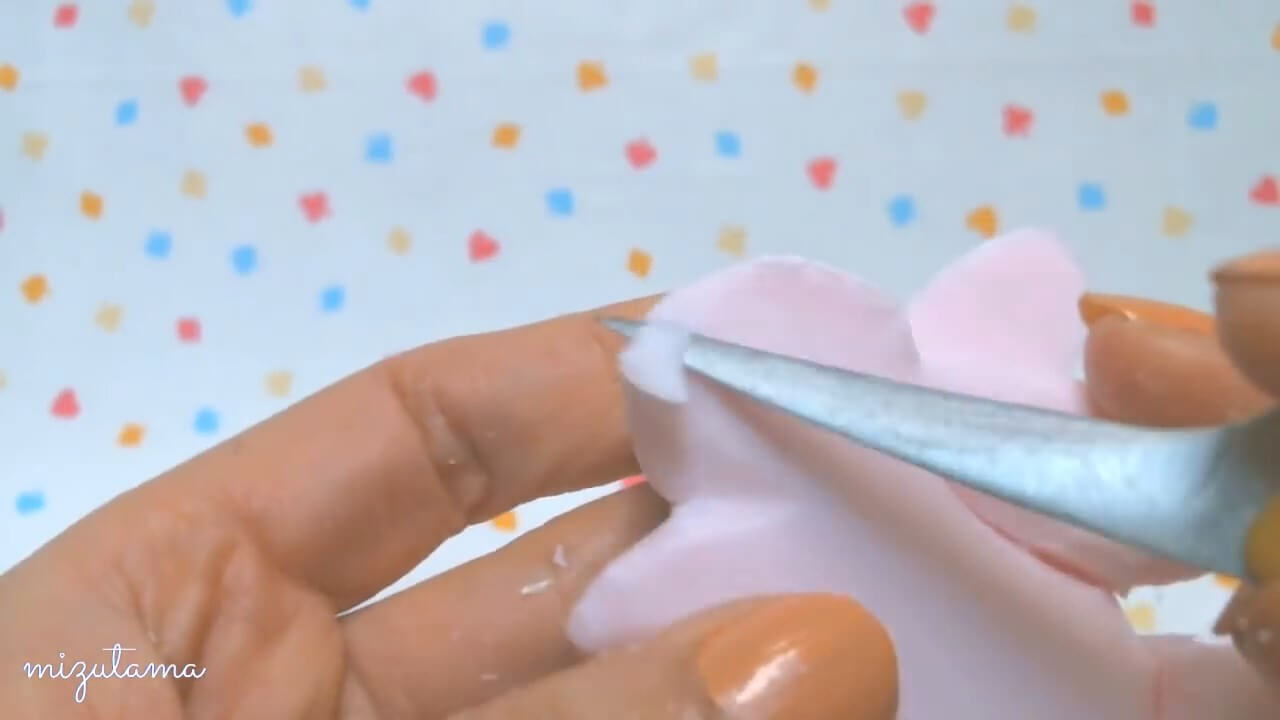
6. Remove the soap around the bunny.
7. Cut out the bunny shape.
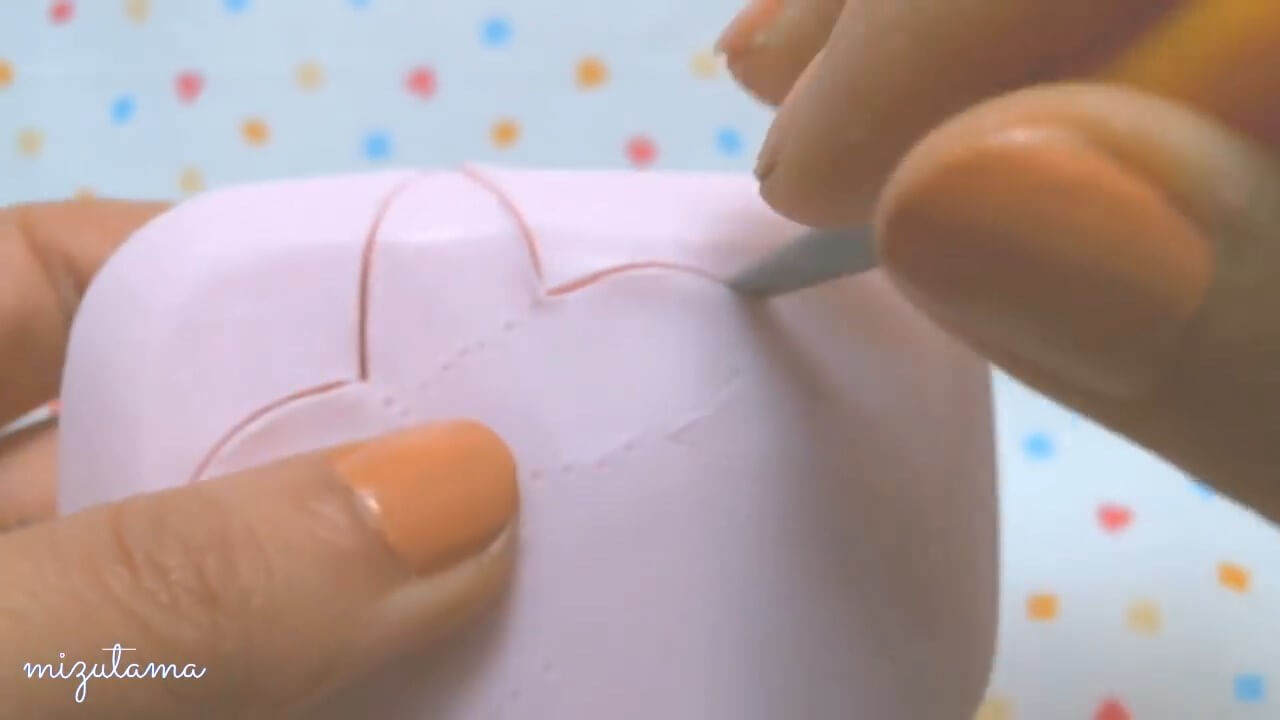
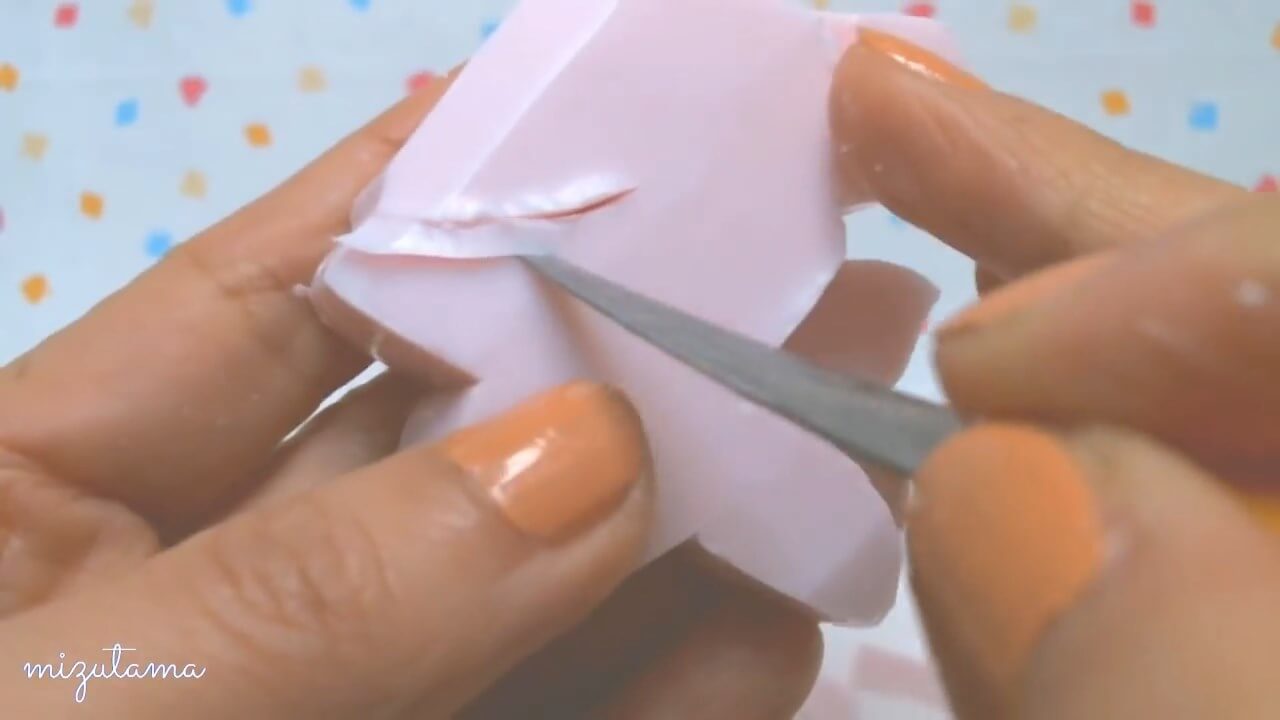
8. Place the other template onto the reverse side.
9. Draw lines along the holes.
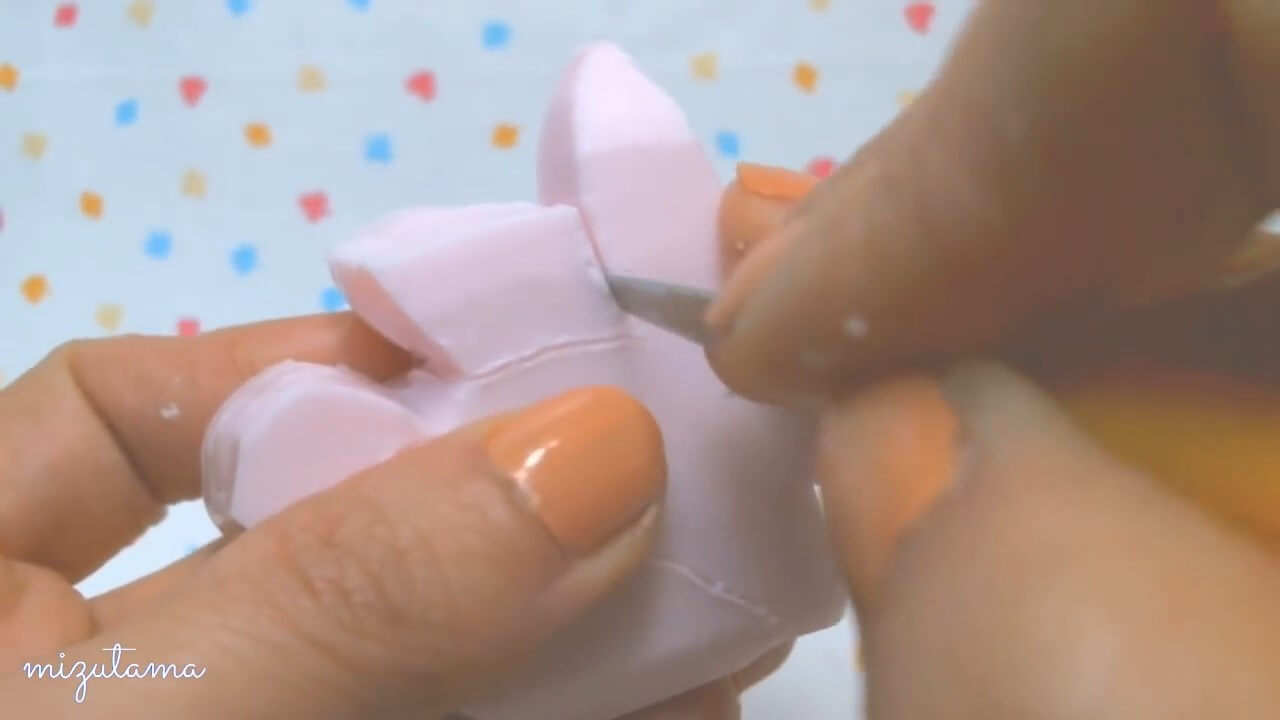
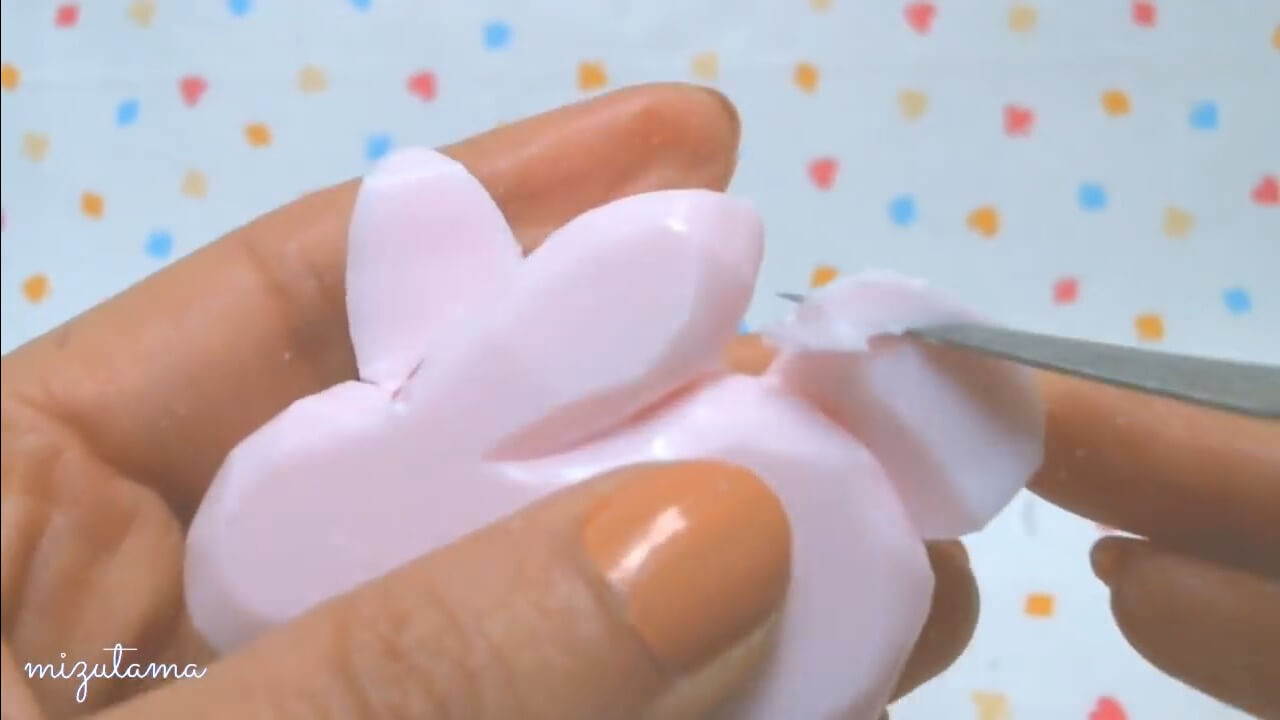
10. Remove the unwanted soap around the ears.
11. Do the same with second ear.
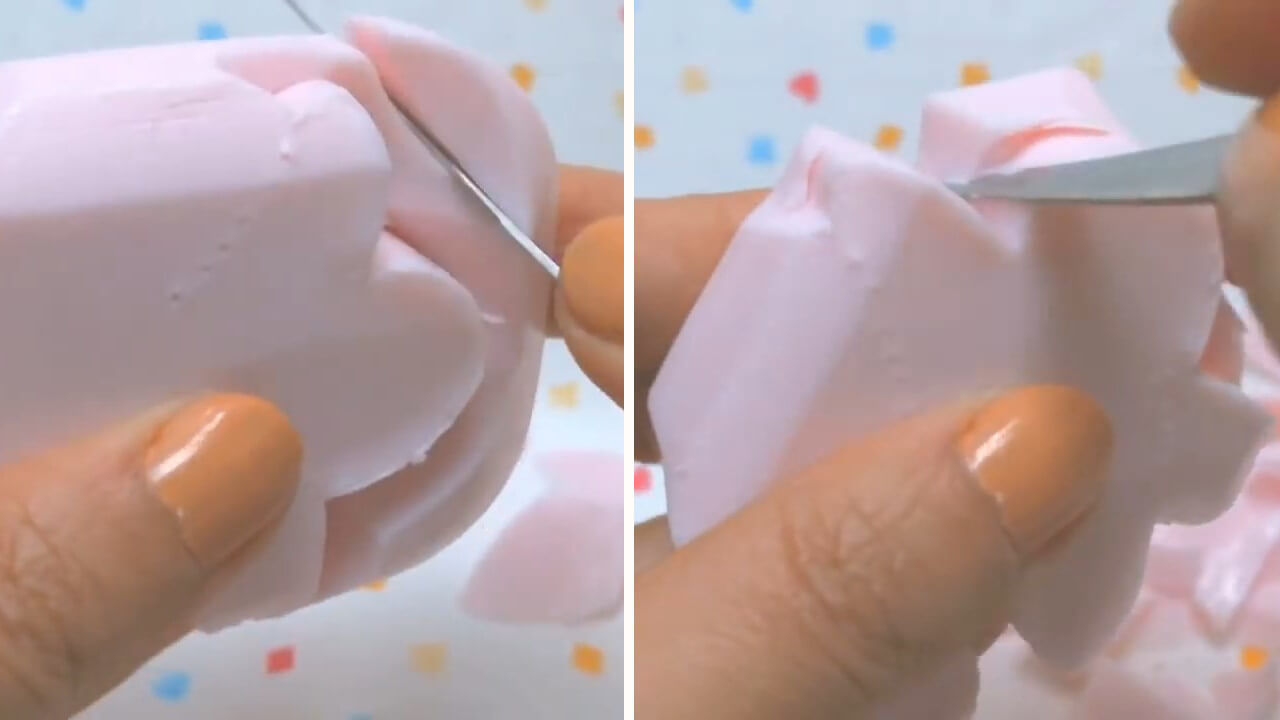
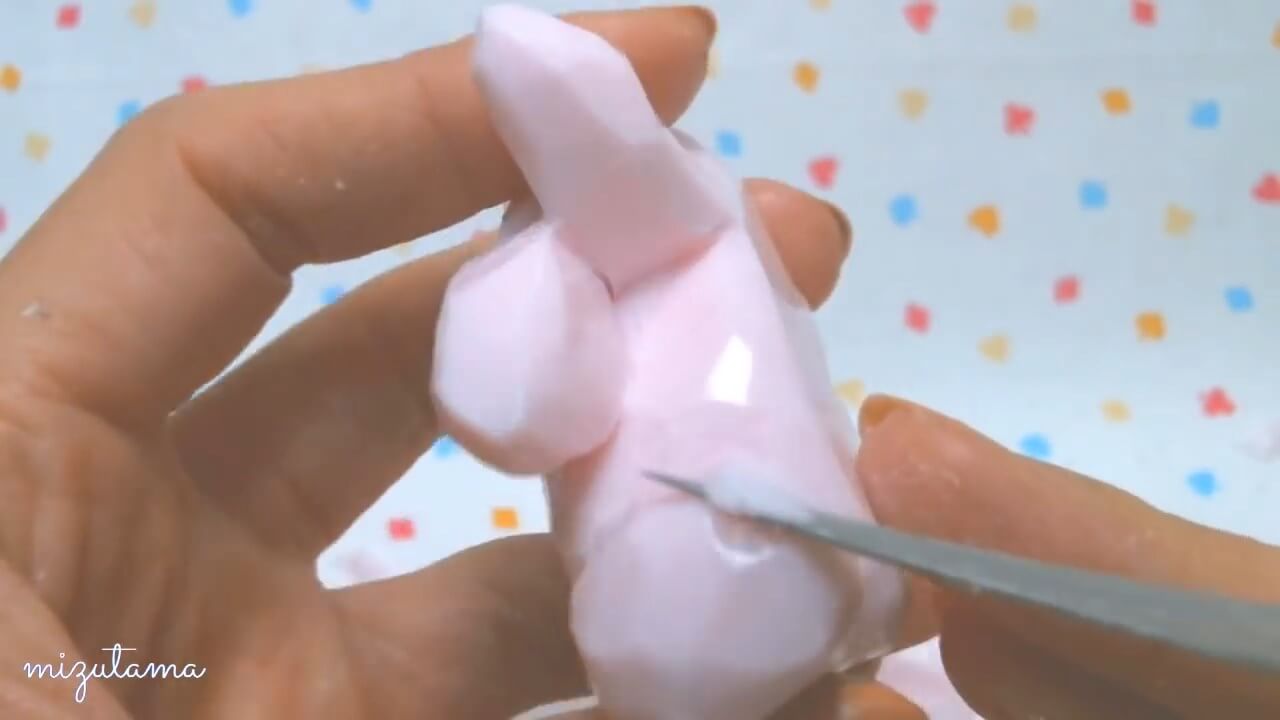
12. Carve the ear, rear and legs.
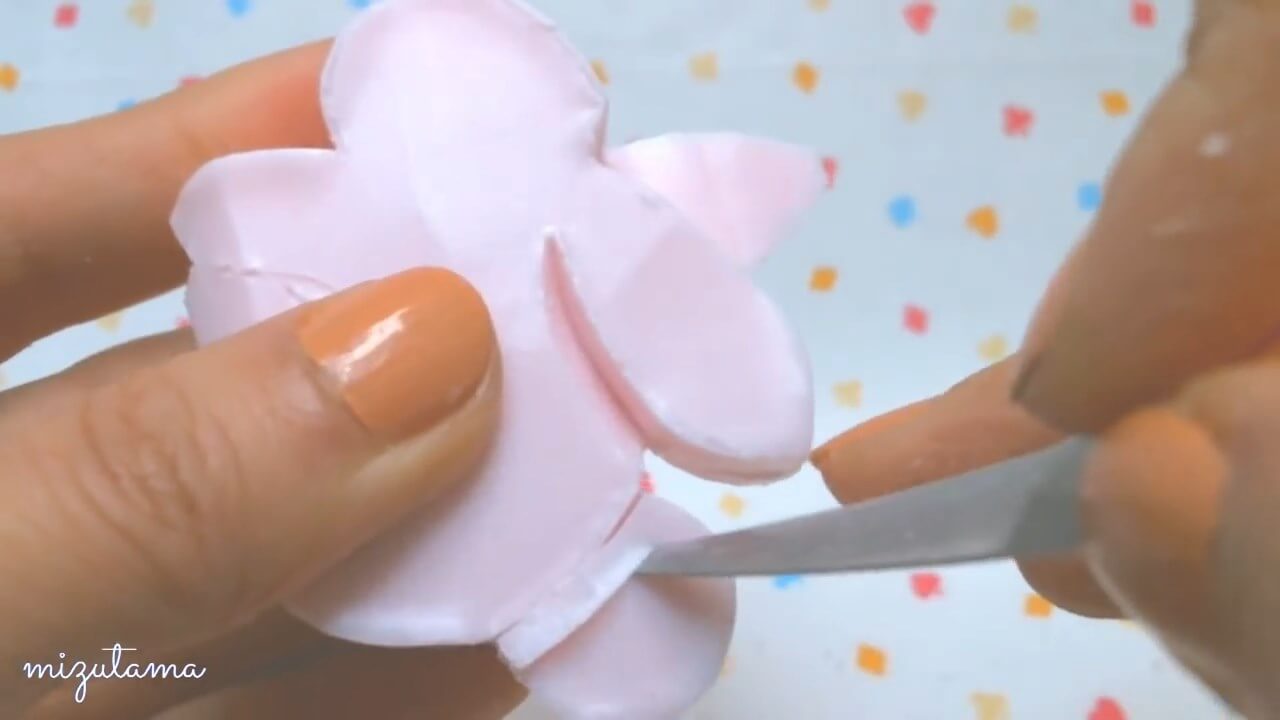
13. Trim the edge of the ear.
14. Trim around body and legs.
15. Trim the bunny face.
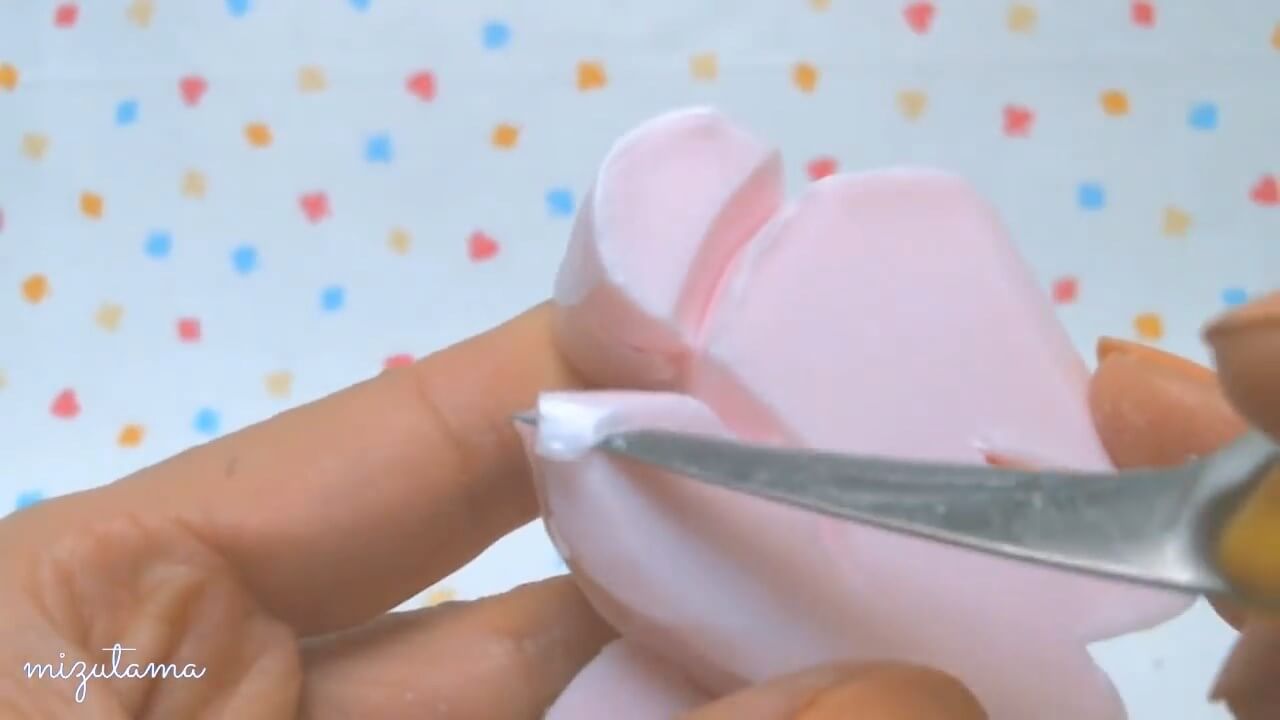
16. Trim the bunny tail.
17. Repeat steps 12-16 with opposite side.
18. Trim the tail.
19. Trim and carve the legs.
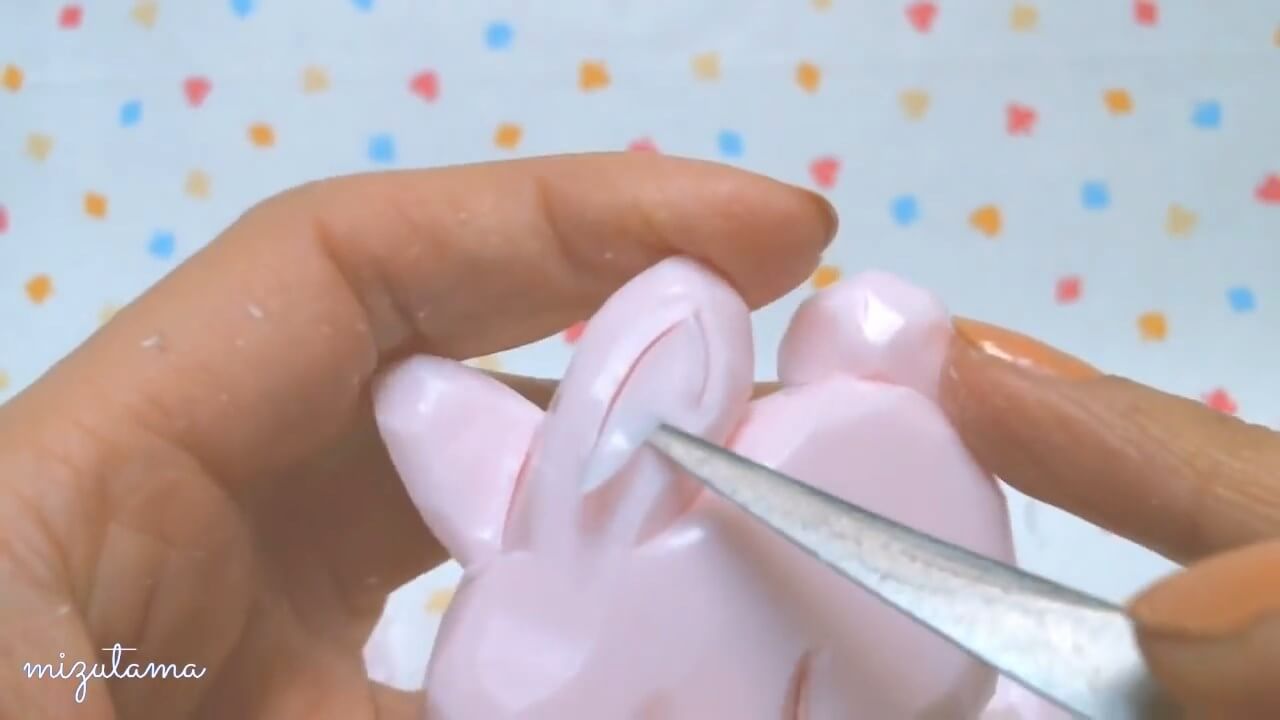
20. Carve the left ear.
21. Do the same with the right ear.
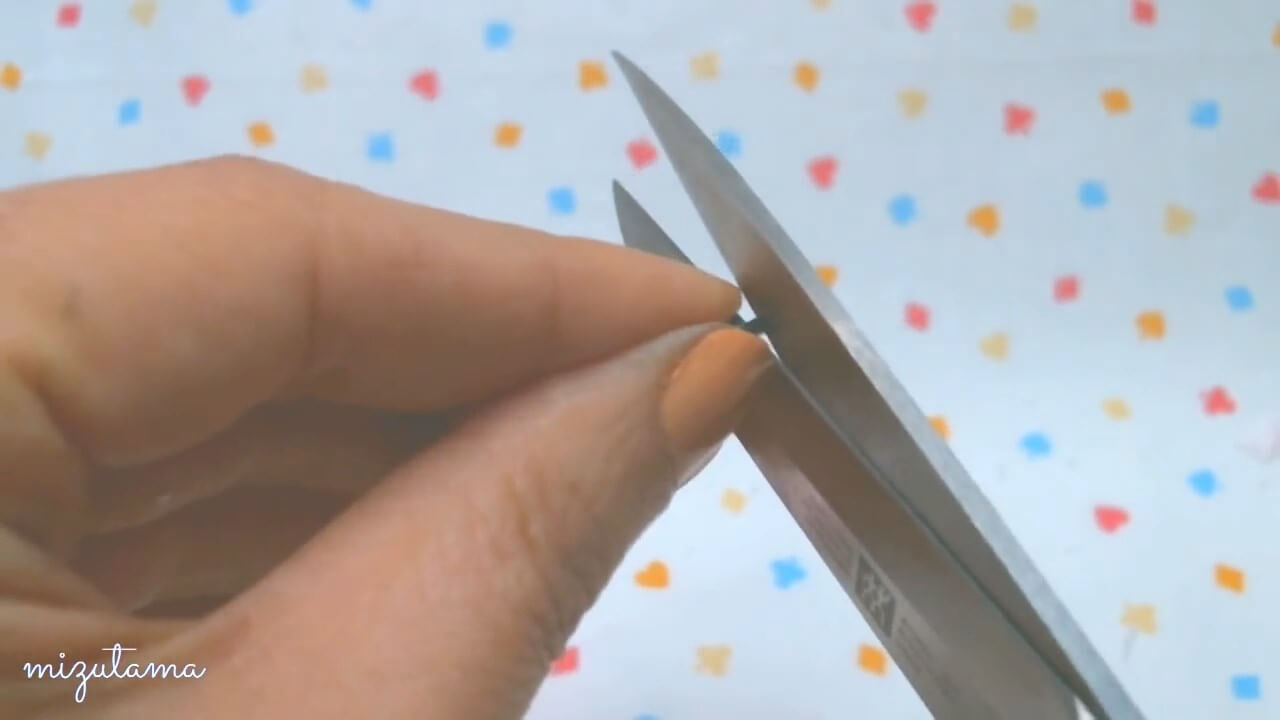
22. Make two holes for eyes.
23. Shorten the eye pin if needed.
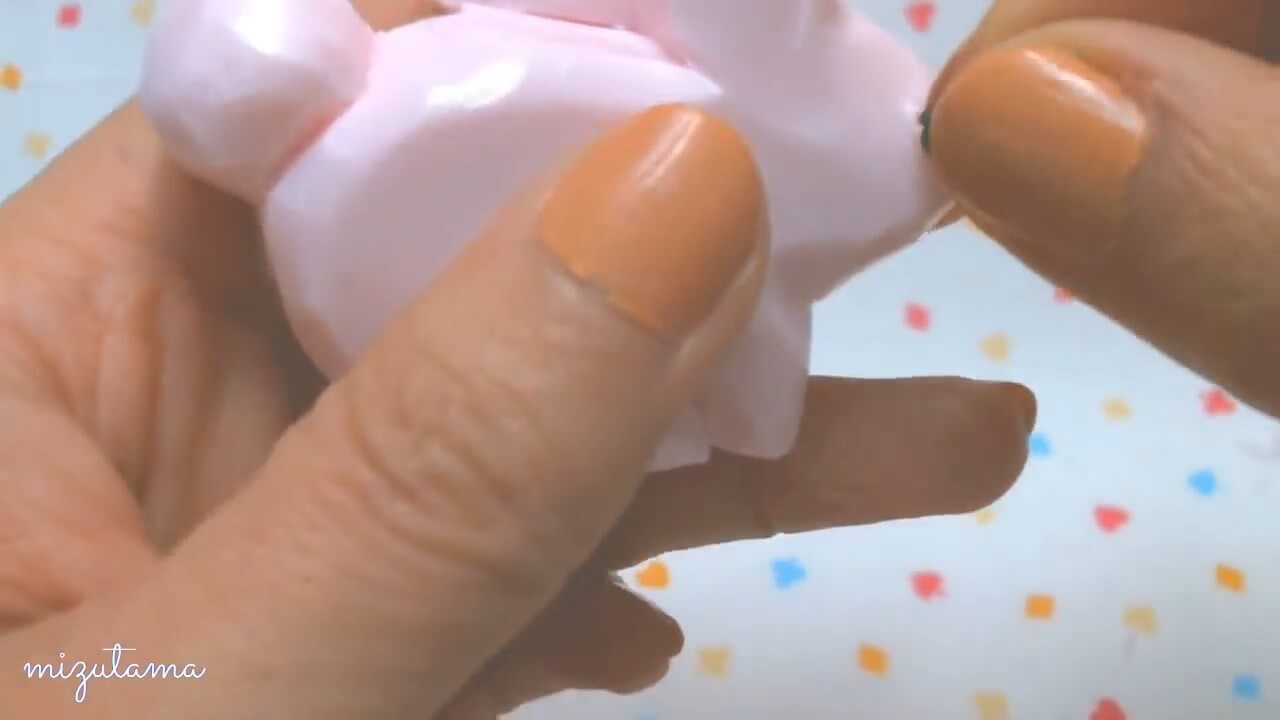
24. Add the plastic eyes.
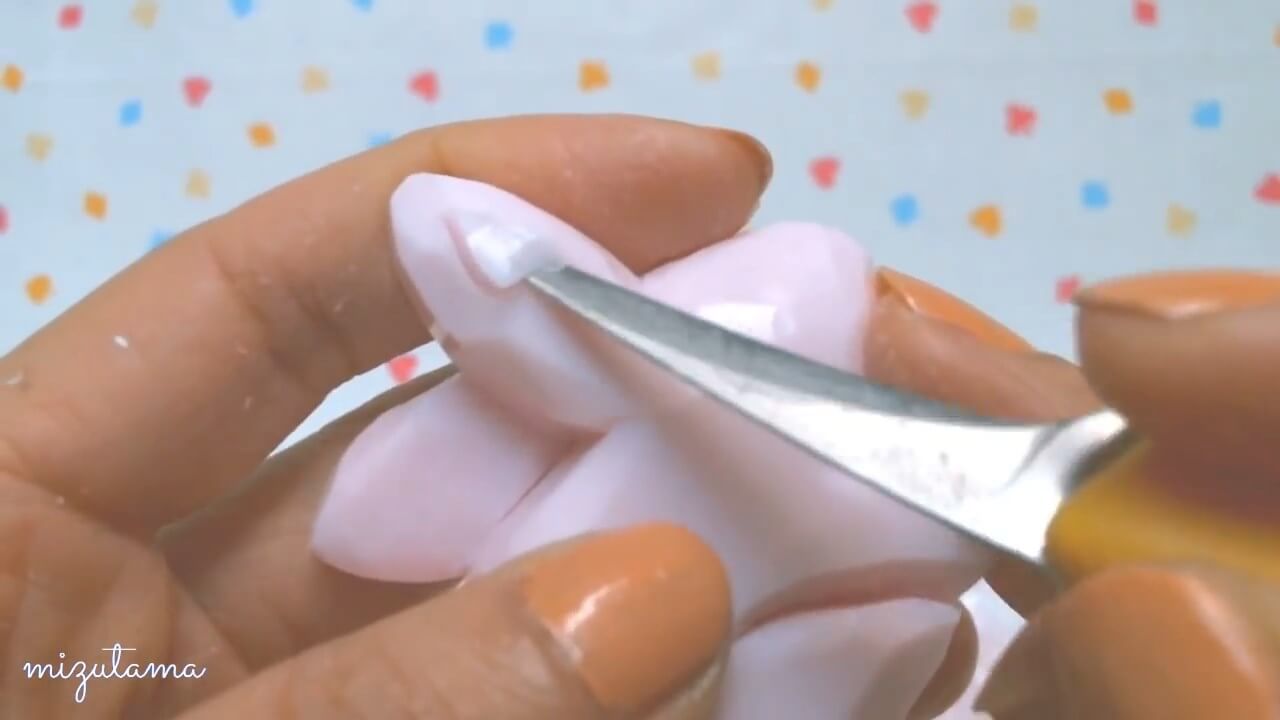
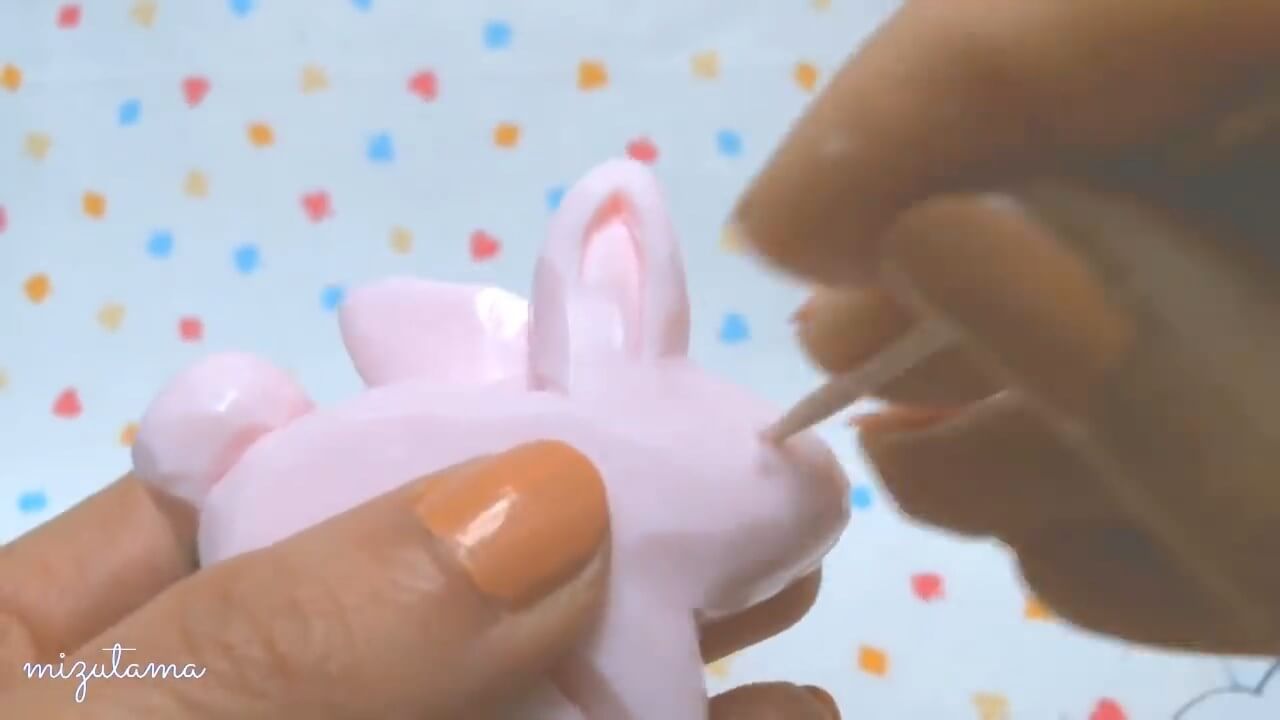
25. Draw the nose.
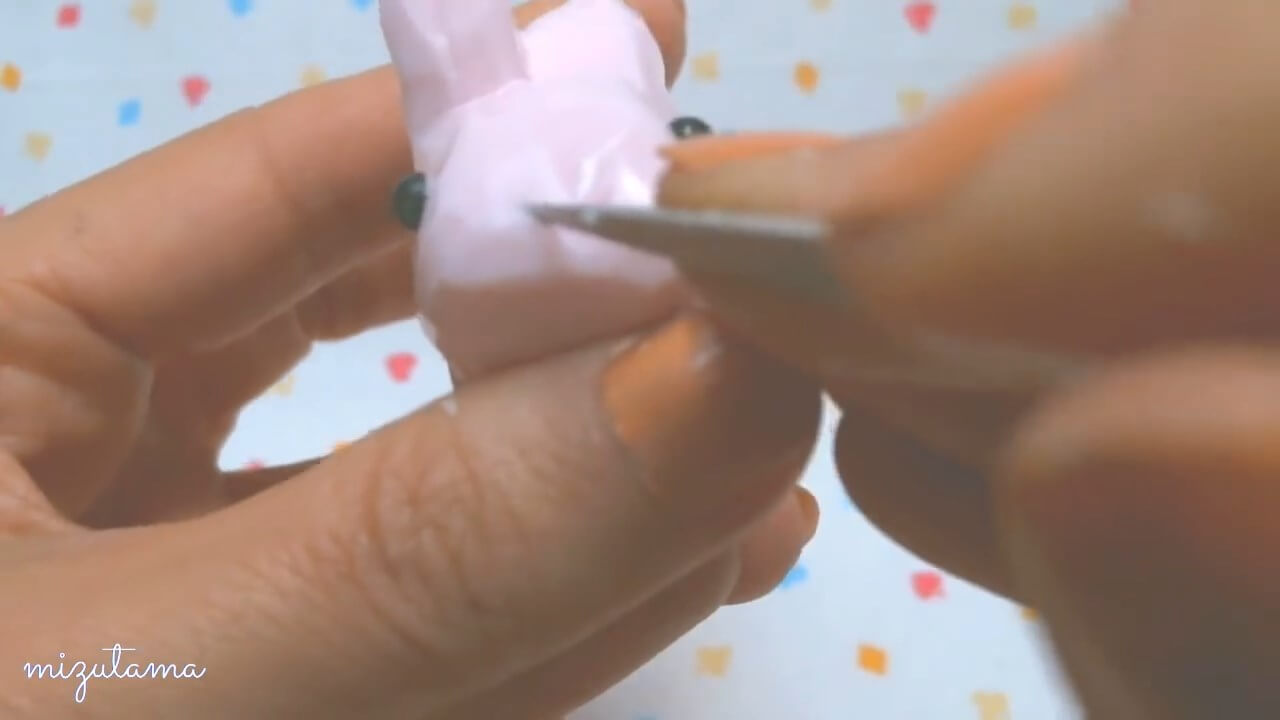
26. Carve the nose.
27. Done!