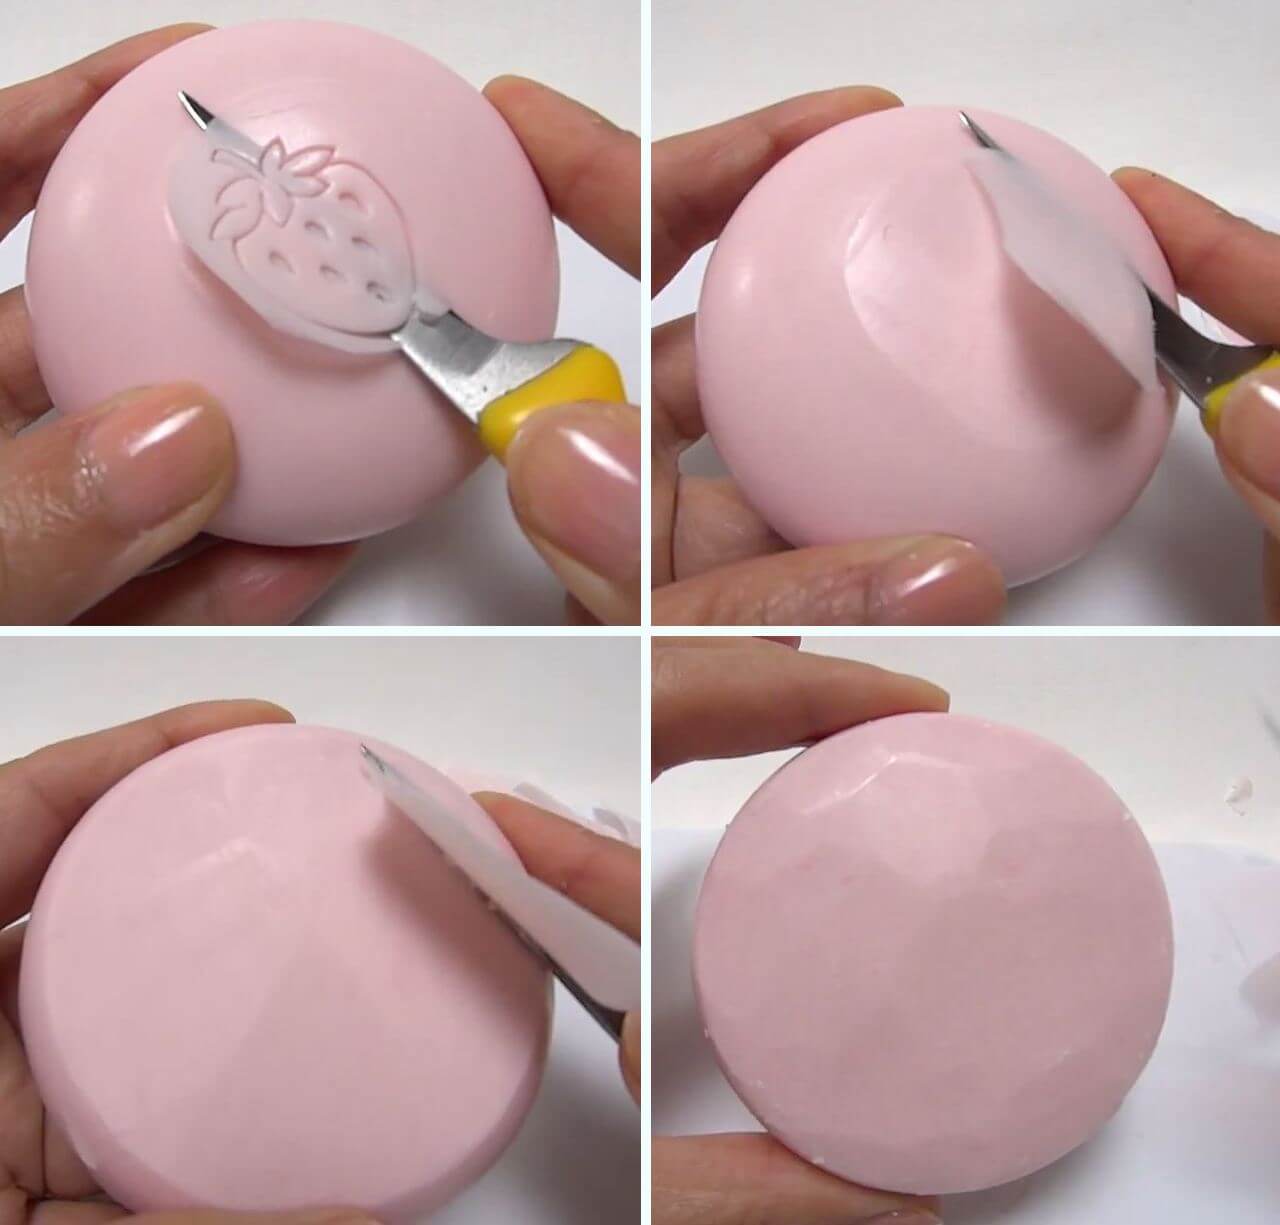
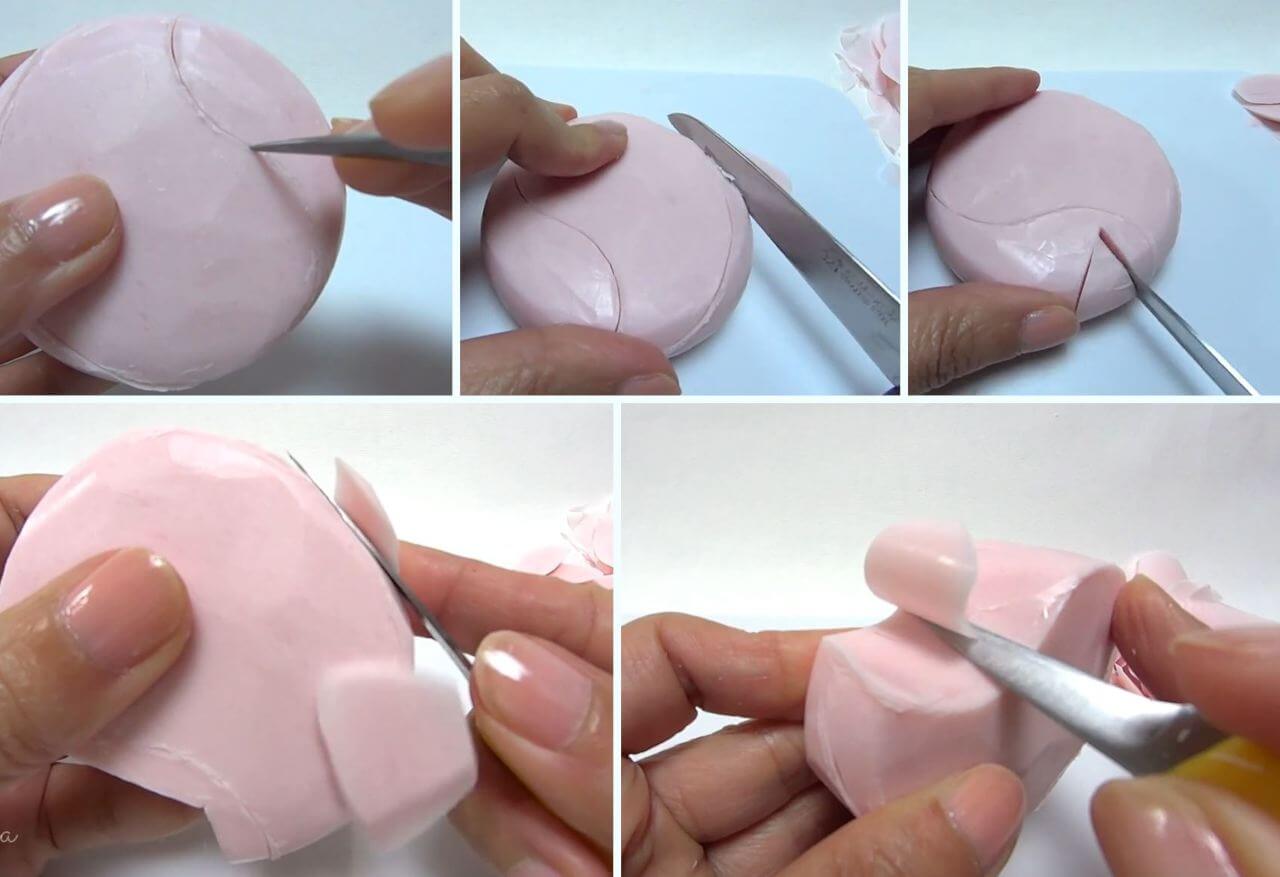
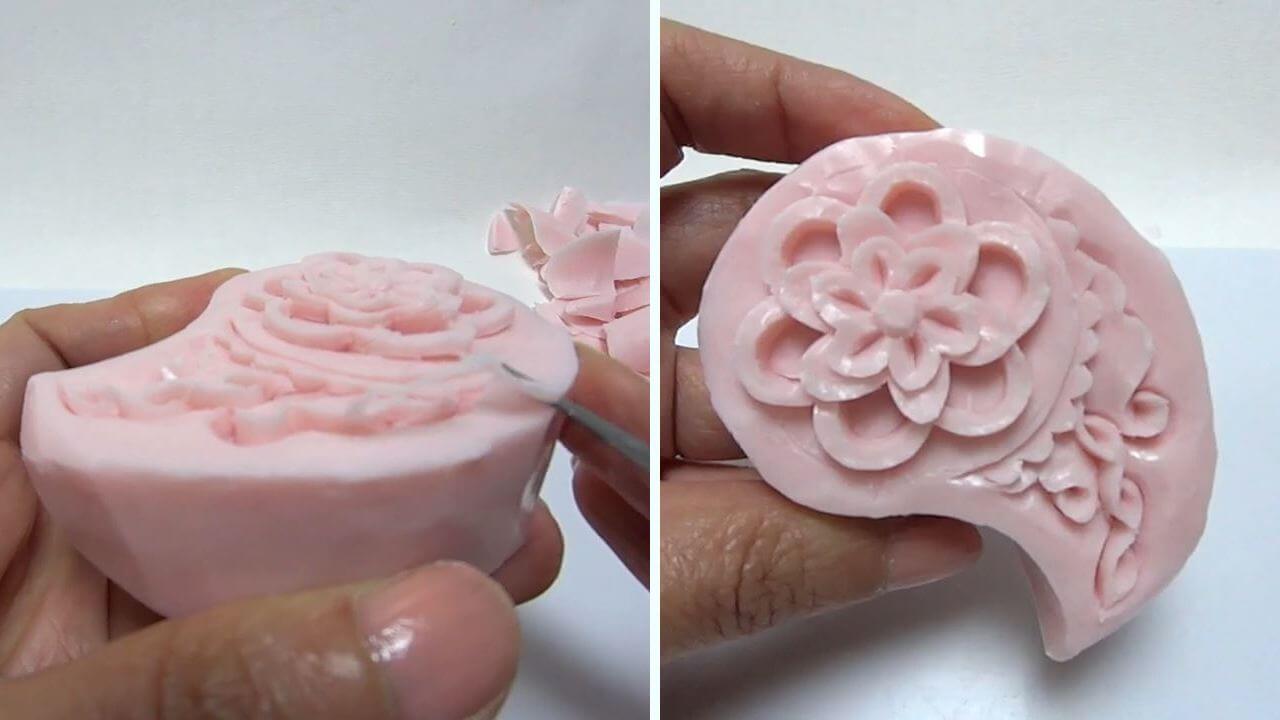
1. Flatten the top of soap.
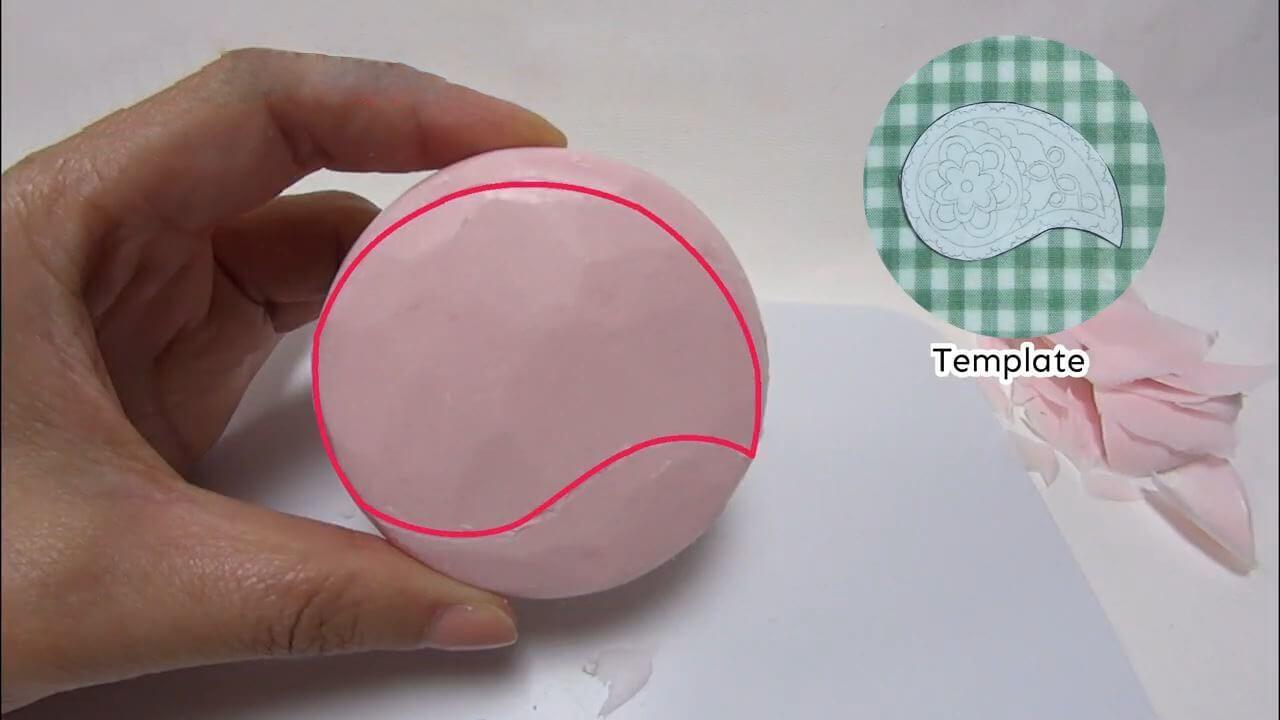
2. Draw the outline with a toothpick.
3. Cut out the paisley shape.
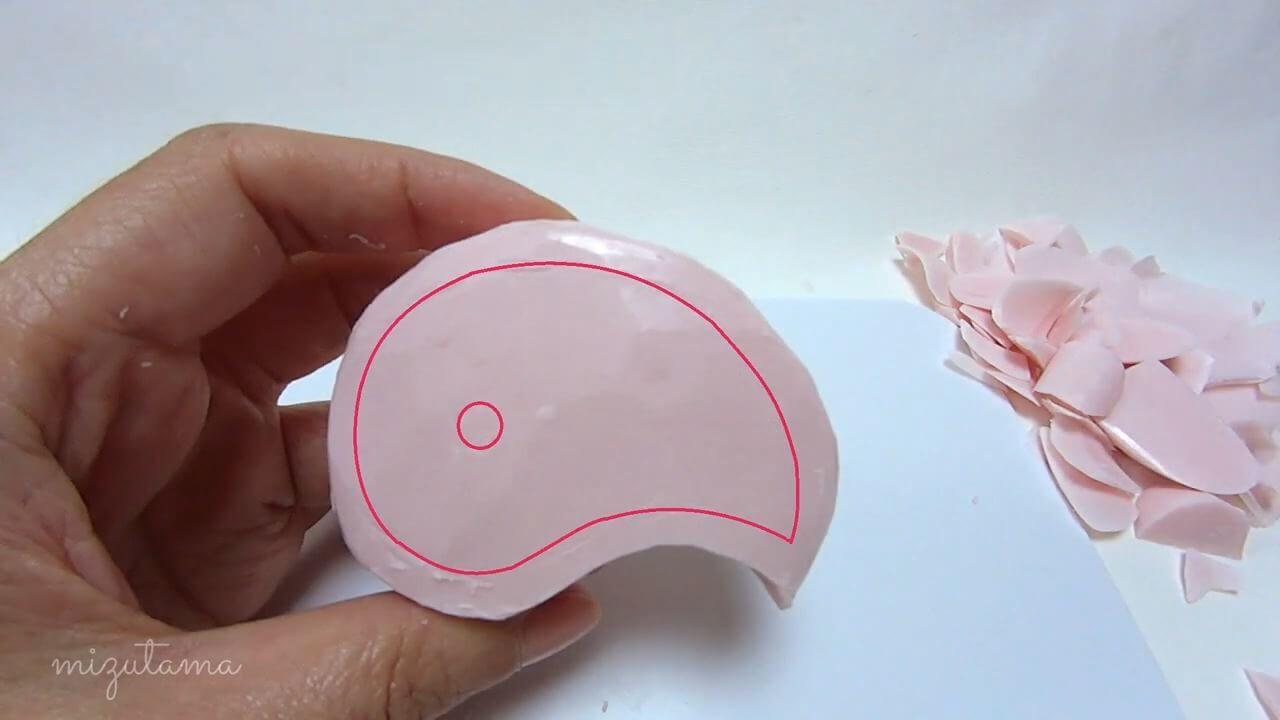
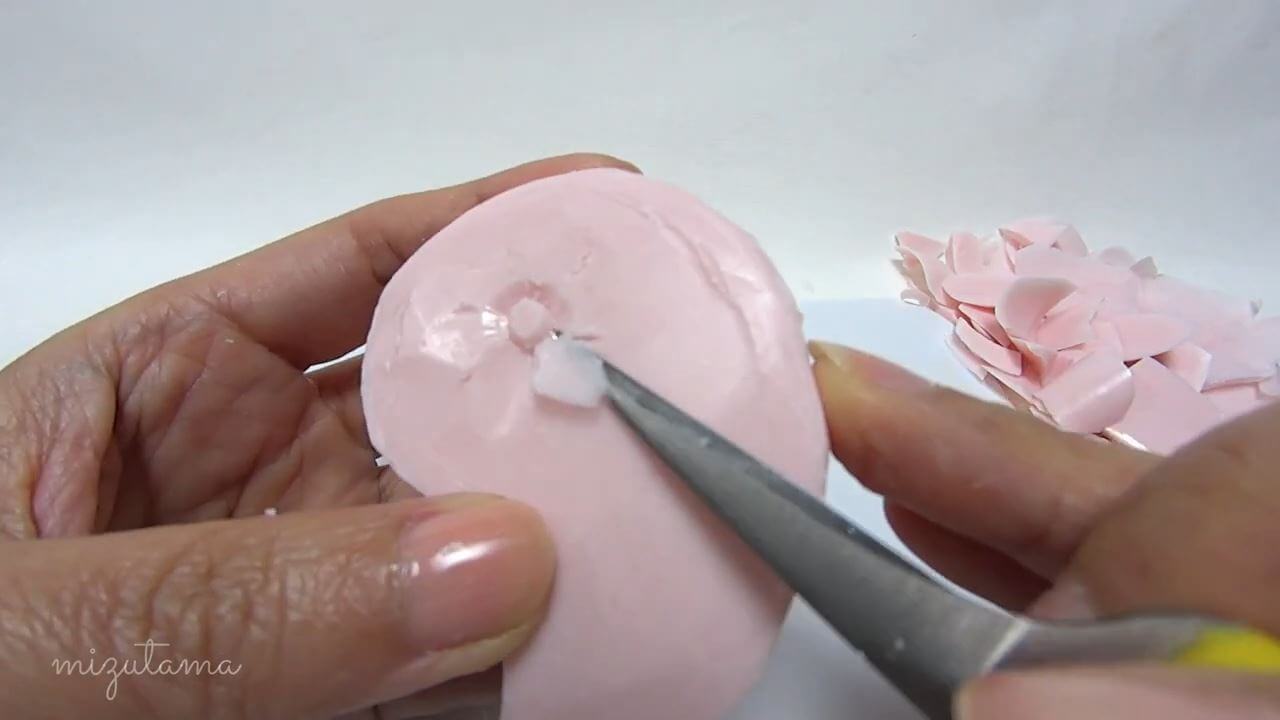
4. Draw inner paisley shape and small circle.
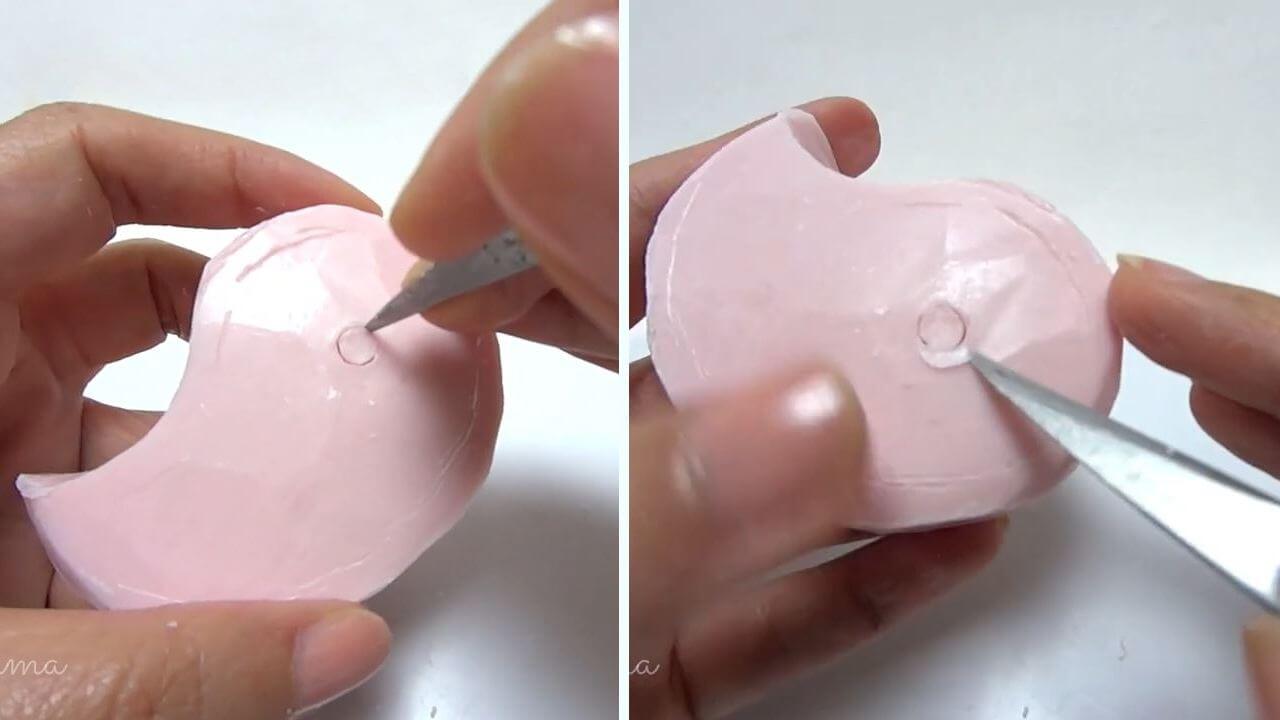
5. Cut and remove soap around the small circle.
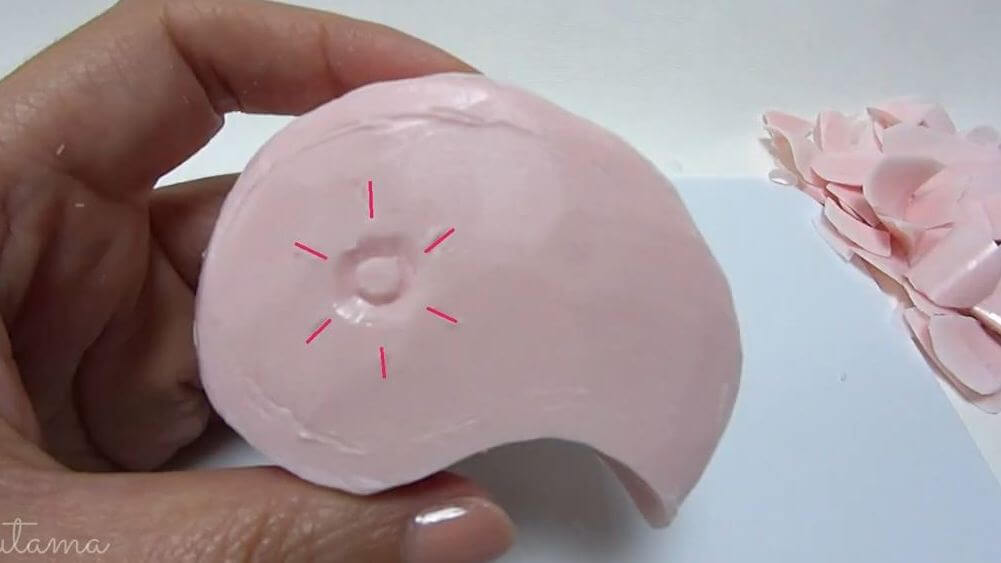
6. Divide into six equal parts.
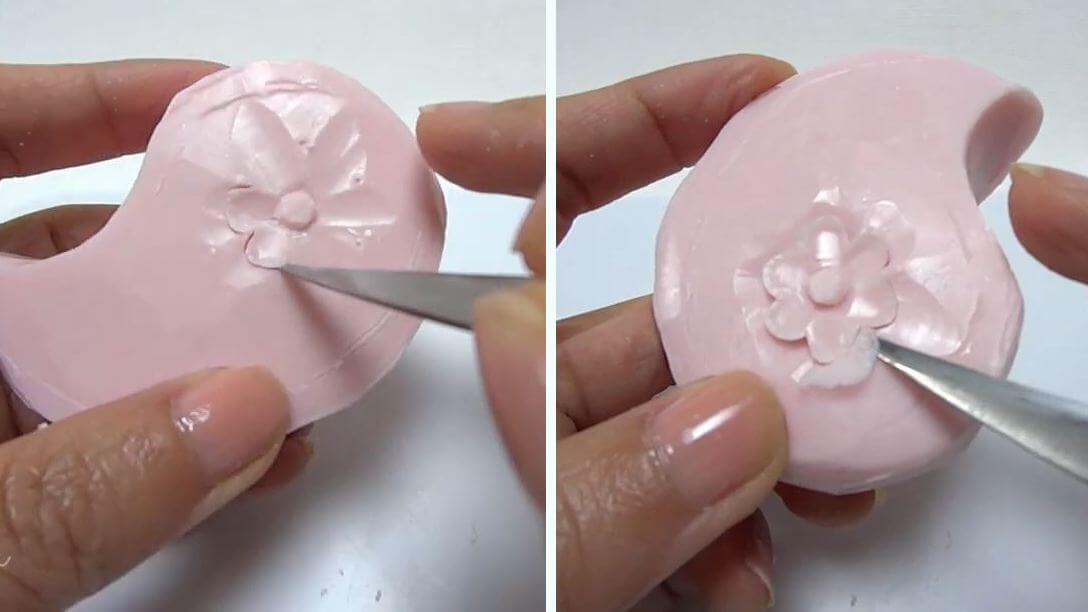
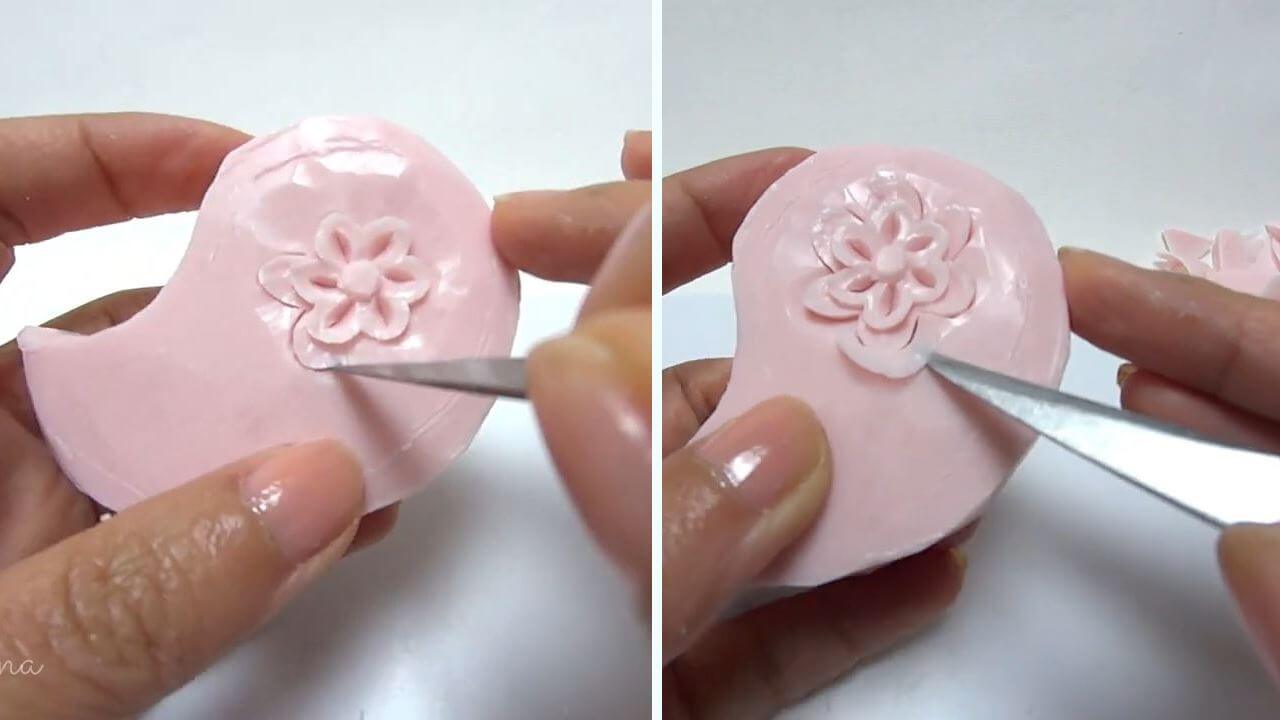
7. Carve indent in each part.
8. Cut the petal shape on each part and remove soap under it.
9. Carve marquise shape on each petal.
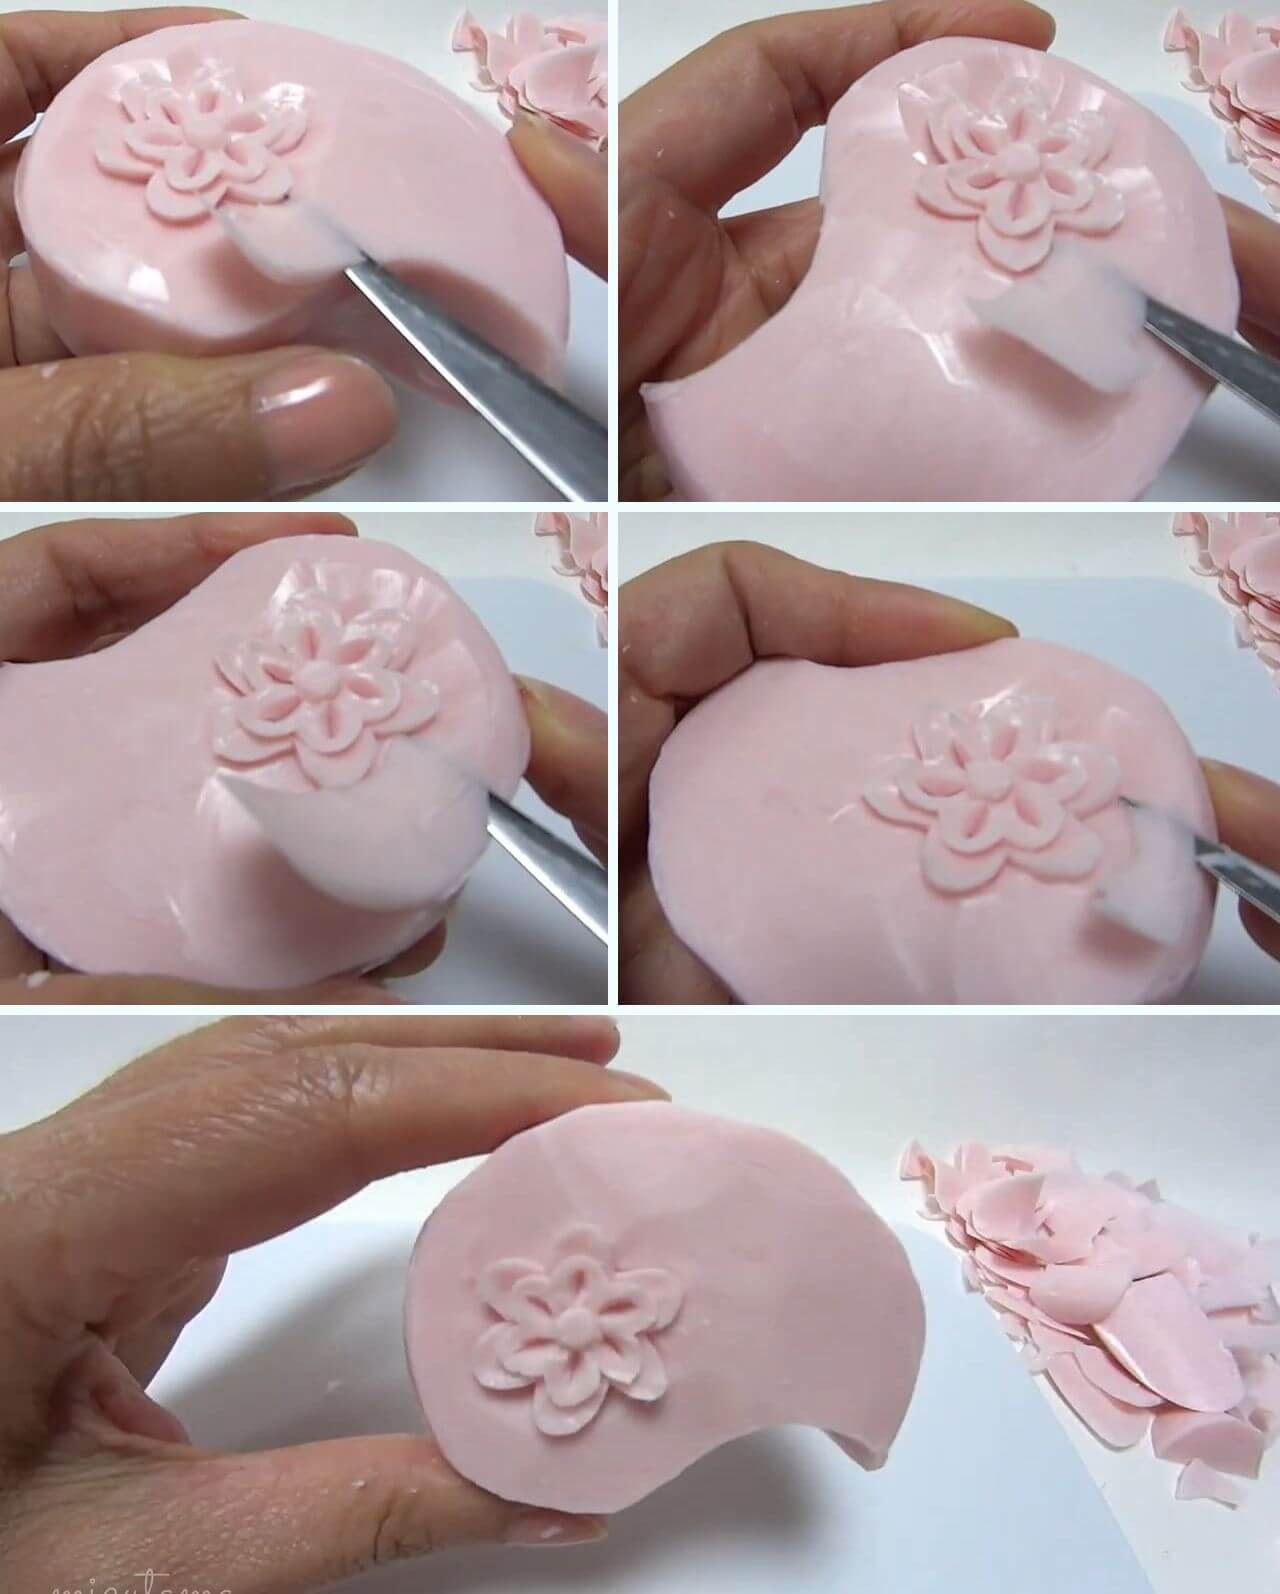
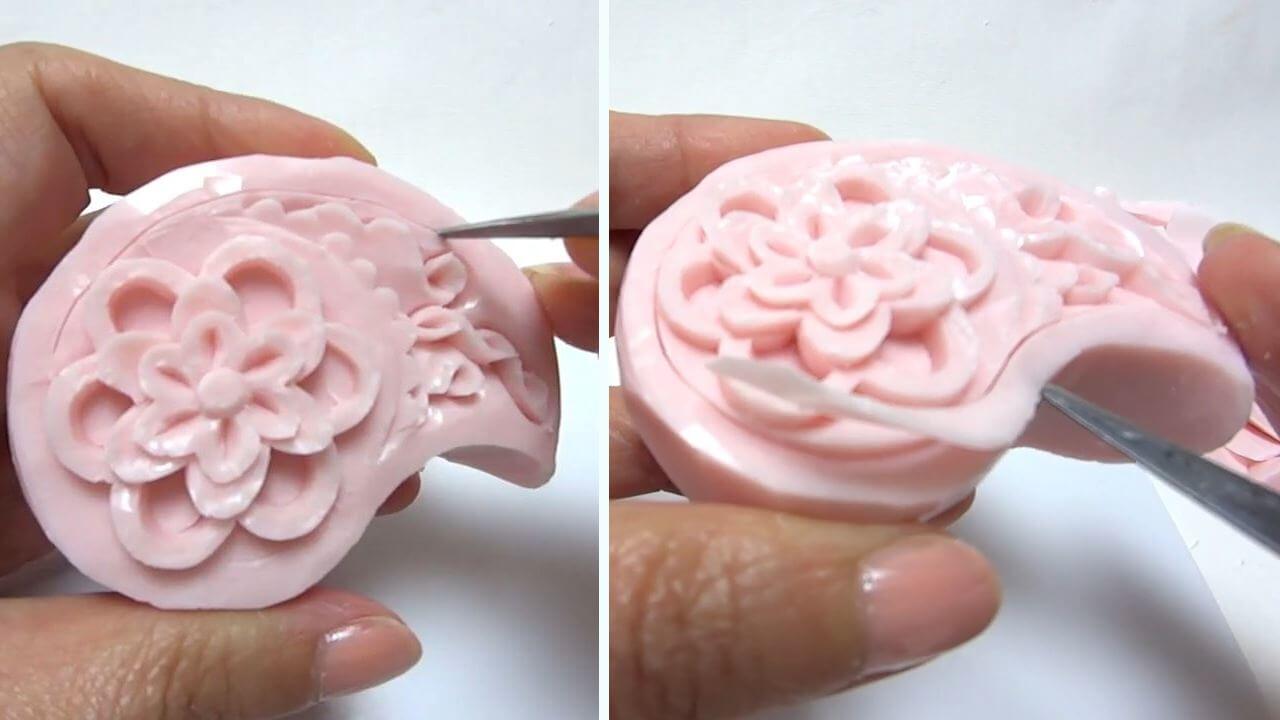
10. Smooth the soap around the flower.
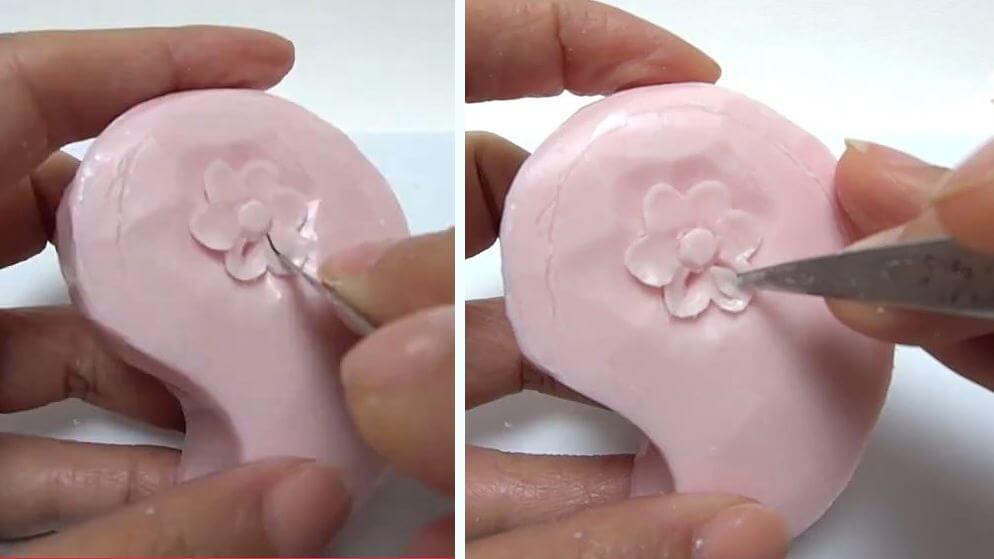
11. Cut the petal shapes of second row and remove soap under them.
12. Smooth the blanks.
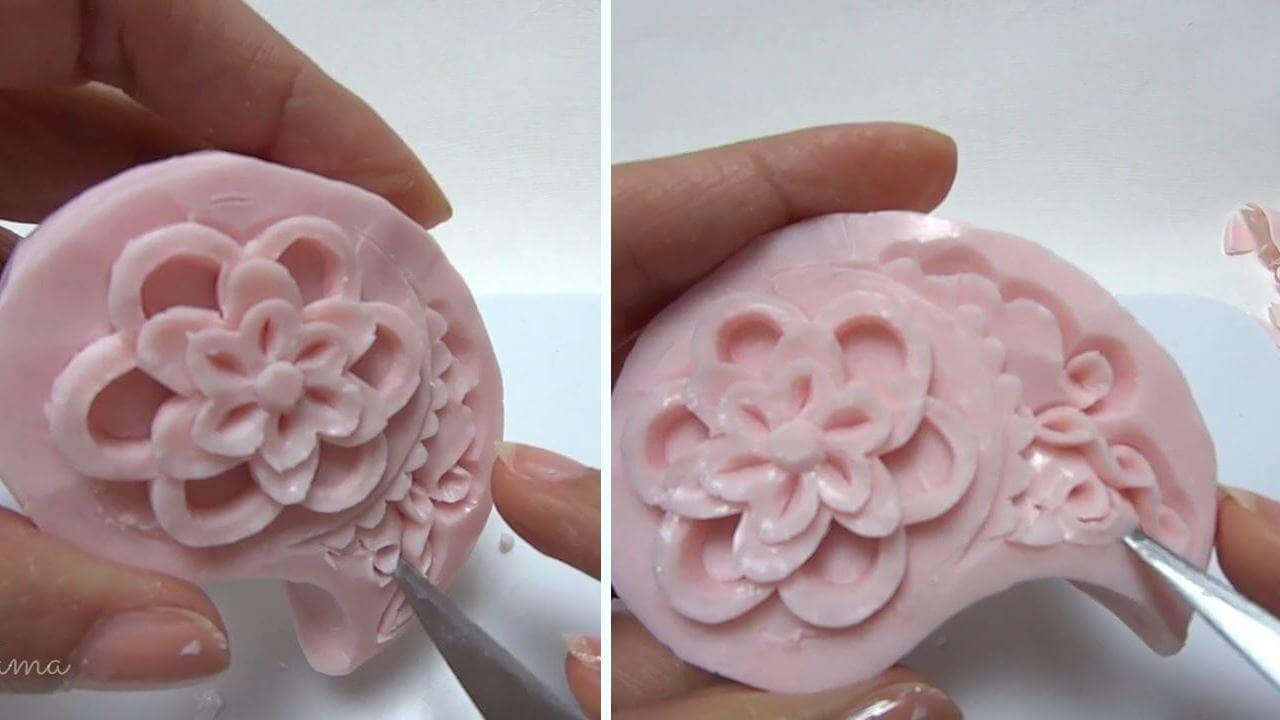
13. Cut the petal shapes of third row and remove soap under them.
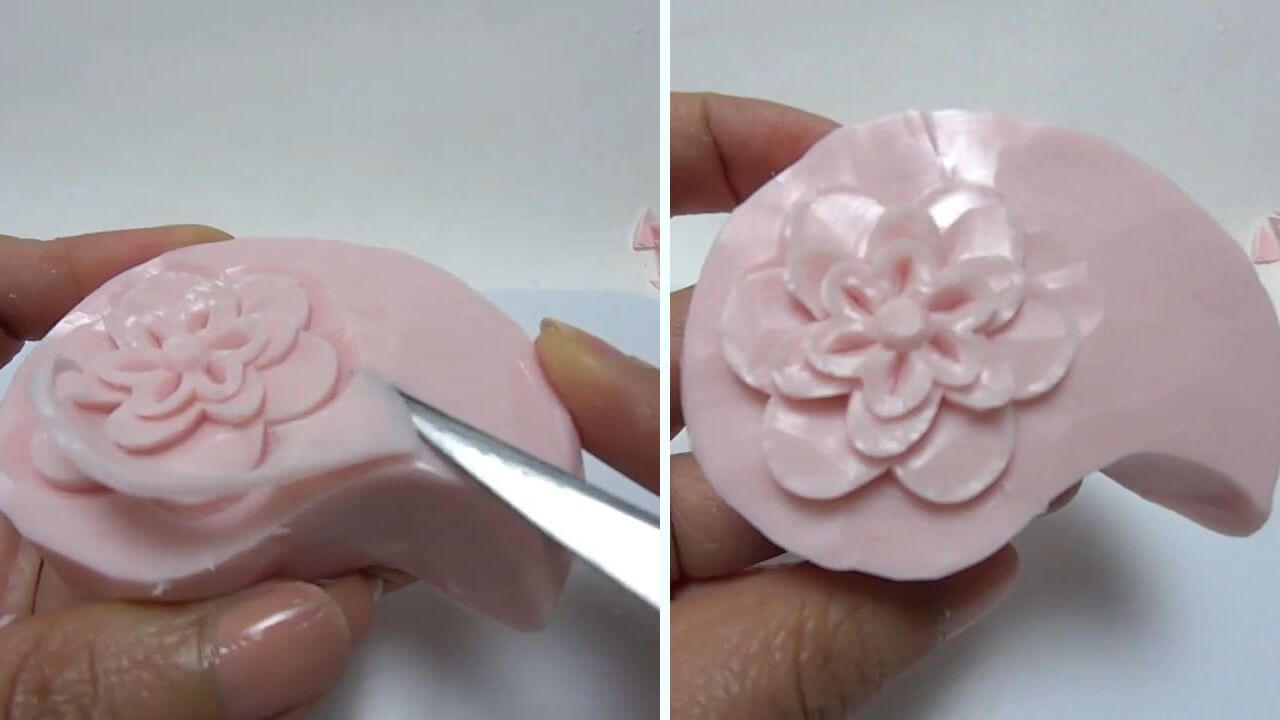
14. Smooth the blanks.
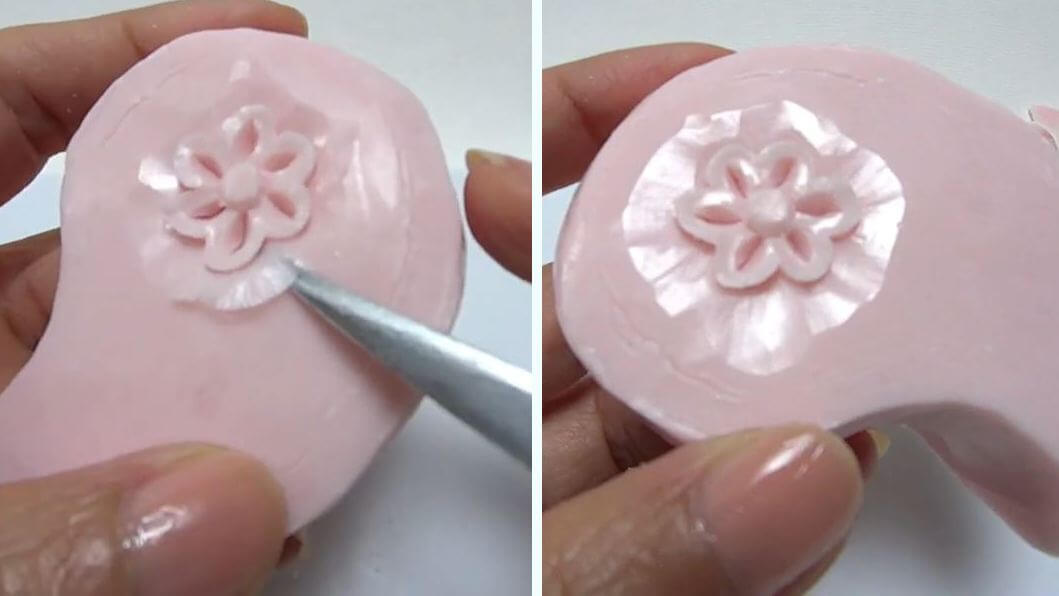
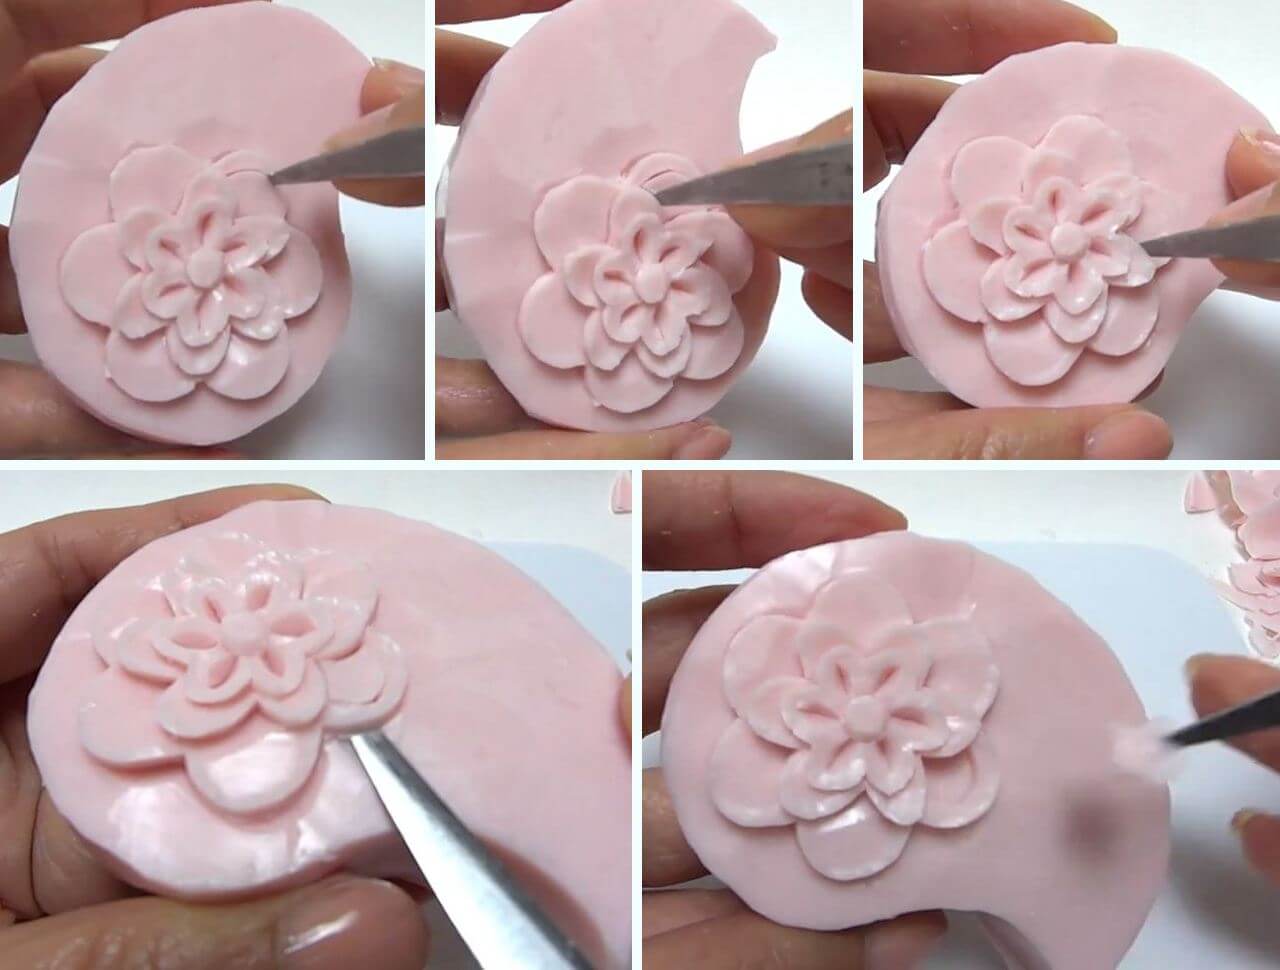
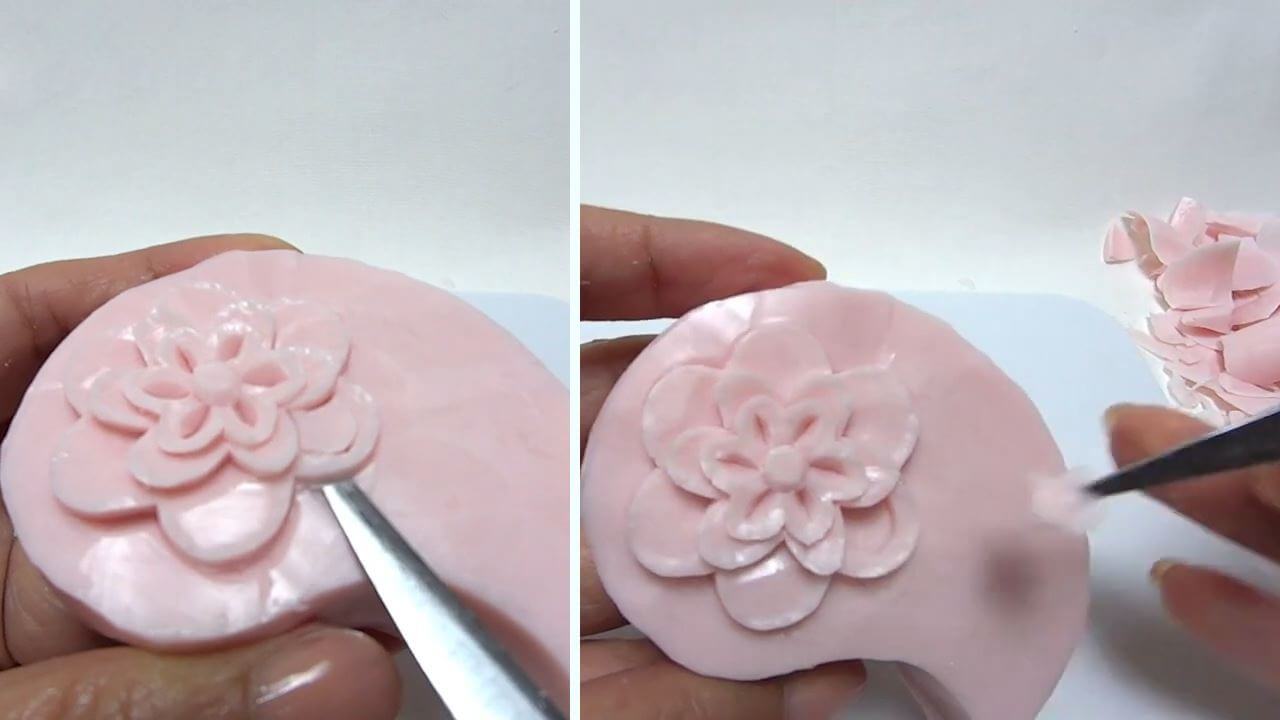
15. Cut out the inside of the petals, dipping the blade deeply.
16. Remove soap, cutting from underside, moving knife horizontally and pulling the soap with blade tip.
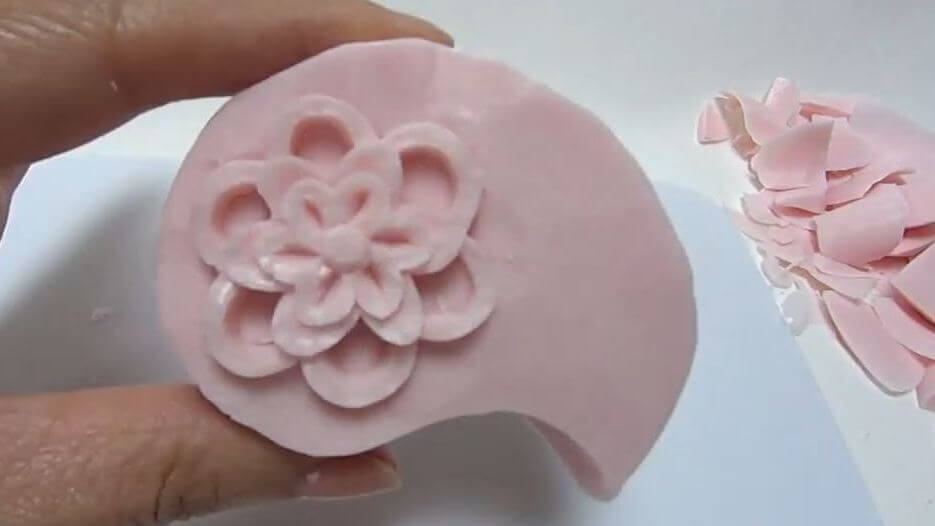
17. Repeat two previous steps for remaining petals.
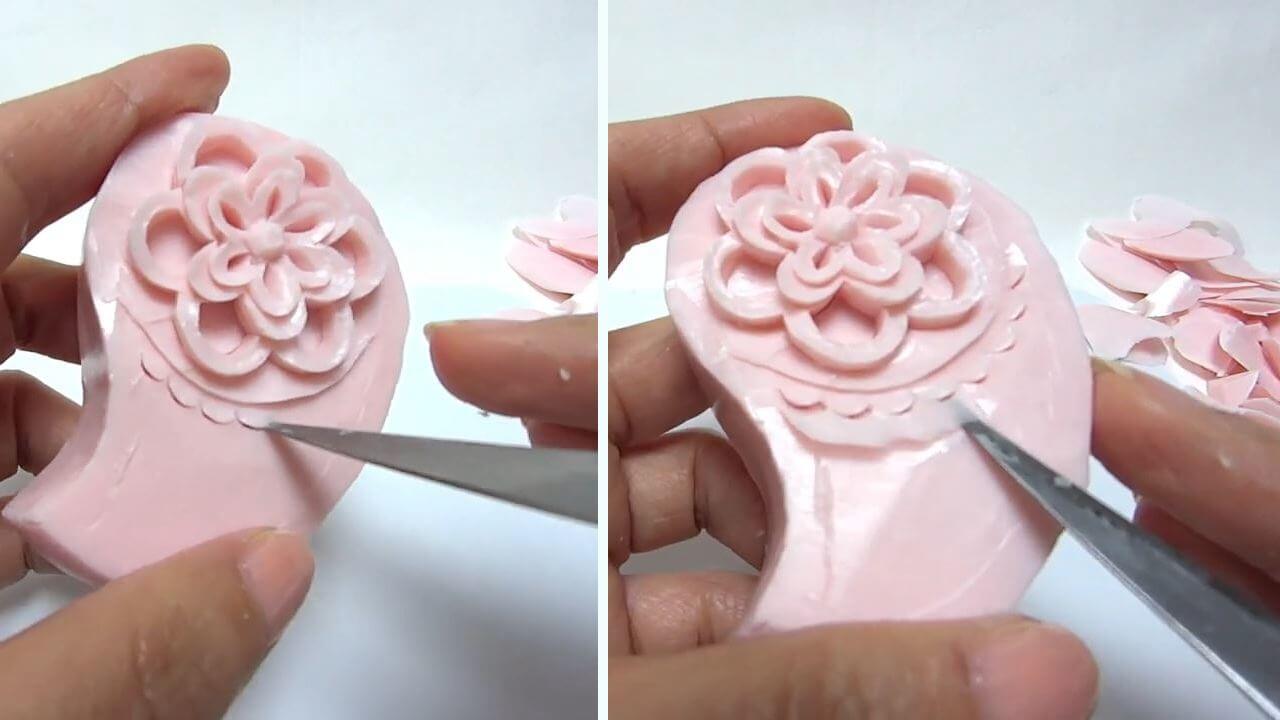
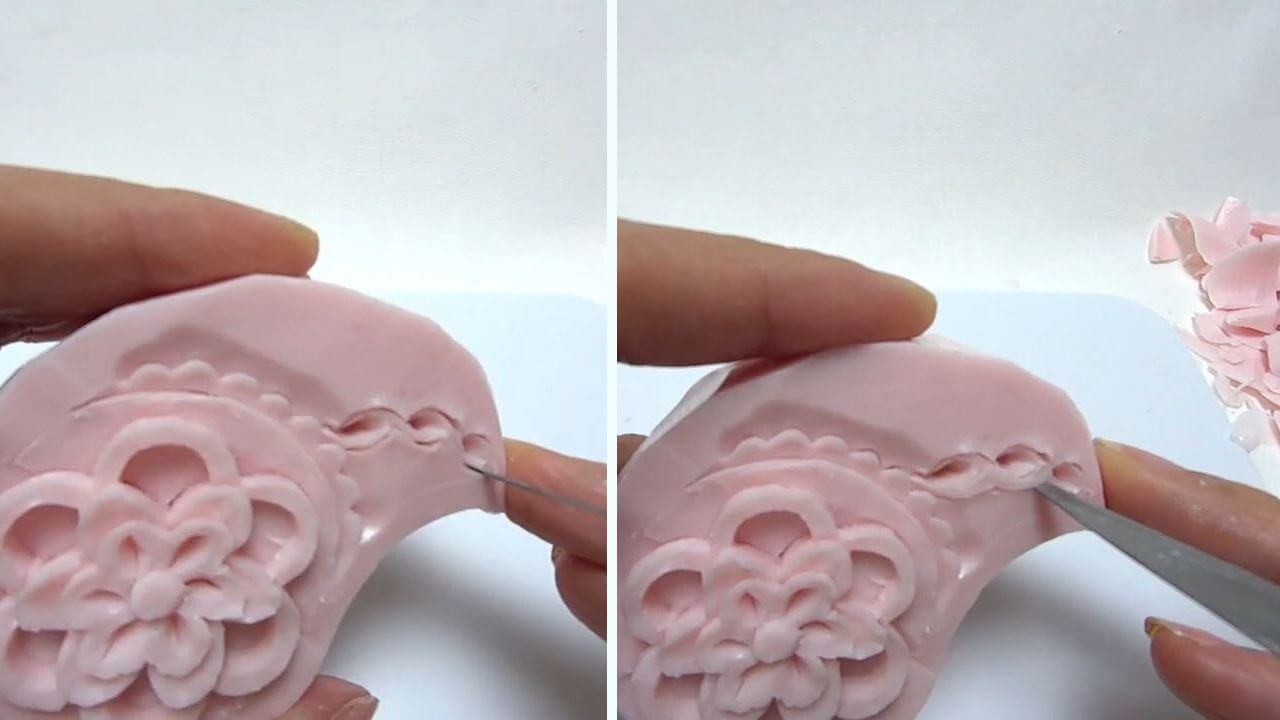
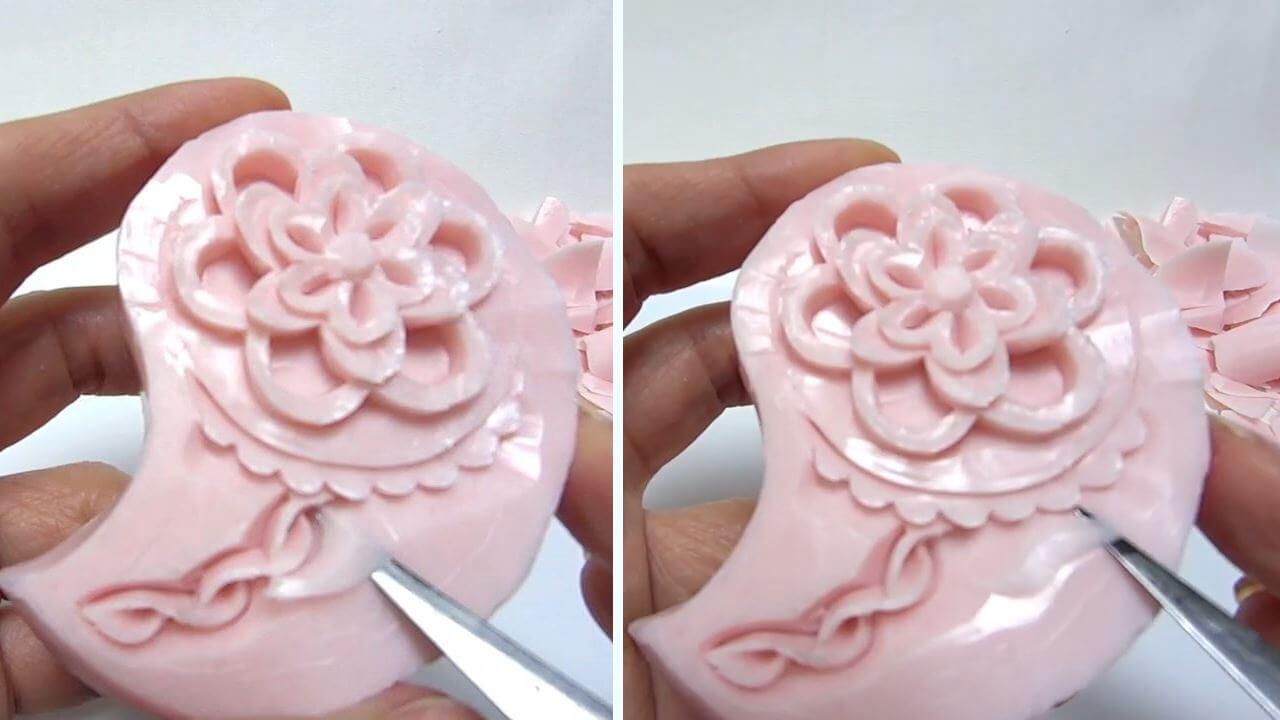
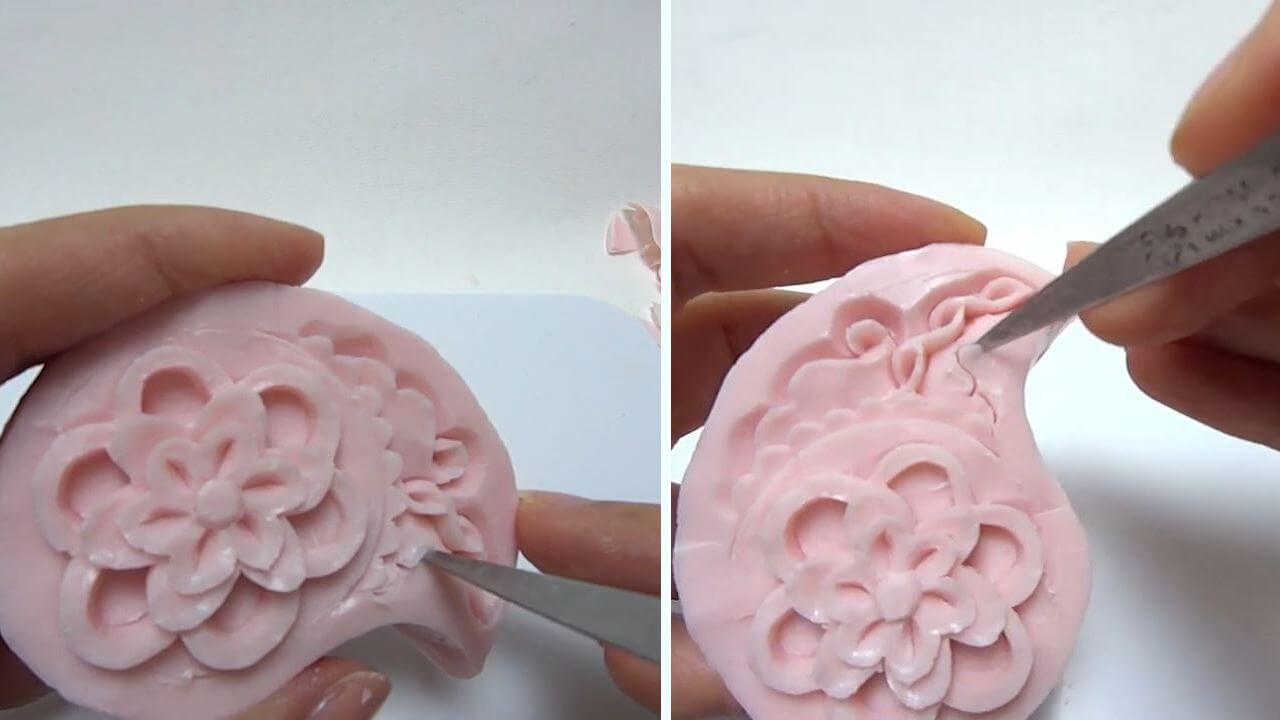
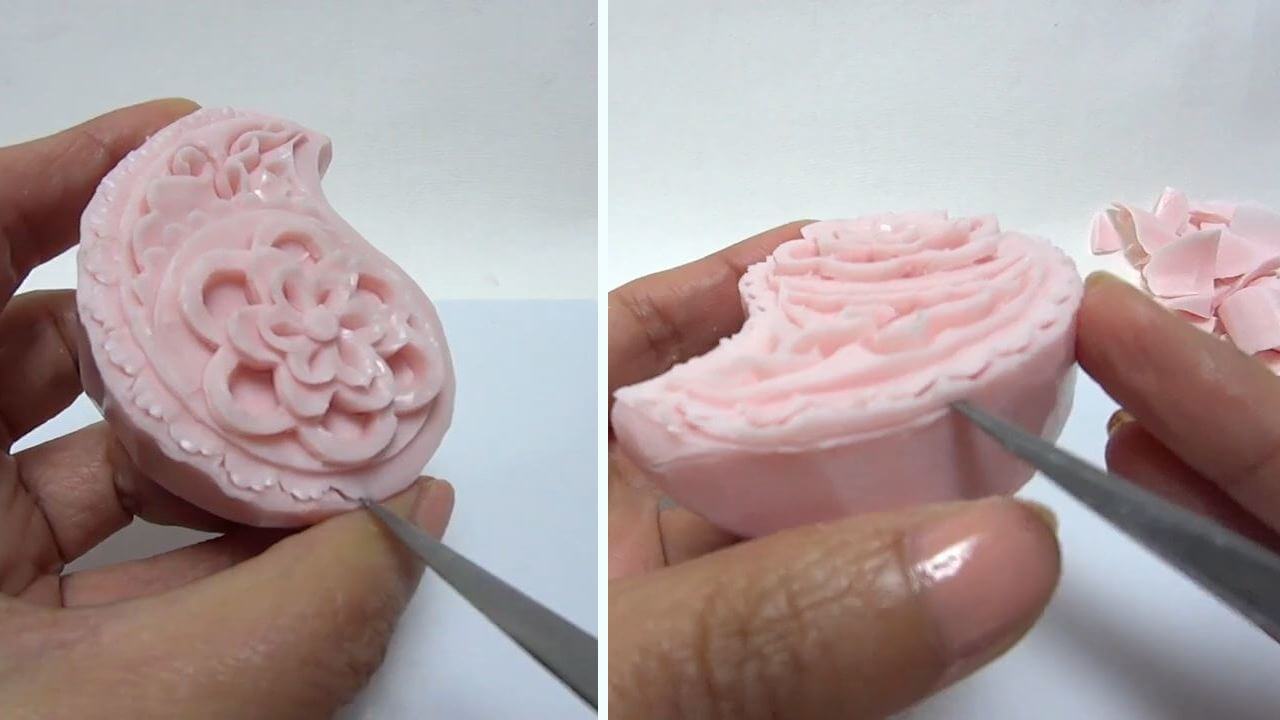
18. Cut an arch for scallop pattern and remove soap next to it.
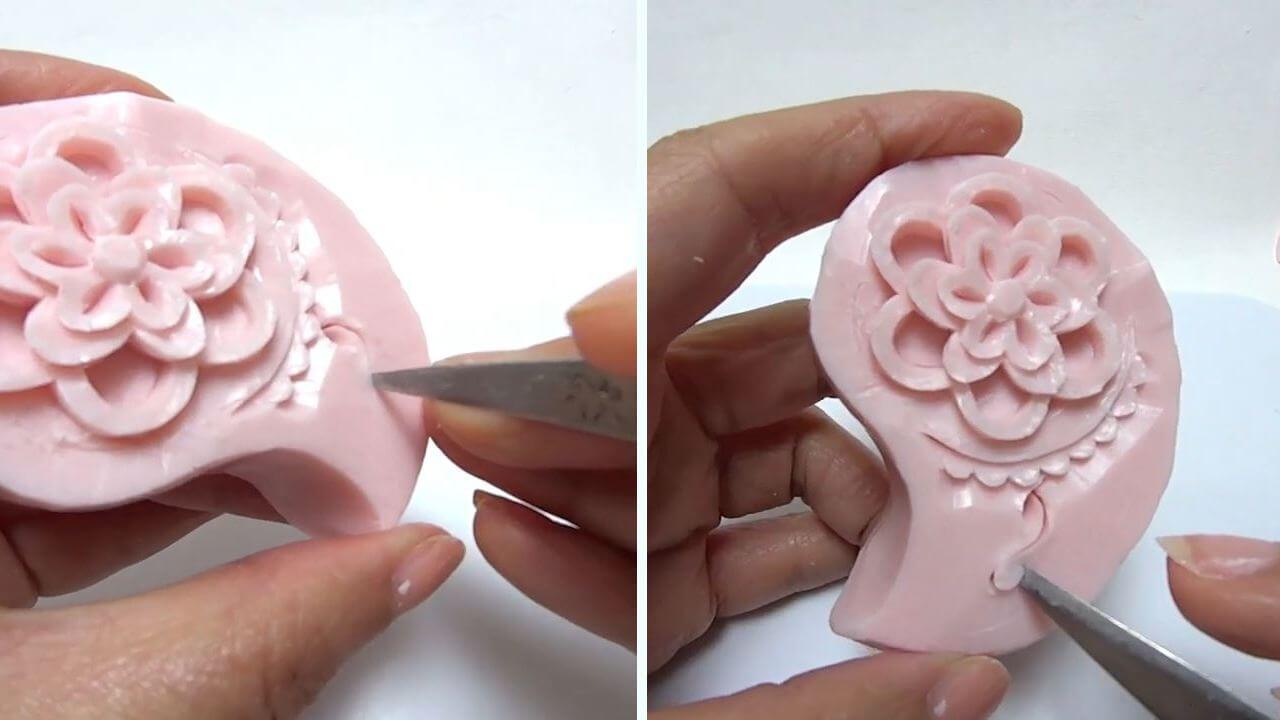
19. Cut the scallop line and remove around it.
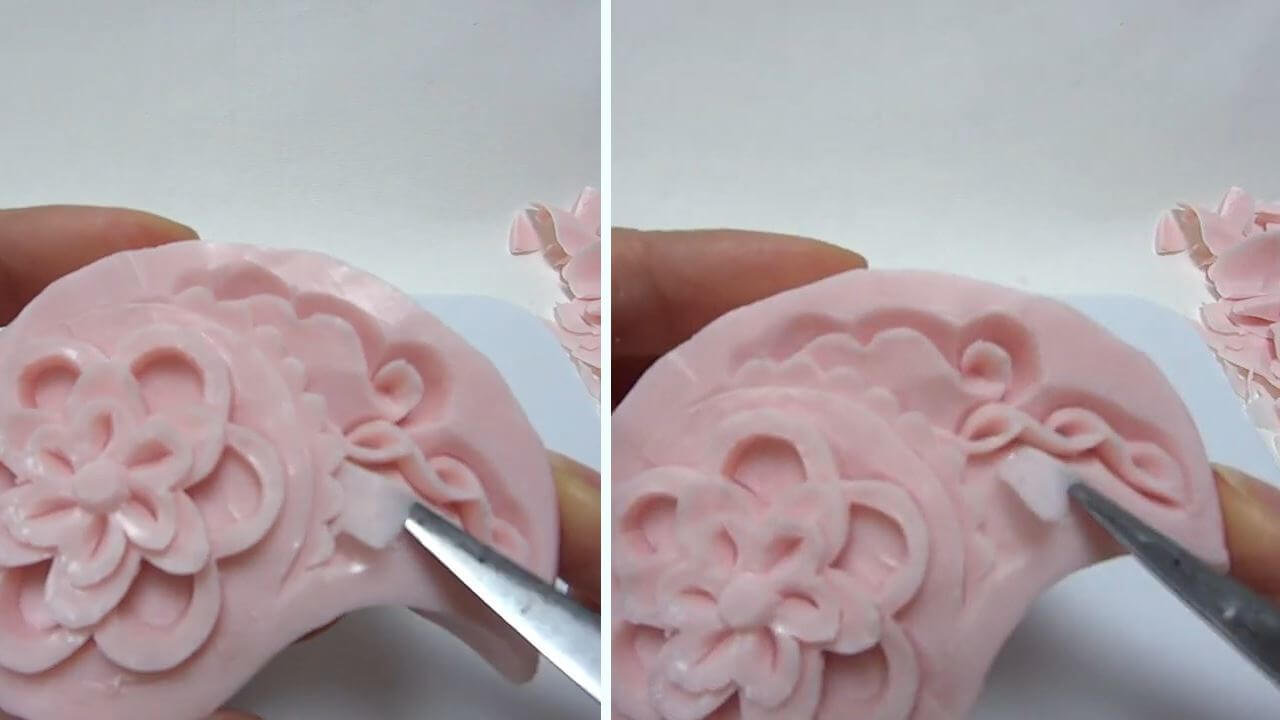
20. Carve a curling drop.
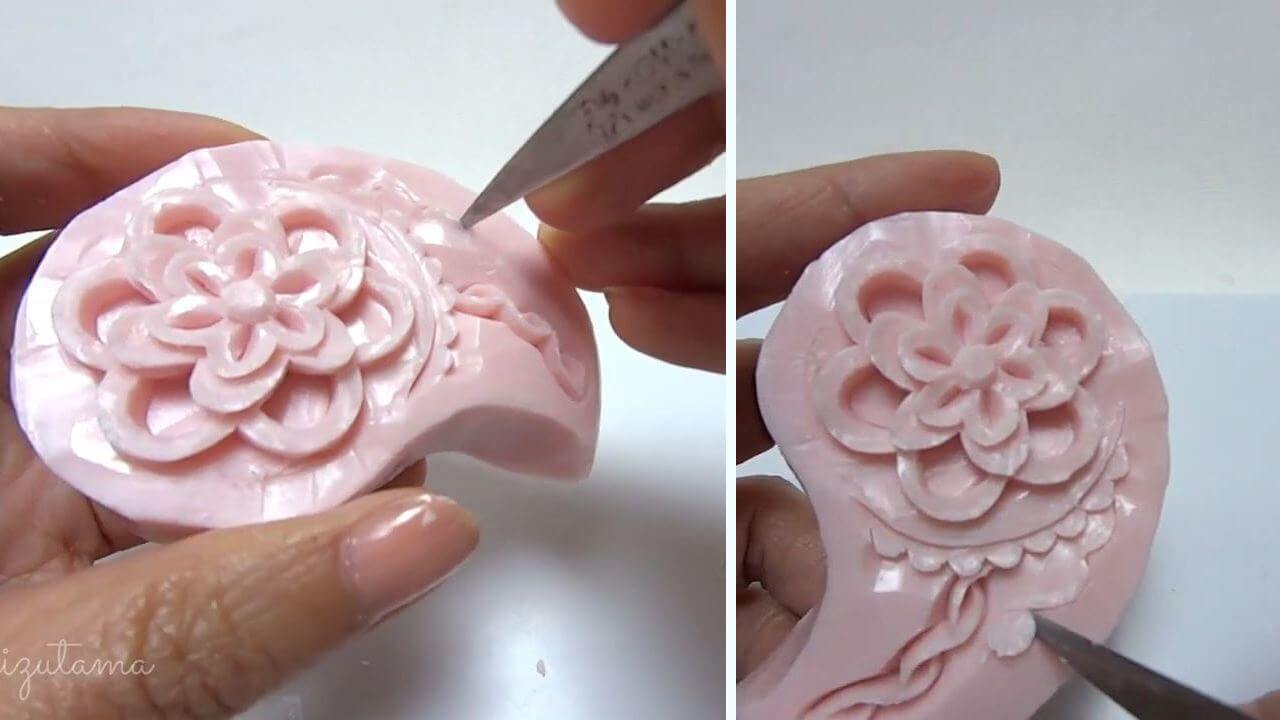
21. Carve a second curling ornament.
22. Carve a third curling ornament.
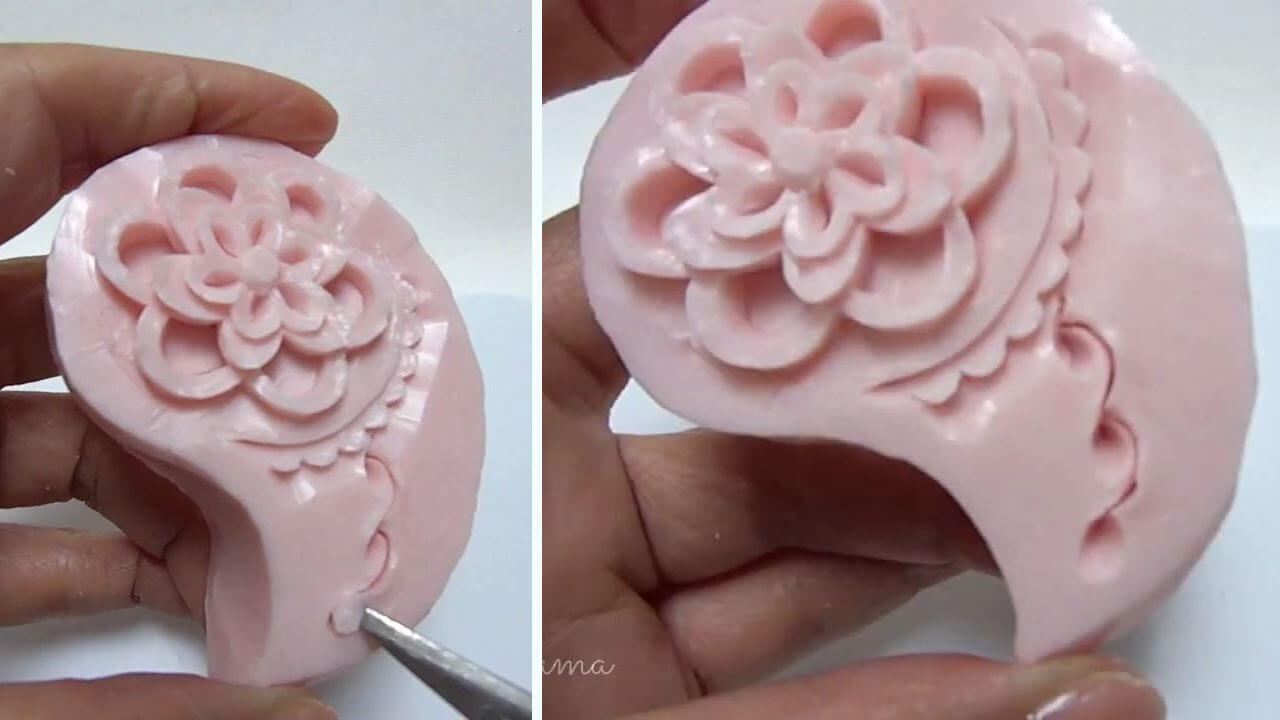
23. Carve the dangling line.
24. Carve line next to curly pattern and remove around it.
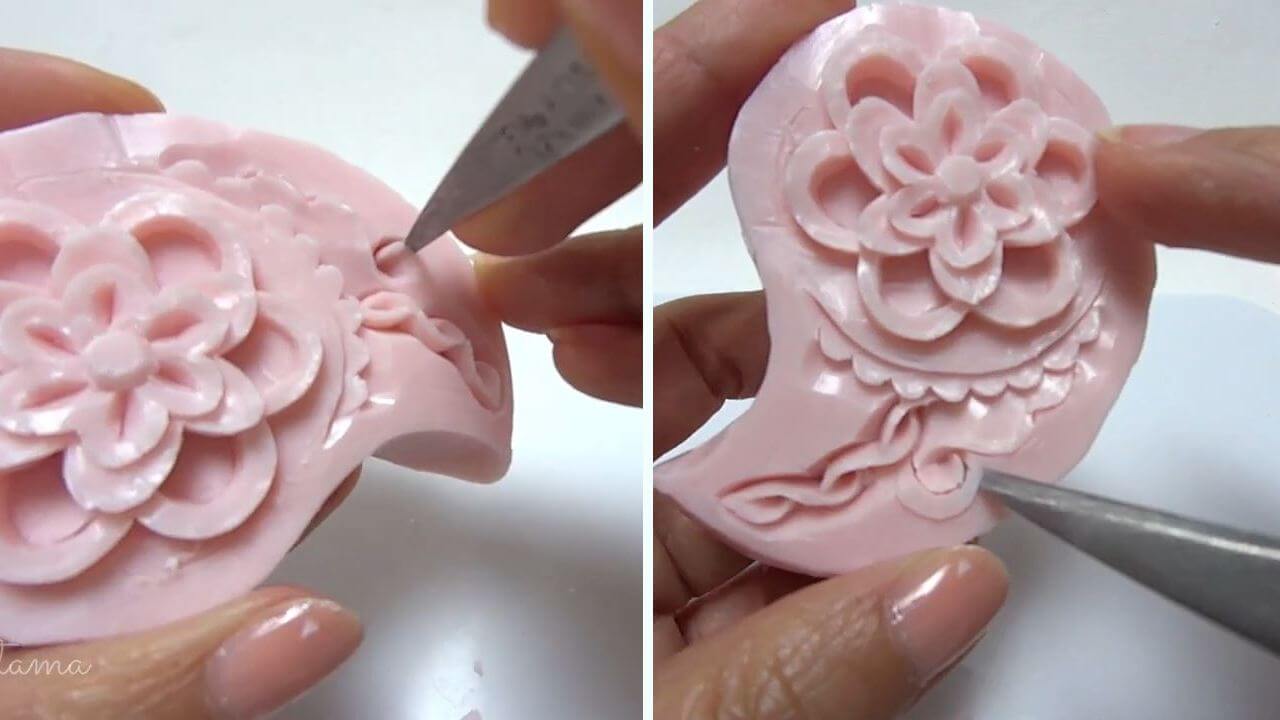
25. Remove the soap around opposite side of curly ornament.
26. Smooth the soap.
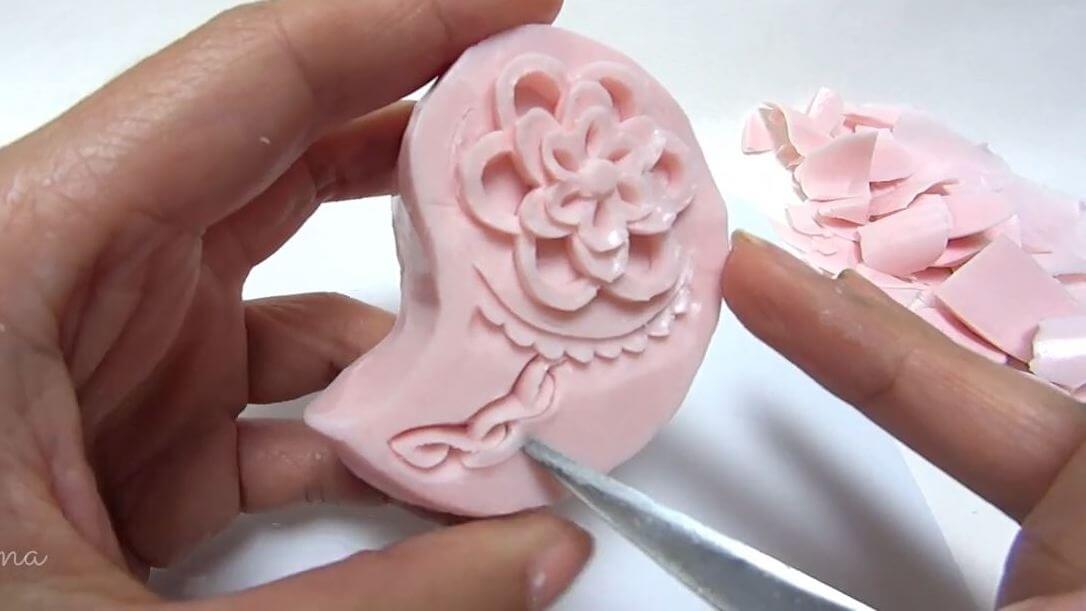
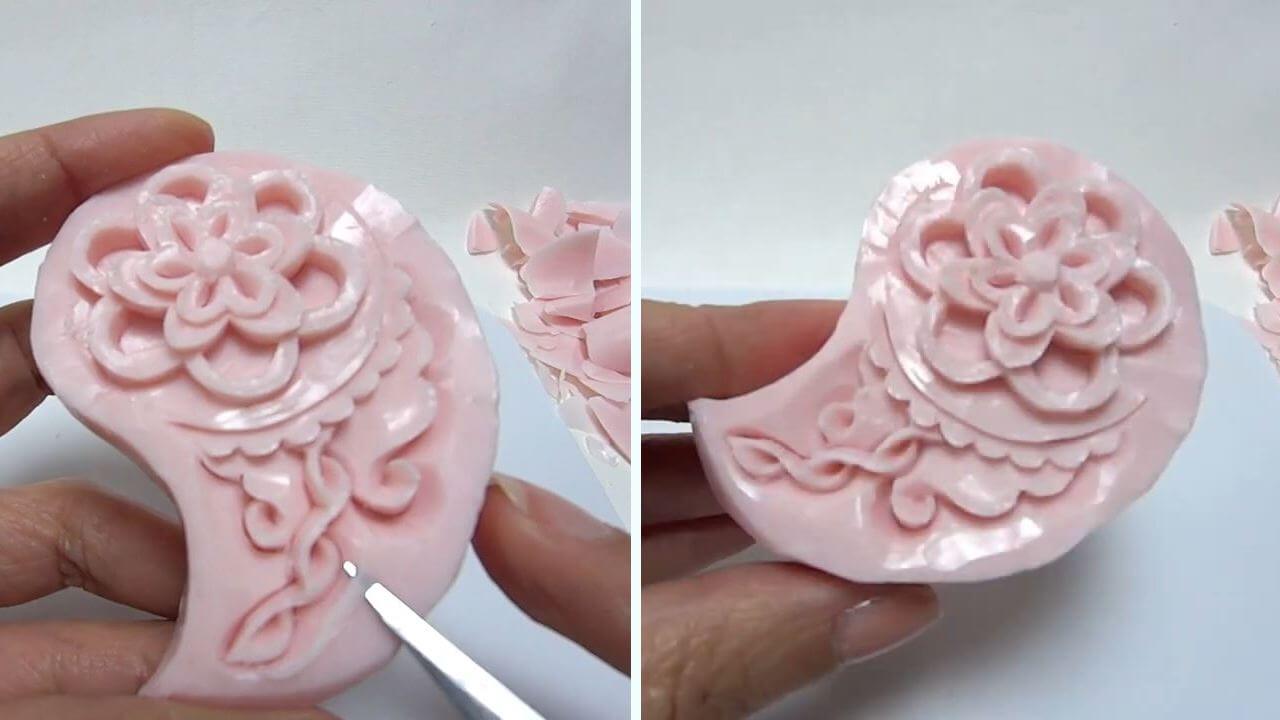
27. Carve the wave with swirl at the end.
28. Cut the soap around the swirl and remove soap around the cut.
29. Remove soap under the wavy line.
30. Smooth the soap next to curly pattern.
31. Carve the wave with swirl at the end.
32. Cut the soap around the swirl and remove soap around the wavy line.
33. Remove soap around the previously carved patterns.
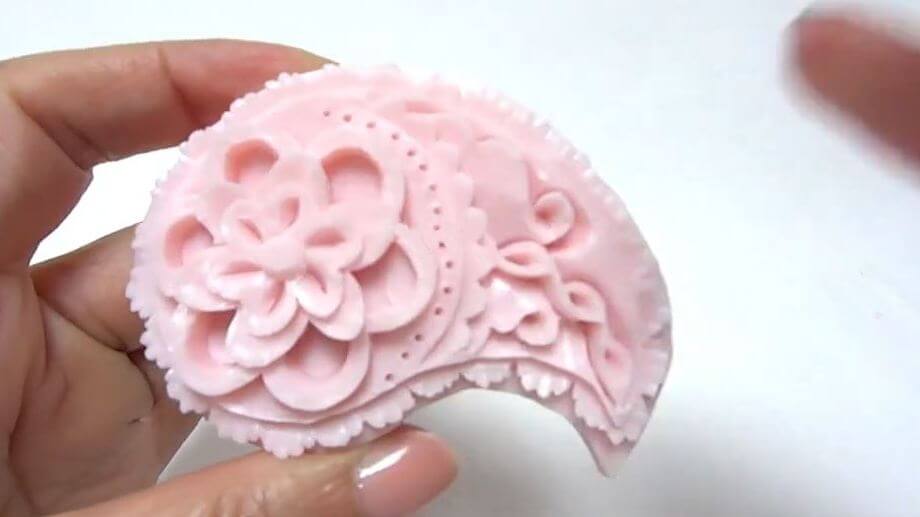
34. Level the edge.
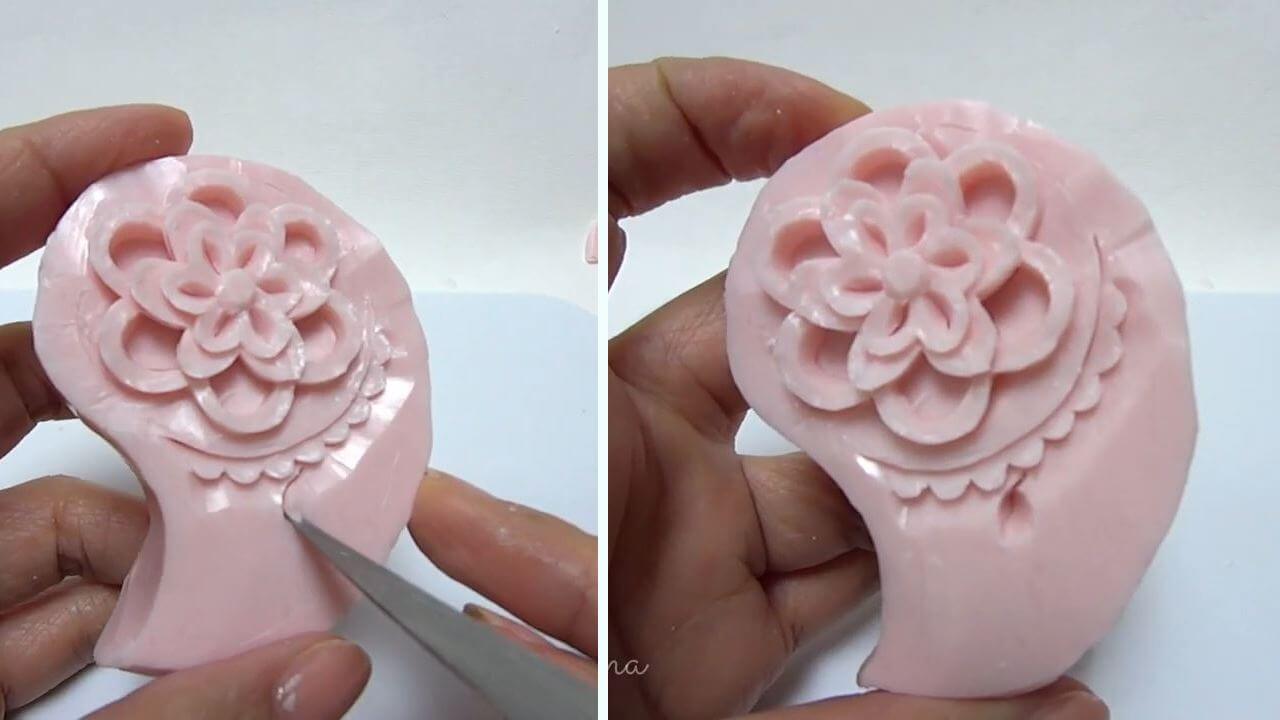
35. Cut a paisley shape around the flower and the patterns and remove soap around it.
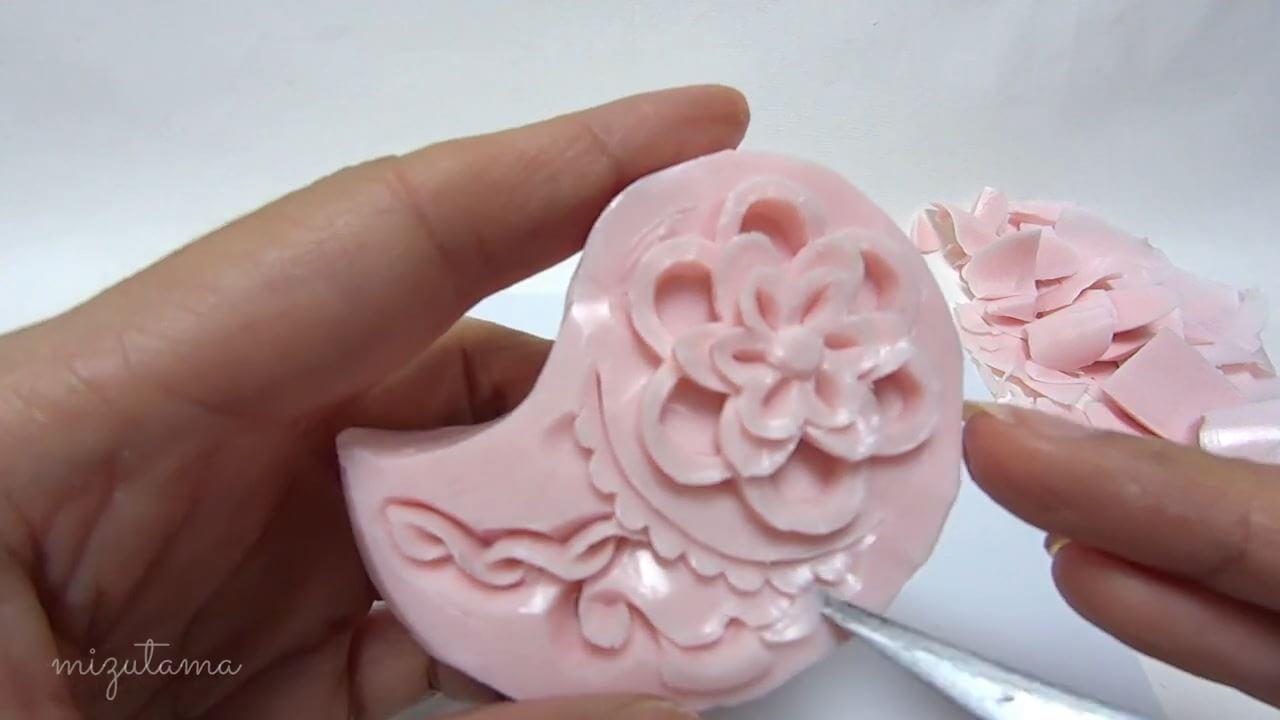
36. Carve the wavy scalloped pattern on the entire edge and remove soap around it.
37. Make holes.
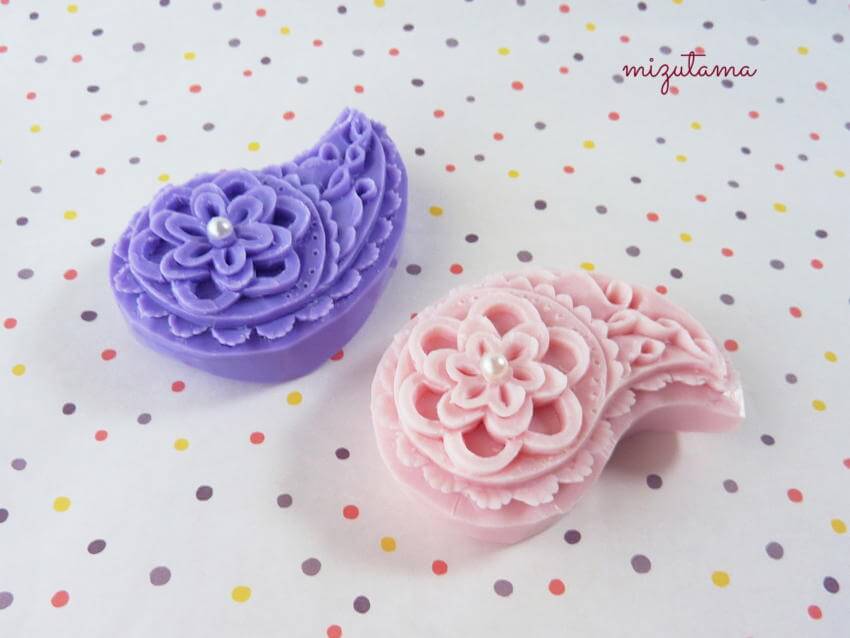
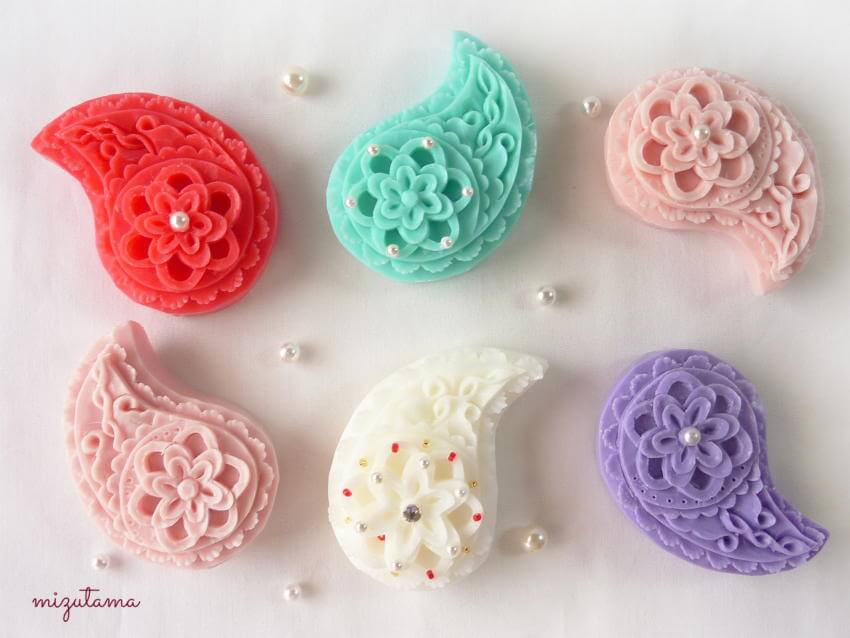
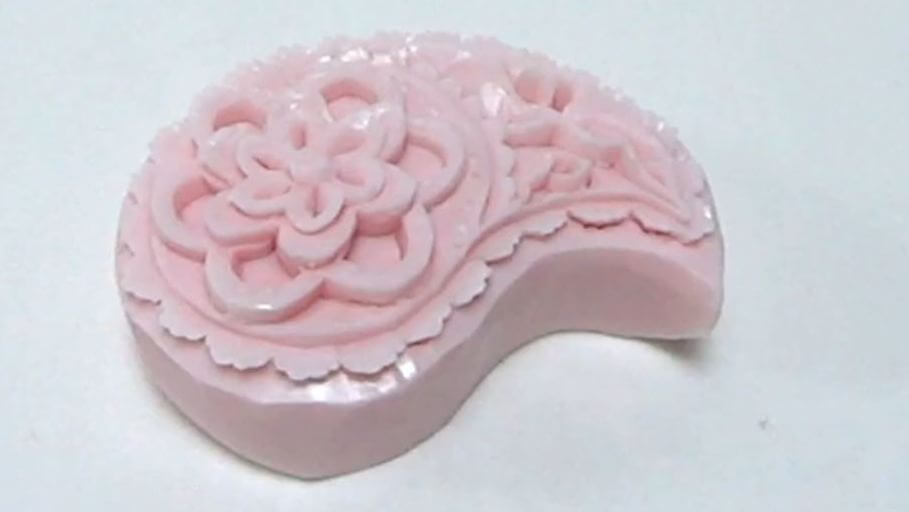
38. Paisley carving is finished!