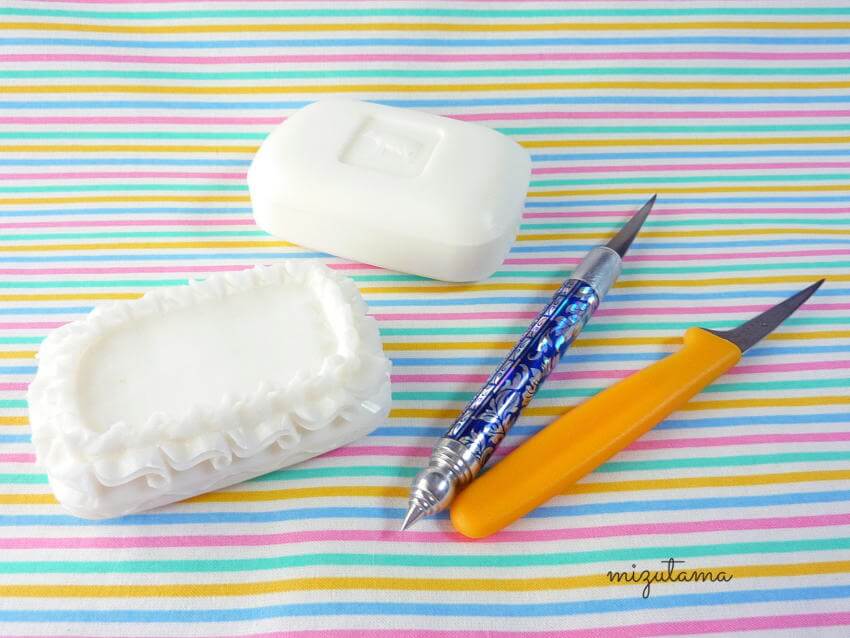
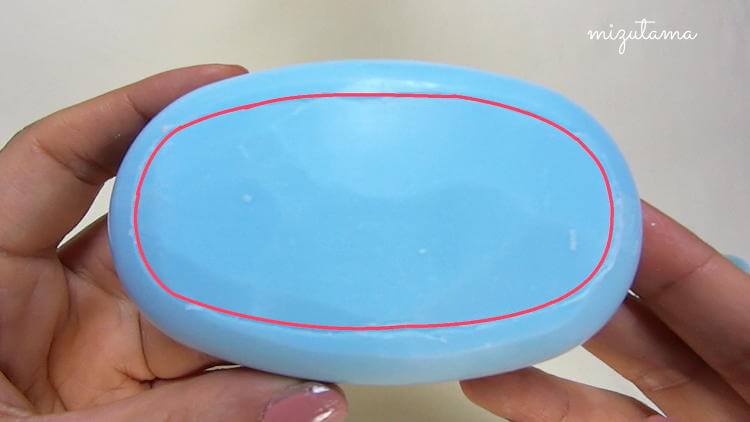
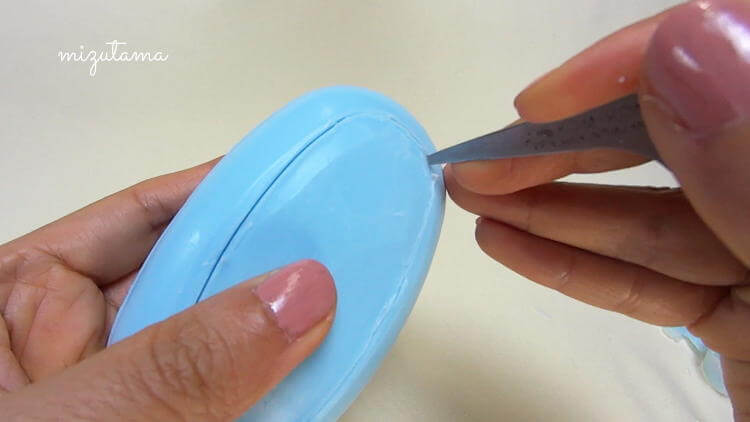
1.1 Slice off the top of the soap to create a flat surface. Draw an oval outline about 1.27 cm (1/2") inside from the edge of the soap as shown. If your soap is rectangular, draw a rectangle with round corners.
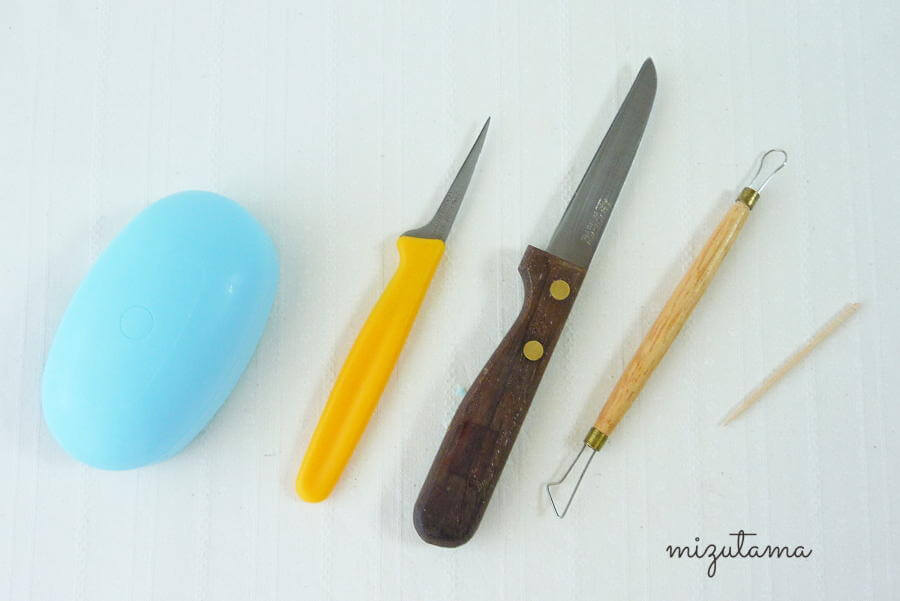
1.2 Holding your knife at a right angle to the soap, deeply cut the outline with a carving knife.
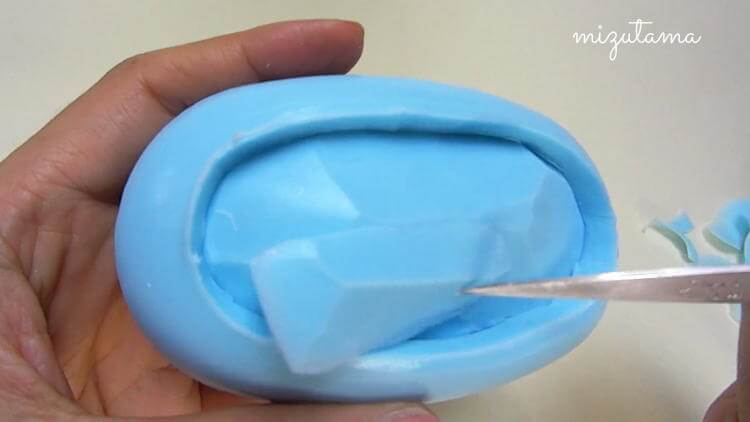
1.3 Cut off the soap inside.
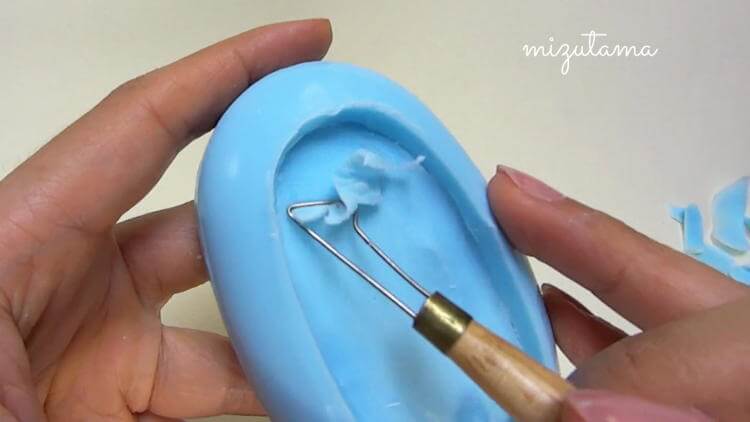
1.4 Remove the soap in the middle and flatten the soap with a sculpting tool.
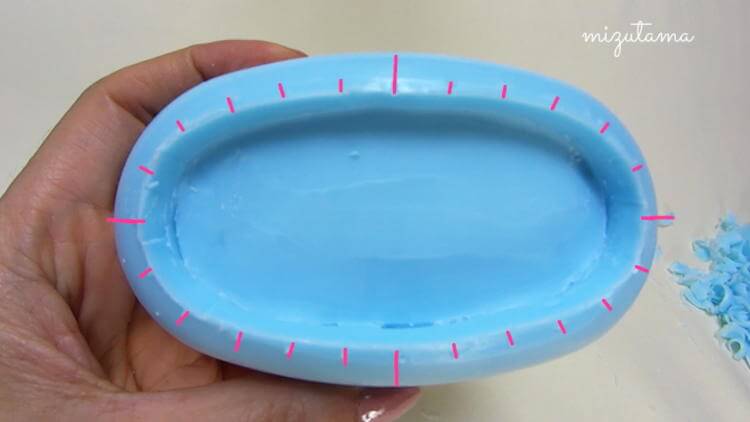
1.5 Divide the soap around the center into equal parts. Mark short lines with a toothpick. The length of each part is about 0.8 cm (3/8").
1.6 Carve a U shaped indent in each part.
1.7 Holding the carving knife at a right angle to the soap, cut the soap along the U shaped indents.
1.8 Then cut off the soap around the cut.
1.9 Repeat these steps.
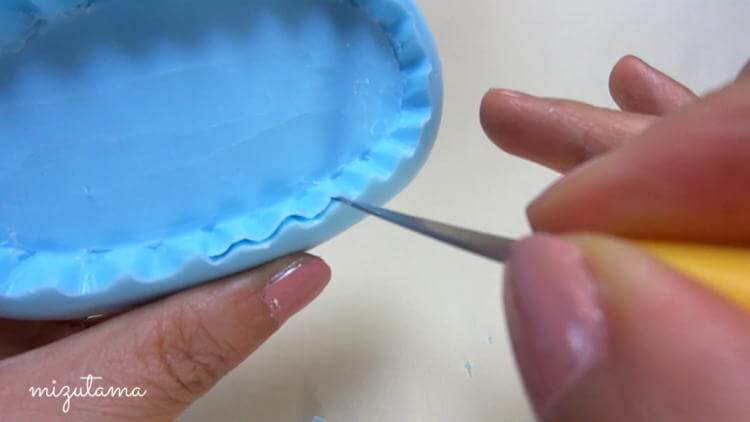
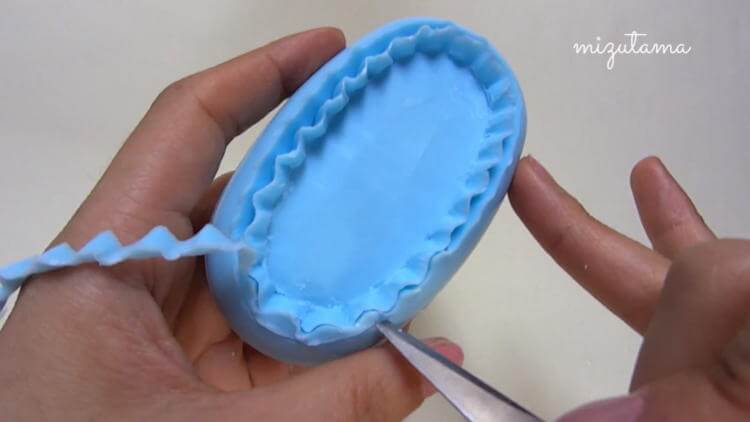
1.10 Cut off the soap around the edge.
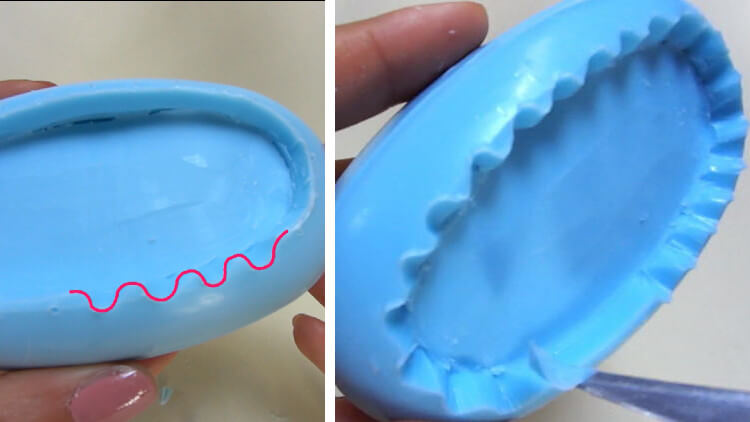
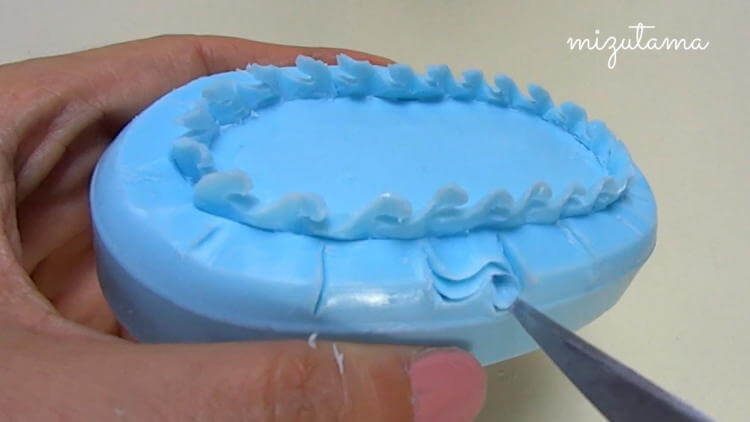
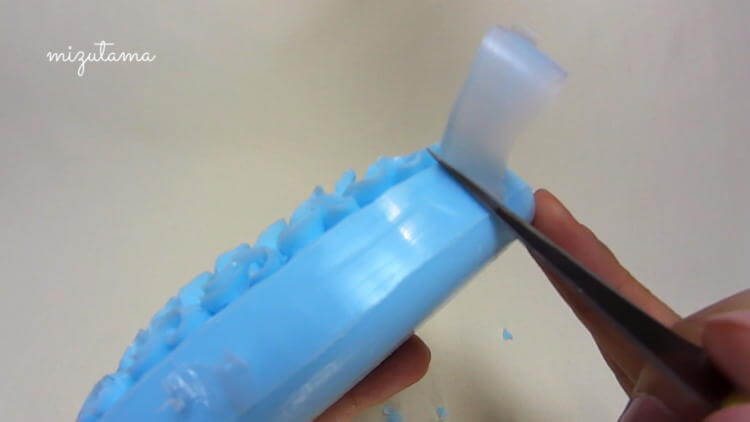
1.11 Cut the center part into wave shapes as below with the tip of the carving knife. ⚠️ Note: This part is fragile, so using a carving knife with a very thin blade is recommended.
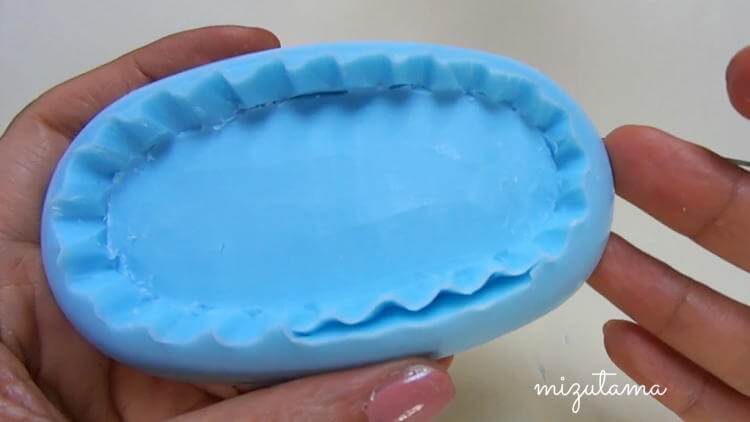
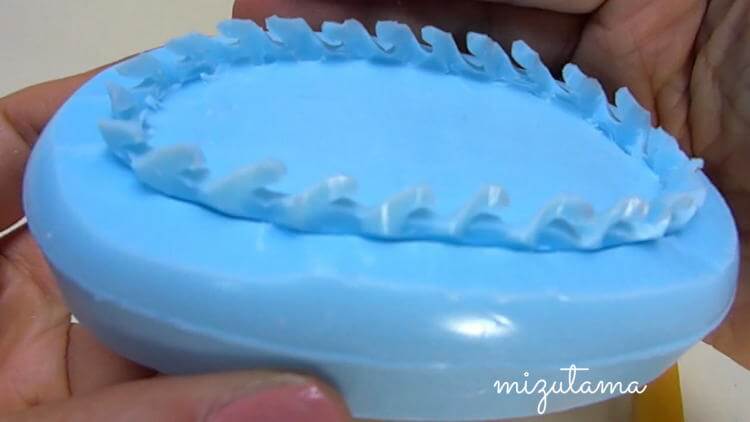
1.12 The first wave pattern is done.
How to carve second wave pattern
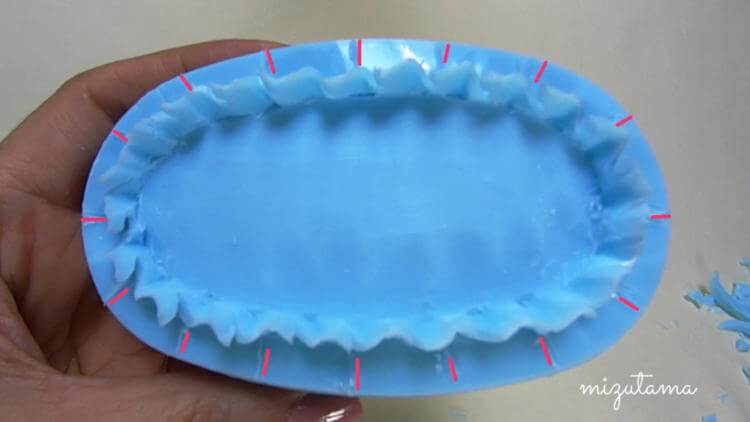
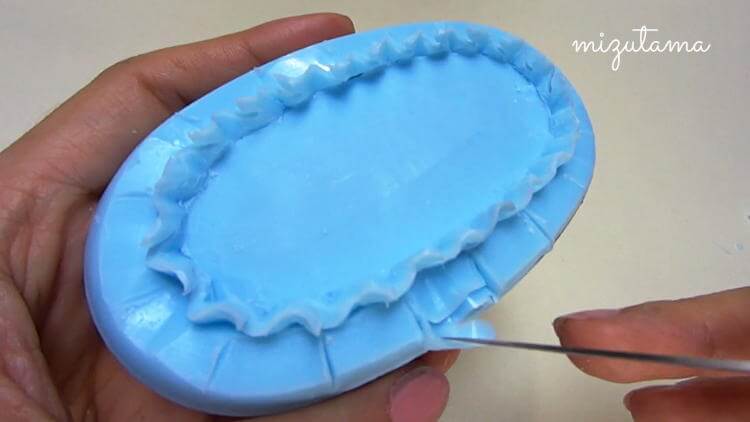
2.1 Divide the soap around the center into equal parts. Mark short lines with a toothpick. The length of each part is about 1.27 cm (1/2").
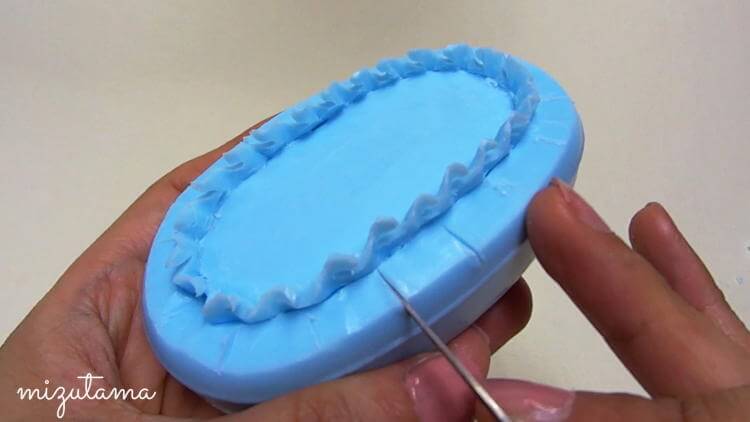
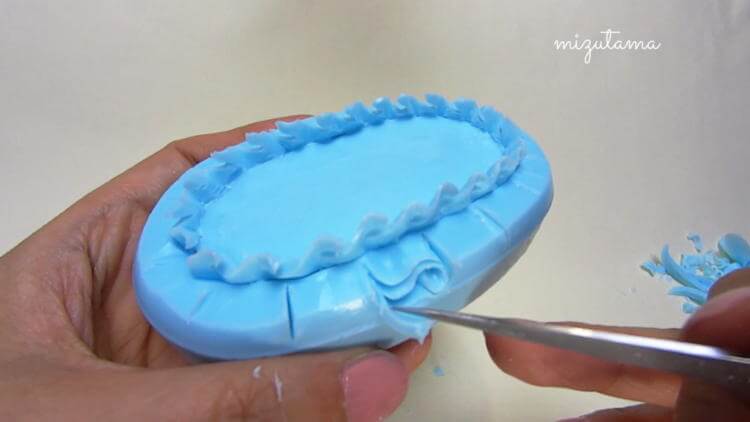
2.2 Deeply cut slits between each part.
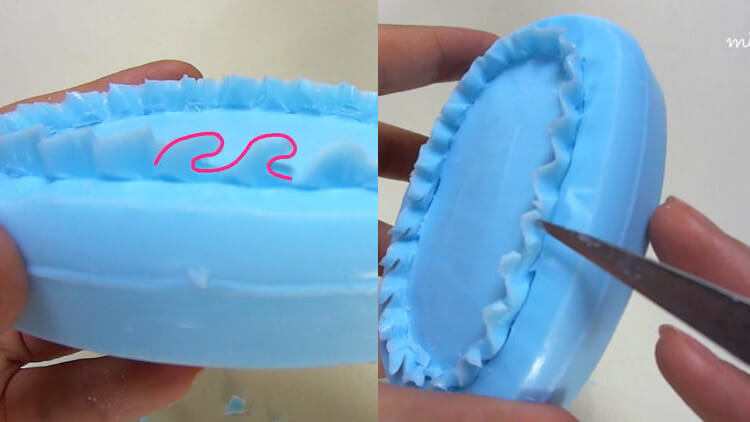
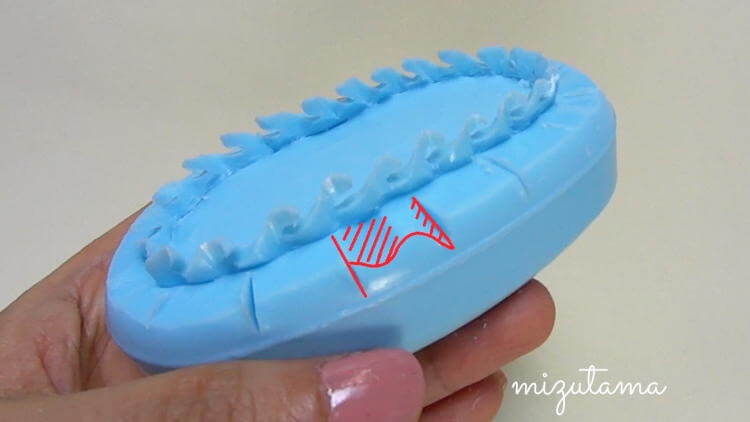
2.3 Carve the wave on the part marked with pink color.
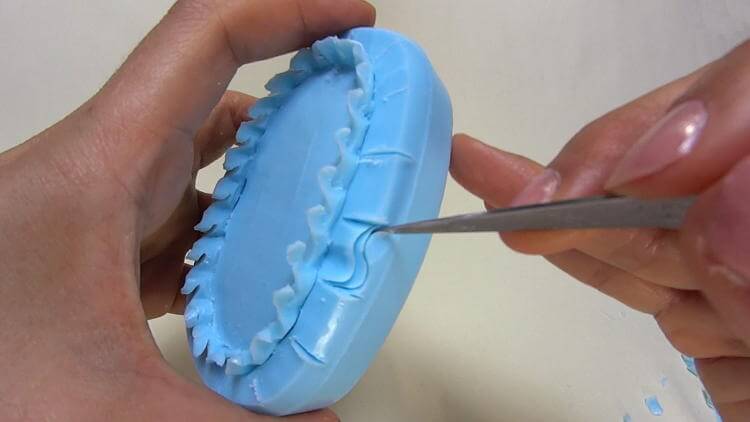
2.4 Holding the carving knife at a horizontal angle, cut a S shaped line.
2.5 Slightly cut off the soap under the S shaped cut.
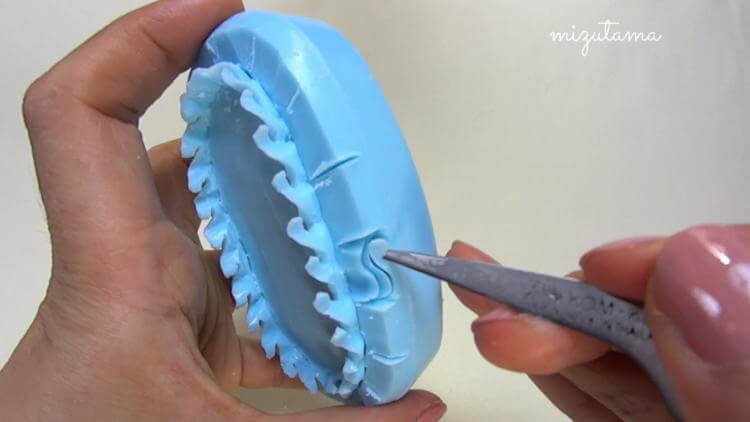
2.6 Cut a S shaped line again.
2.7 Tilt the carving knife, cut out a small inverted cone shape. Rotate the soap, you don't need to move the knife.
2.8 Make a round cut under the small round hole.
2.9 Slightly cut off the soap under the S shaped cut and the round cut.
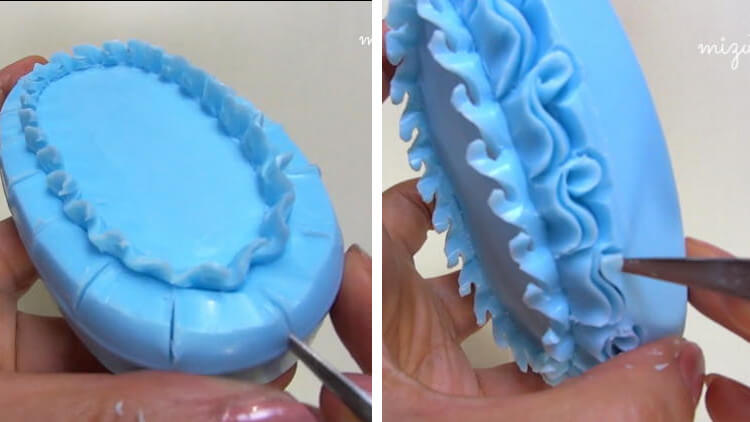
2.10 Repeat steps 14-21 all the way around.
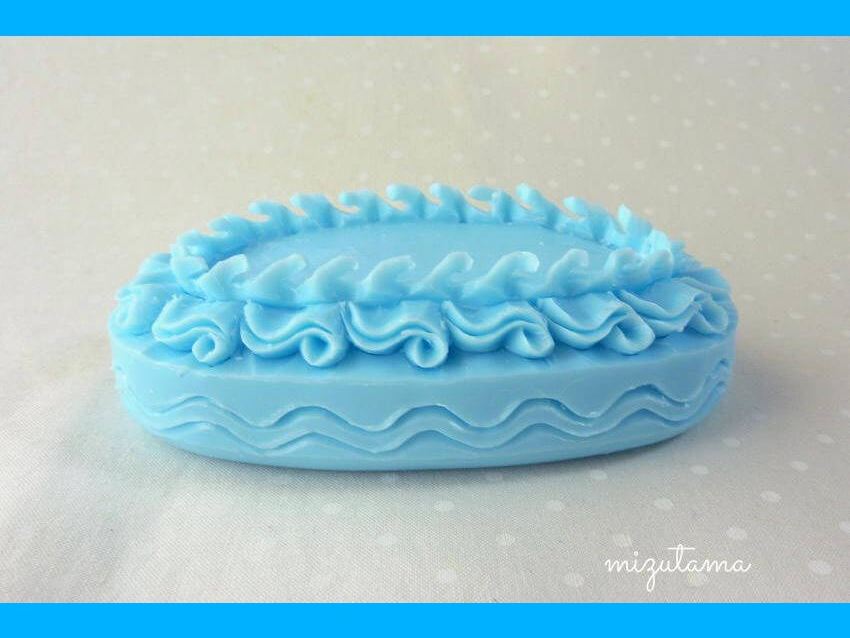
2.11 Flatten the soap under the wave pattern. The swirl wave pattern is done.
(Optional) How to carve third wave pattern
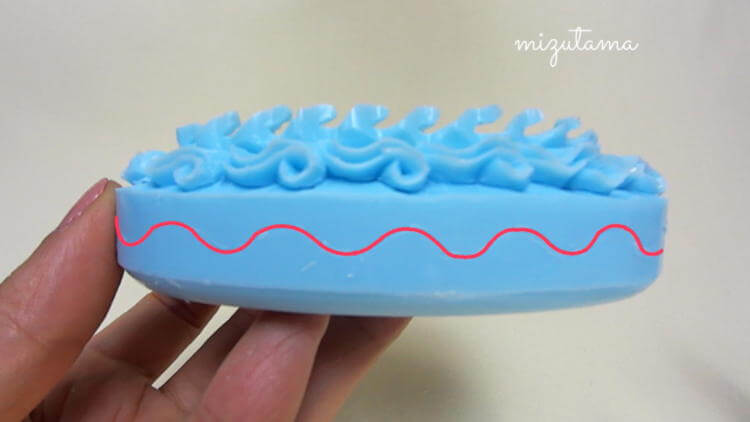
3.1 Thinly slice off the side of the soap to create a shiny surface.
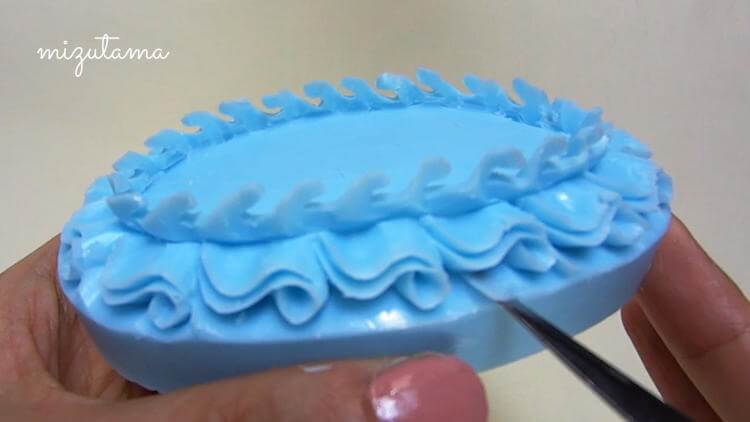
3.2 Draw a wavy outline as below.
3.3 Carve two wavy lines along the outline.
3.4 Done!